There’s something truly nostalgic about a homemade pie crust, especially one that’s been passed down through generations. Grandma’s pie crust isn’t just a base for your favorite fillings—it’s a labor of love, a recipe that evokes memories of cozy kitchens, family gatherings, and the sweet aroma of baking wafting through the house. Unlike store-bought crusts, this homemade version is flaky, tender, and buttery, with a delicate texture that melts in your mouth. Making it from scratch may take a little patience, but the results are worth every minute.
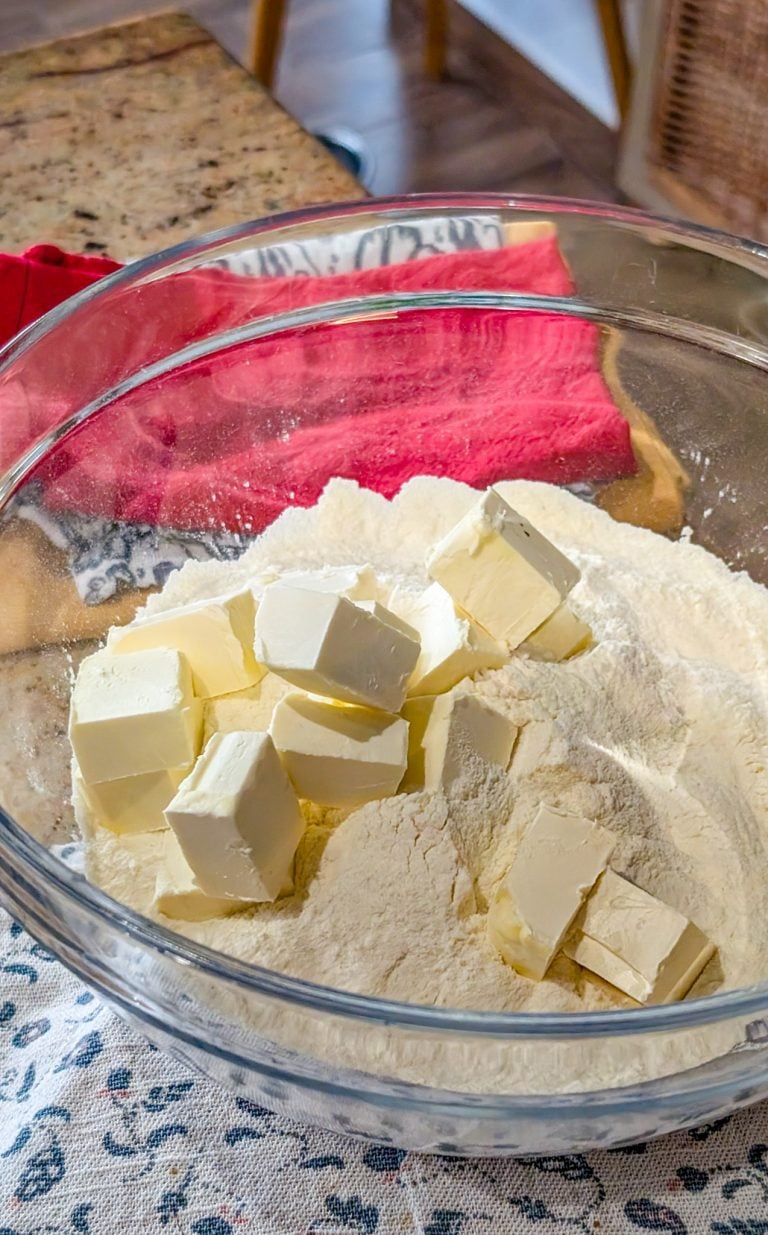
What makes this pie crust so special is its simplicity and reliability. With just a few basic ingredients—flour, butter, a pinch of salt, and cold water—it transforms into a tender, flaky crust that can hold both sweet and savory fillings. There’s something magical about cutting in cold butter and seeing the dough come together, knowing that you’re creating something homemade and full of love. Every bite has that unmistakable richness that only a hand-crafted crust can provide.
Why Do I Love This Recipe?
I love this recipe because it’s consistent, easy to work with, and versatile. The dough rolls out smoothly, bakes evenly, and has a tender, flaky texture that’s perfect for pies of any kind. Whether it’s a fruit-filled dessert, a creamy custard, or a savory quiche, this crust holds up beautifully. Plus, it’s a recipe that allows me to feel connected to my grandmother and the traditions of homemade cooking.
Serving Suggestions
Grandma’s pie crust is perfect for both sweet and savory pies. Use it for classic apple, cherry, or pumpkin pies for dessert. It’s also ideal for savory dishes like chicken pot pie, quiche, or vegetable tarts. Serve with a scoop of ice cream, a drizzle of caramel, or a dollop of whipped cream for extra indulgence.
Storage & Freezing
The dough can be stored in the refrigerator for up to 3 days, tightly wrapped in plastic wrap. For longer storage, it freezes beautifully—wrap it tightly and freeze for up to 3 months. Thaw in the refrigerator before rolling out. Baked pies also freeze well, making this crust perfect for make-ahead meals or desserts.
Variations of the Recipe
Customize the crust by adding sugar for a slightly sweet version, or incorporate herbs and cheese for a savory twist. For extra flakiness, try a half butter, half shortening combination. You can also brush the top with egg wash before baking for a golden, glossy finish.
Grandma’s pie crust is more than just dough—it’s a comforting, versatile, and timeless foundation for countless pies and cherished memories.

Grandma’s Pie Crust
Ingredients
Method
- In a large mixing bowl, combine the flour, shortening, sugar, and salt. Using a fork or pastry cutter, cut the shortening into the flour mixture until it resembles coarse crumbs.
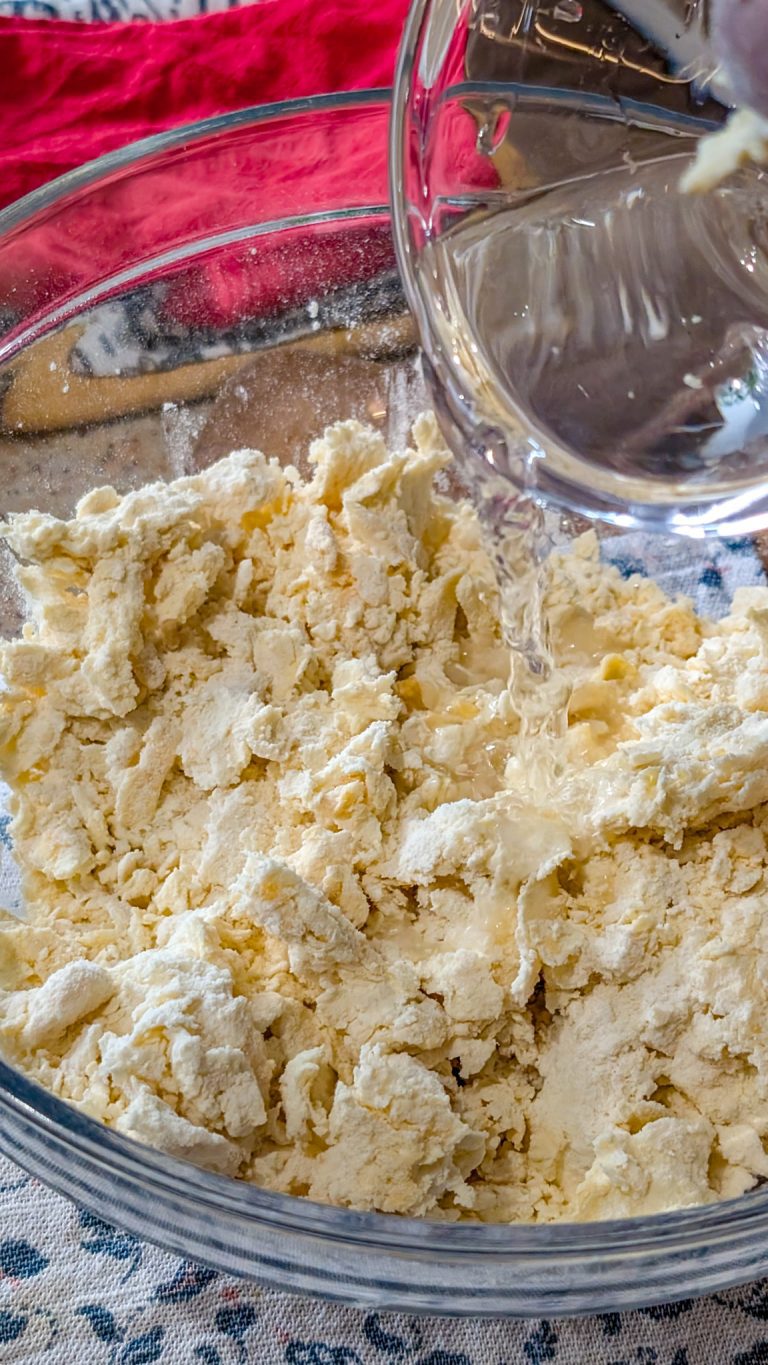
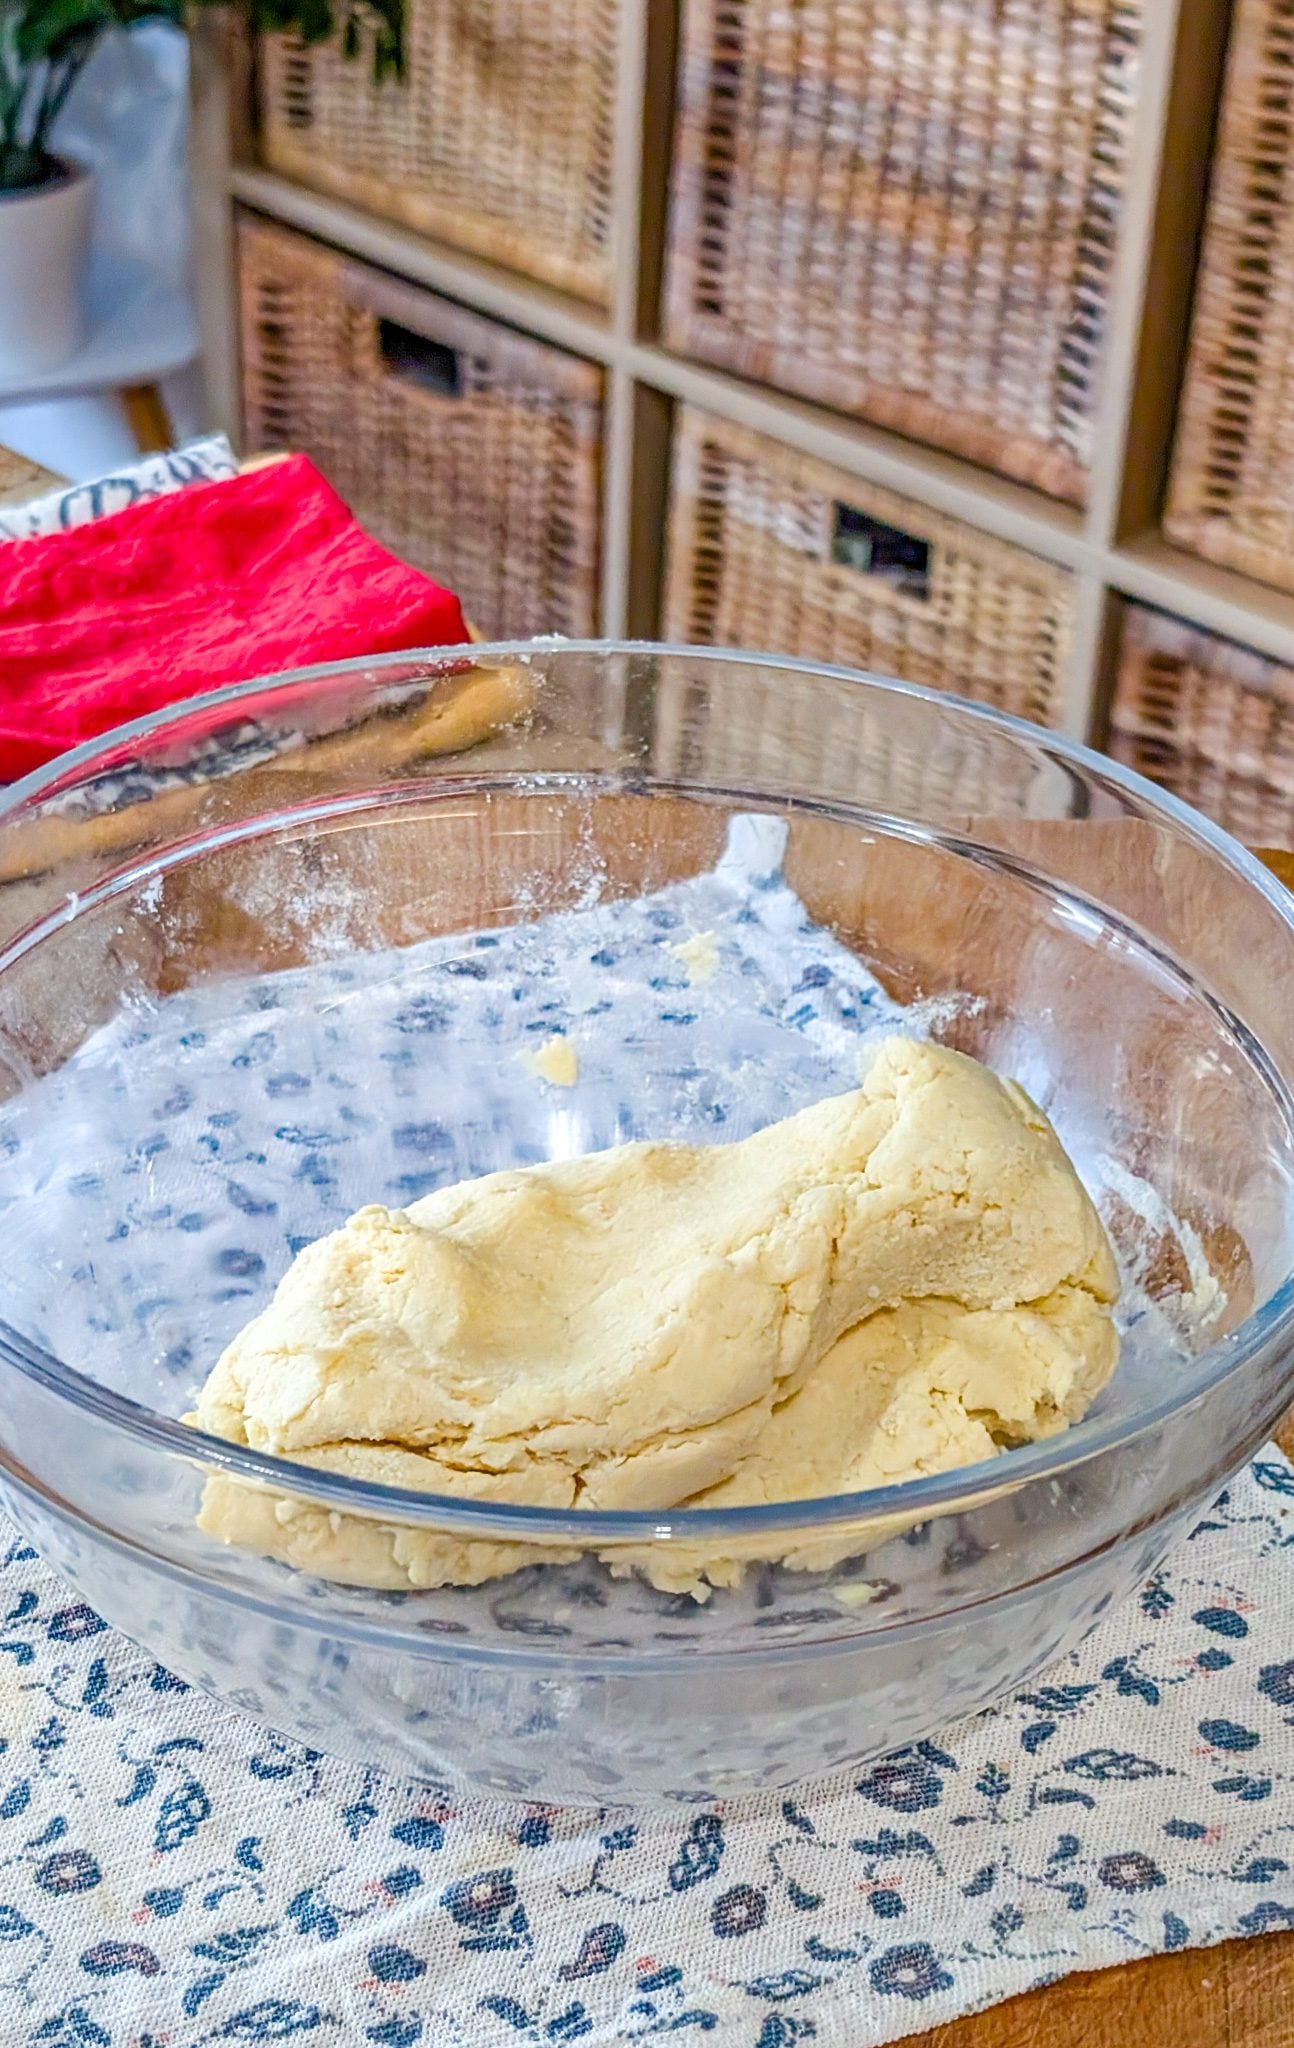
- Add the water and egg to the bowl. Mix on high speed with a hand mixer or stand mixer until the dough comes together and is well combined.
- Transfer the dough to a bowl, cover it with plastic wrap, and refrigerate for 1 hour to chill.

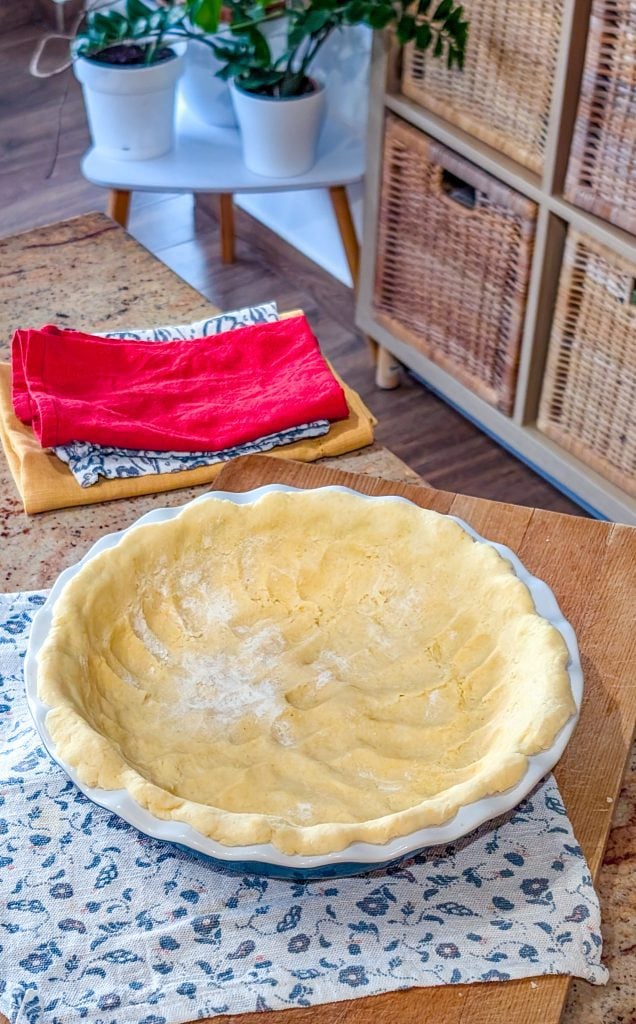
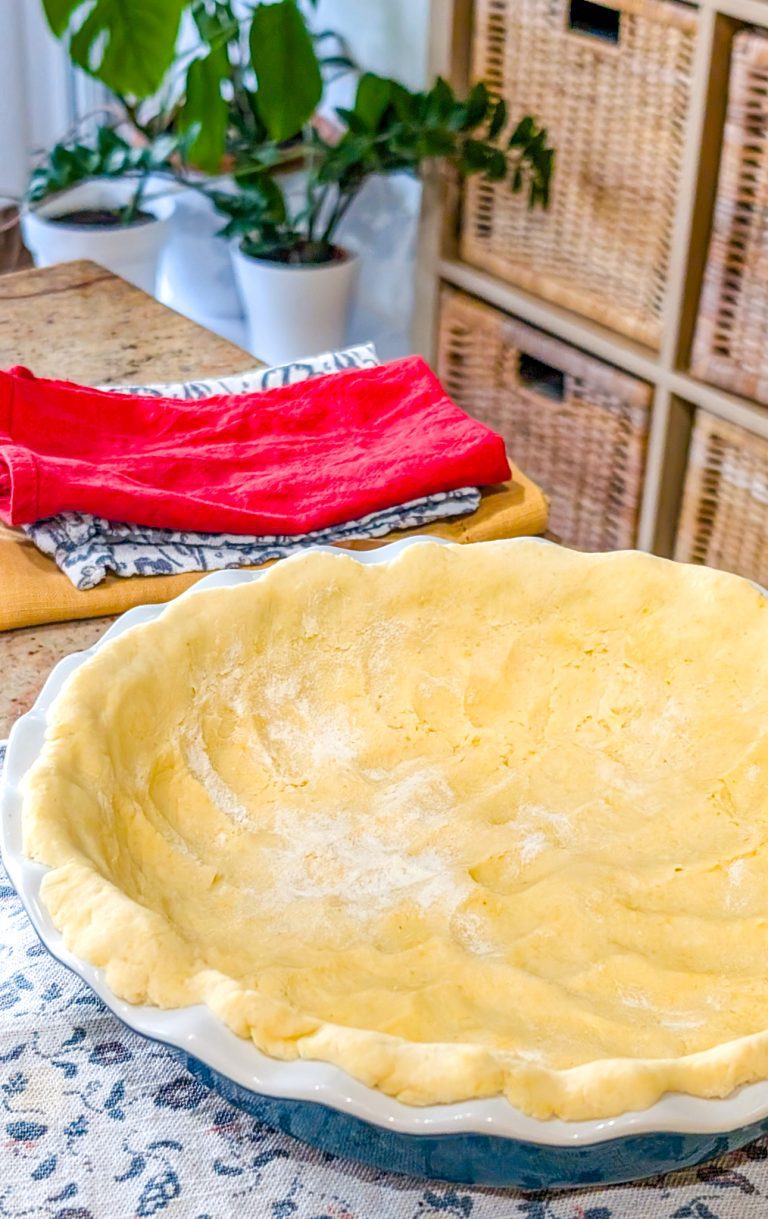
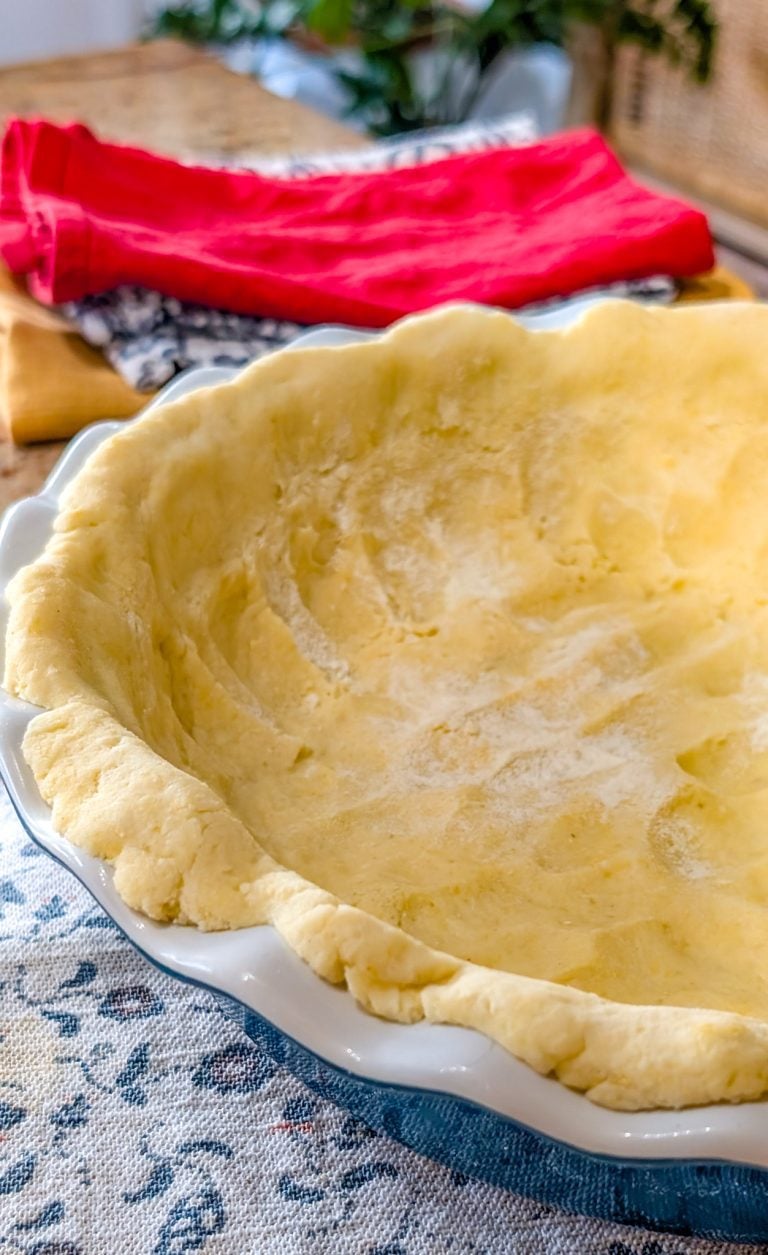
- On a lightly floured surface, roll out the chilled dough into a circle large enough to fit your pie pan. Carefully transfer the dough into the pan and gently press it to fit.
- To pre-bake the crust, cover the edges with aluminum foil to prevent over-browning and bake at 350°F for 30–40 minutes, or until lightly golden.
- Remove the crust from the oven and allow it to cool to room temperature.
- Add your desired pie filling and continue baking according to your pie recipe’s instructions.


Ann Bennett is a retired Chef, freelance writer, recipe developer, and cookbook author. Originally from North America and now based in the United Kingdom, she is the creator of the award-winning blog “The English Kitchen.” Her work focuses on debunking the myths of English cookery by adding a unique North American spin to traditional recipes.
 Ground Beef Lo Mein: A Quick, Flavorful Weeknight Dinner