
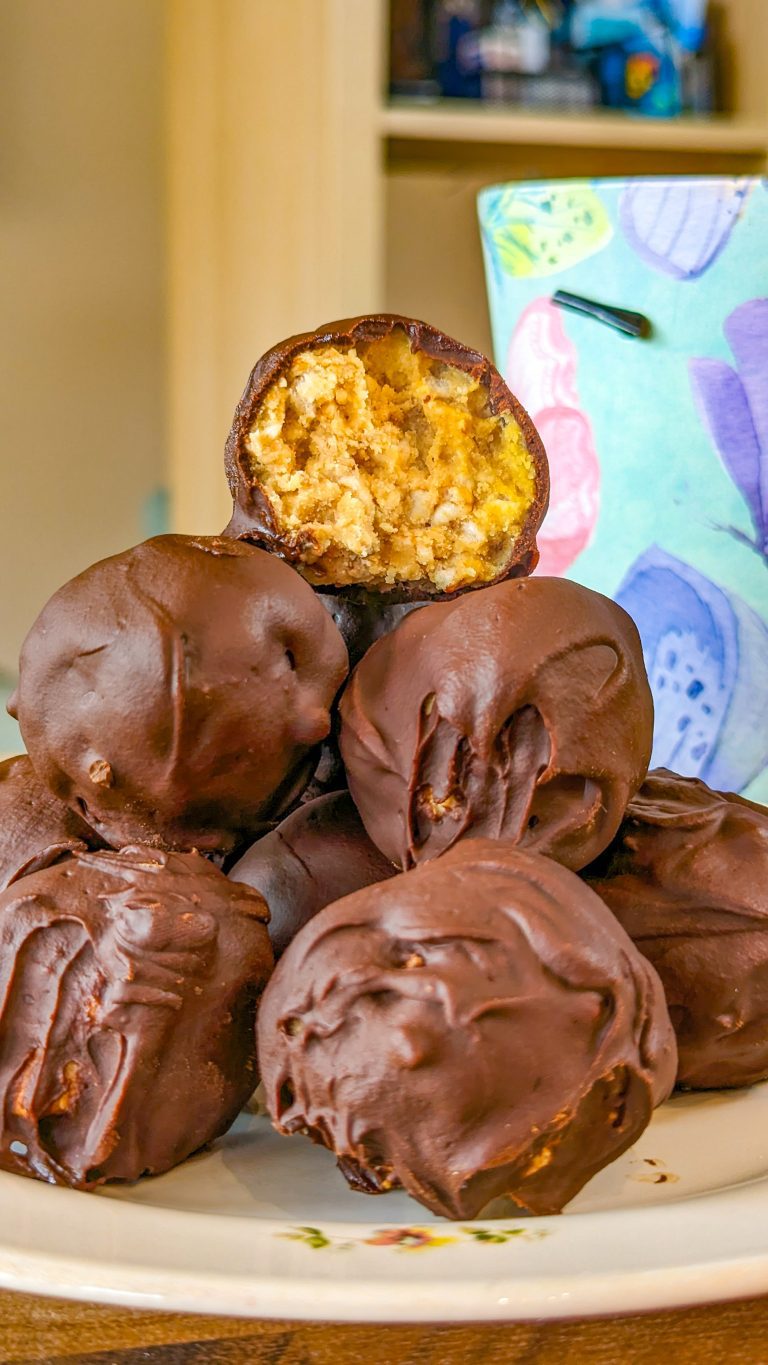
Peanut butter, Rice Krispies cereal and chocolate combine to make these gorgeous energy-boosting bites! They are a mini dessert with plenty of incredible flavor and, since they’re so compact, you don’t need to fuss around with plates or cutlery. Just pop one in your mouth!
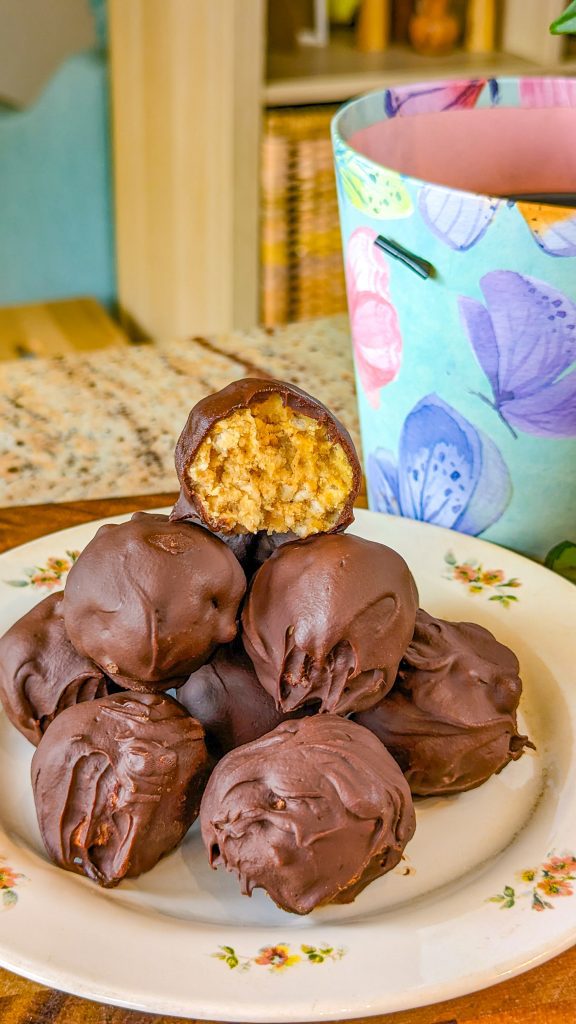
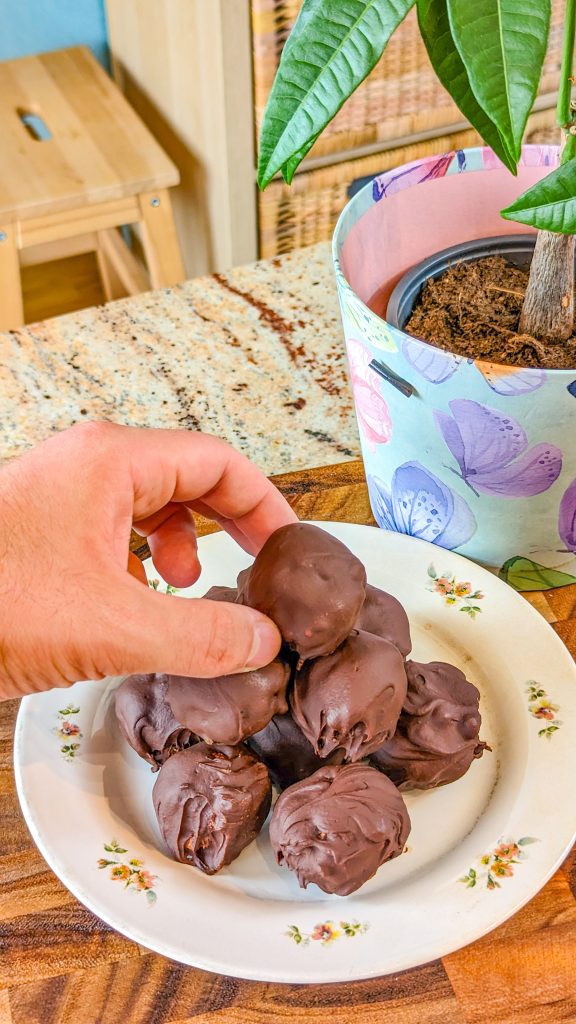
They’re simple to prepare and you can just keep them in the refrigerator, grabbing one (or two, or three – who’s counting anyway?) when your sweet tooth craves them! With every bite you get the crunch of Rice Krispies, the distinctive taste of peanut butter and that indulgent chocolate flavor.
Why not make a few extra, wrap them individually and put them in cellophane bags tied with a ribbon as a super-cute gift? You can customize them too, subbing in your favorite cereal for the Rice Krispies or using chocolate Rice Krispies, using less cereal for a creamier result or more cereal for a crunchier result.
Why You’ll Love the Recipe:
These yummy little bites are really easy to make and they’re also delicious. Try not to eat the whole tray of them in one sitting!
How to Serve Them:
These make a nice sweet treat served after dinner with coffee. They’re also ideal for a box lunch or to take on a picnic or hike.
Can You Make Them Ahead?
Yes. Just keep them in the refrigerator until serving.
Storage Instructions:
Keep them in an airtight container in the refrigerator and eat within a week. You can also freeze them for up to 6 months.
Variations and Substitutions:
Try using white chocolate candy coating instead of the milk chocolate for a completely different flavor. You can drizzle caramel sauce, another type of chocolate or anything else you want over the finished peanut butter balls.
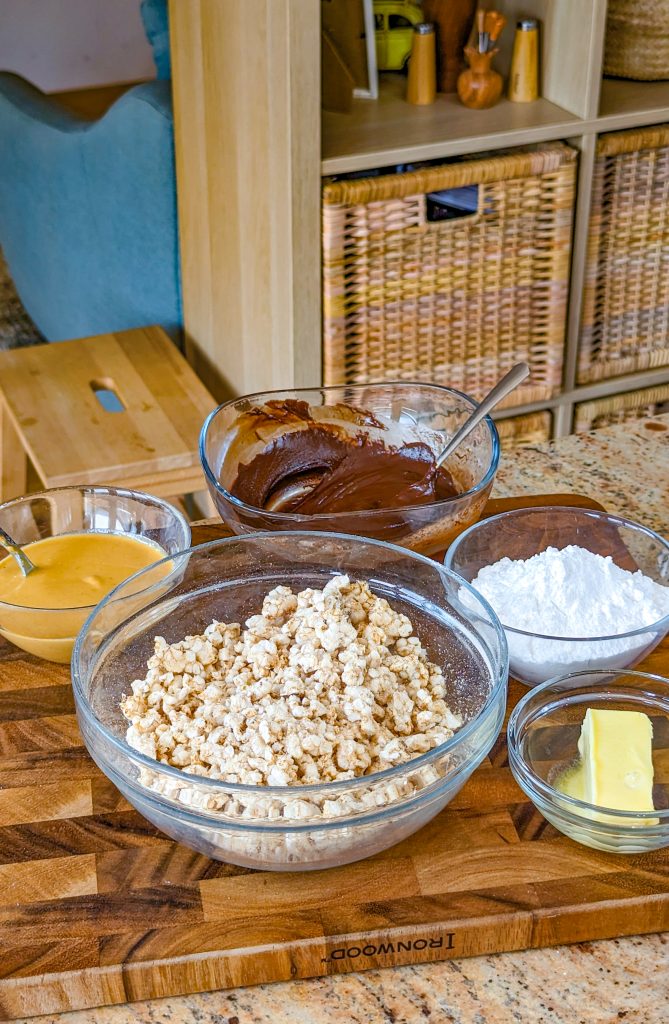
Ingredients:
- Powdered sugar
- Softened butter
- Rice Krispies cereal
- Peanut butter
- Chocolate candy coating
- Muffin paper cups
How to make Peanut butter balls with Rice Krispies:
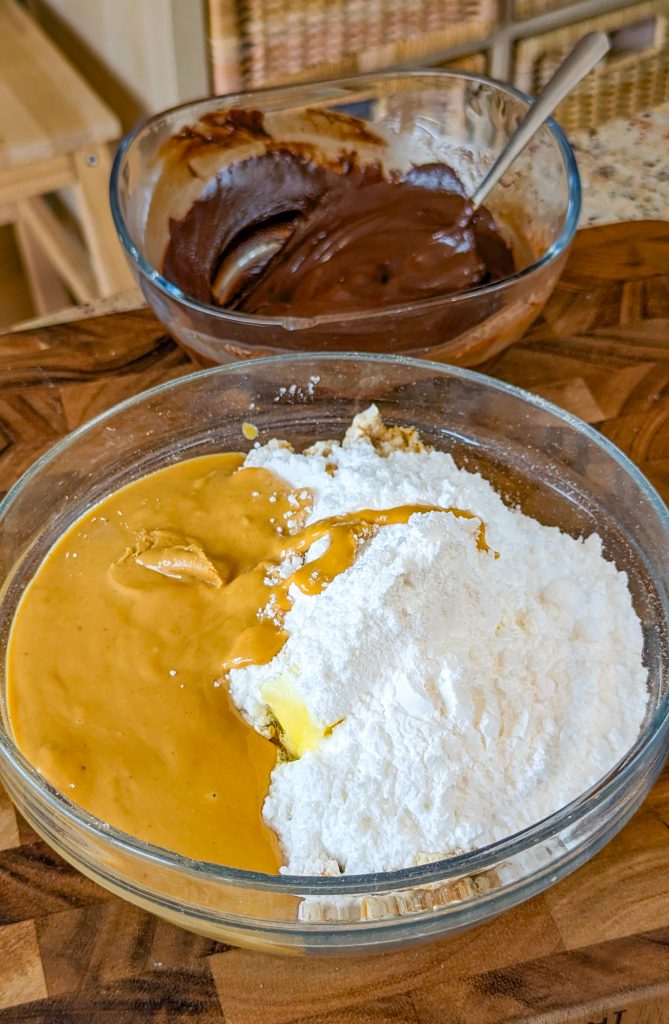
Step 1. Put the butter, sugar and peanut butter in a bowl and use an electric mixer to beat on a medium speed.
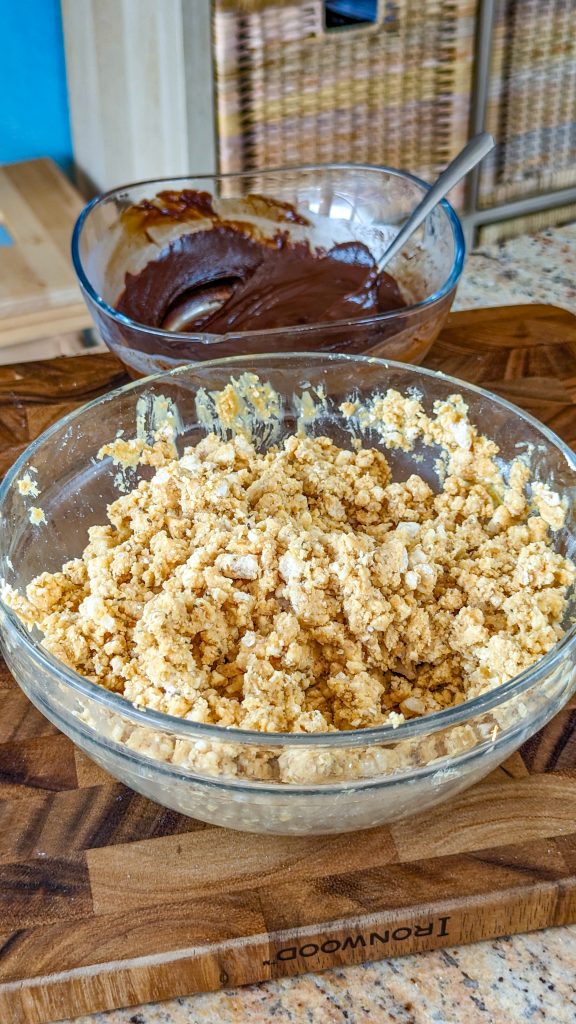
Step 2. Next mix in the Rice Krispies.
Step 3. Freeze for half an hour and then shape into 1-inch balls.
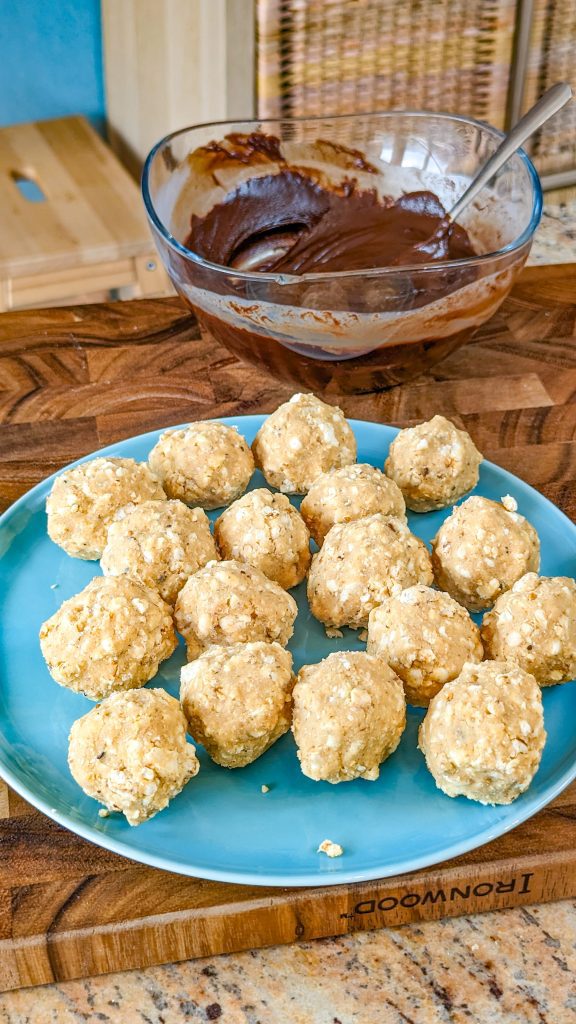
Step 4. Put each one in a mini muffin cup and refrigerate.
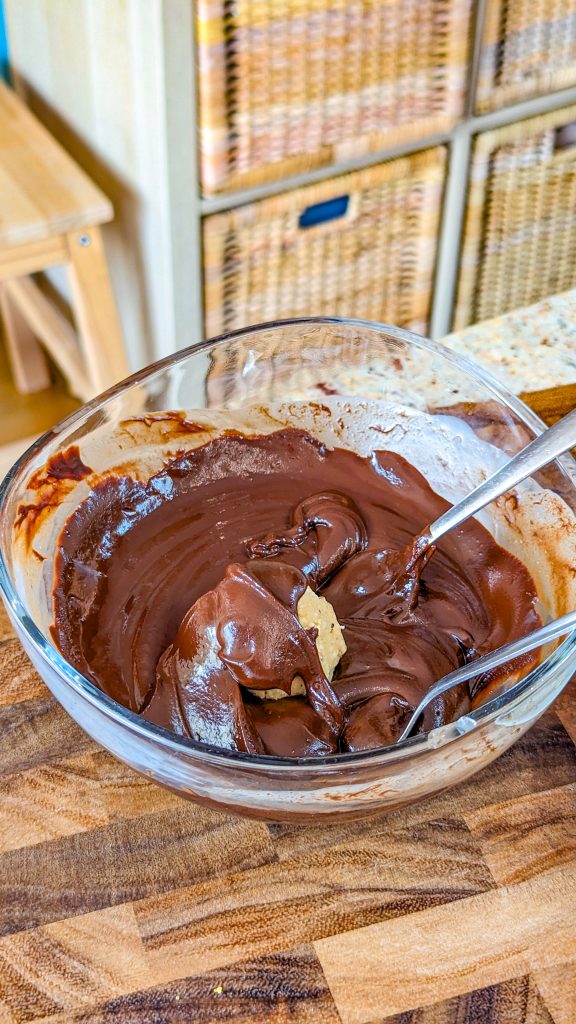
Step 5. Melt the candy coating in a pan on the stove, stirring all the time.
Step 6. Put one of the Rice Krispies balls on a fork and dip into the chocolate to fully coat.
Step 7. Put it on a parchment or wax paper lined baking sheet and repeat with the remaining balls and remaining candy coating.
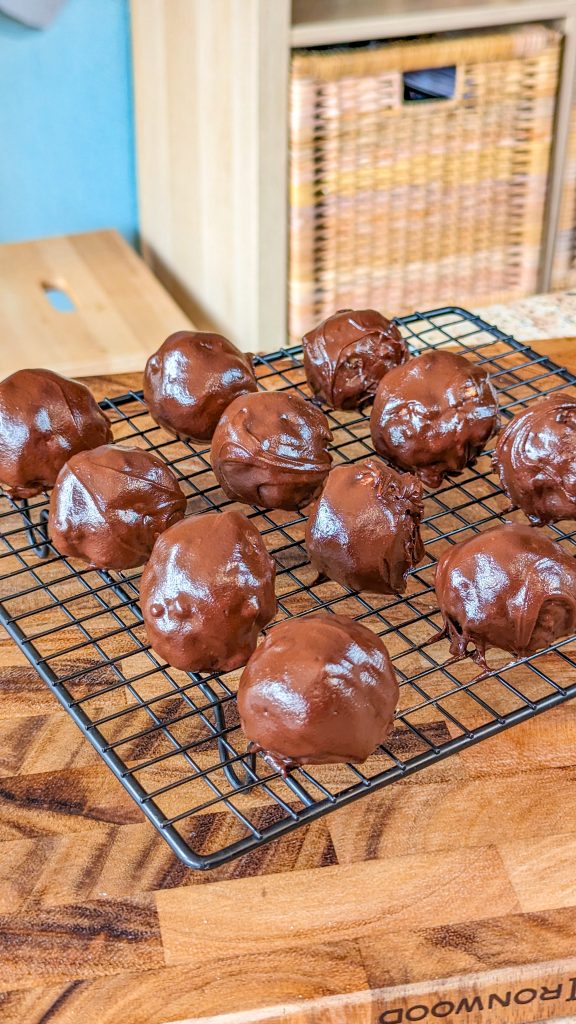
Step 8. Refrigerate until set and then serve.
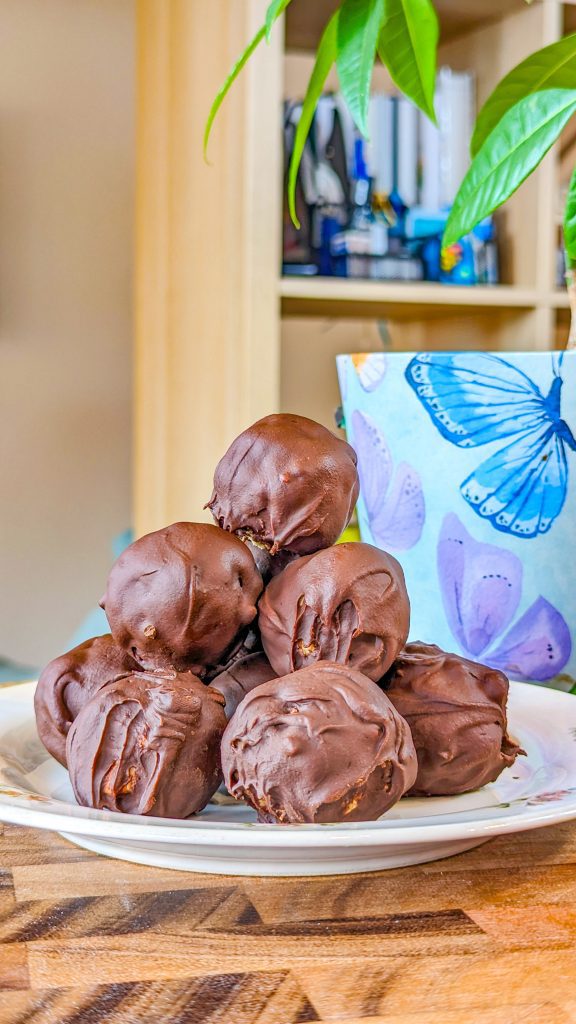
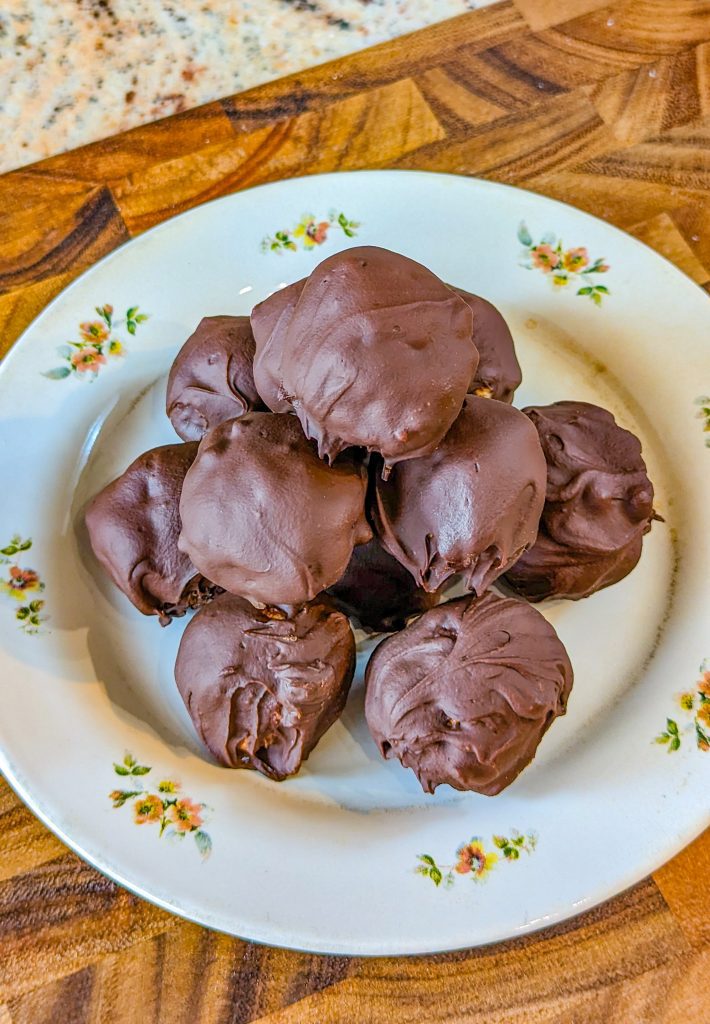
If you’re looking for a miniature dessert option that’s easy to make and will last all week in the refrigerator, these crunchy little bites are ideal. They combine Rice Krispies, chocolate and peanut butter and it’s very hard to stop eating them because they’re just so delicious!
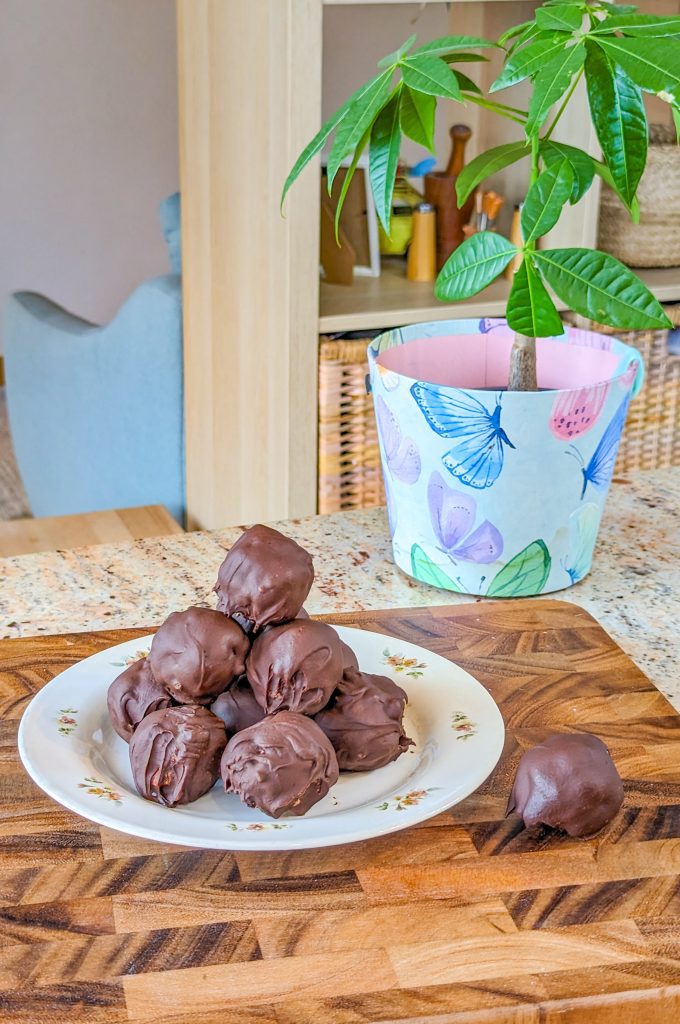
Peanut butter balls with Rice Krispies
If you’re looking for a miniature dessert option that’s easy to make and will last all week in the refrigerator, these crunchy little bites are ideal.
- Total Time: 25
Ingredients
- 1 cup powdered sugar
- ¼ cup softened butter
- 2 cups Rice Krispies cereal
- 1 cup crunchy peanut butter
- Chocolate candy coating, as needed
- 54 mini muffin paper cups
Instructions
- Put the butter, sugar and peanut butter in a bowl and use an electric mixer to beat on a medium speed.
- Next mix in the Rice Krispies.
- Freeze for half an hour and then shape into 1-inch balls.
- Put each one in a mini muffin cup and refrigerate.
- Melt the candy coating in a pan on the stove, stirring all the time.
- Put one of the Rice Krispies balls on a fork and dip into the chocolate to fully coat.
- Put it on a parchment or wax paper lined baking sheet and repeat with the remaining balls and remaining candy coating.
- Refrigerate until set and then serve.
Notes
plus 1 hour chilling time

Marie Rayner is a retired Chef, freelance writer, recipe developer, food blogger, and Cookbook author. She makes her home in Chester, UK, where she lives with her husband, Todd, and their much beloved English Cocker, Mitzie. Her motto is “Life is far too short to eat bad food,” and her goal is to share delicious and easy recipes which anyone can enjoy and cook in the comfort of their own home.
 Tres Leches (Milk Cake)