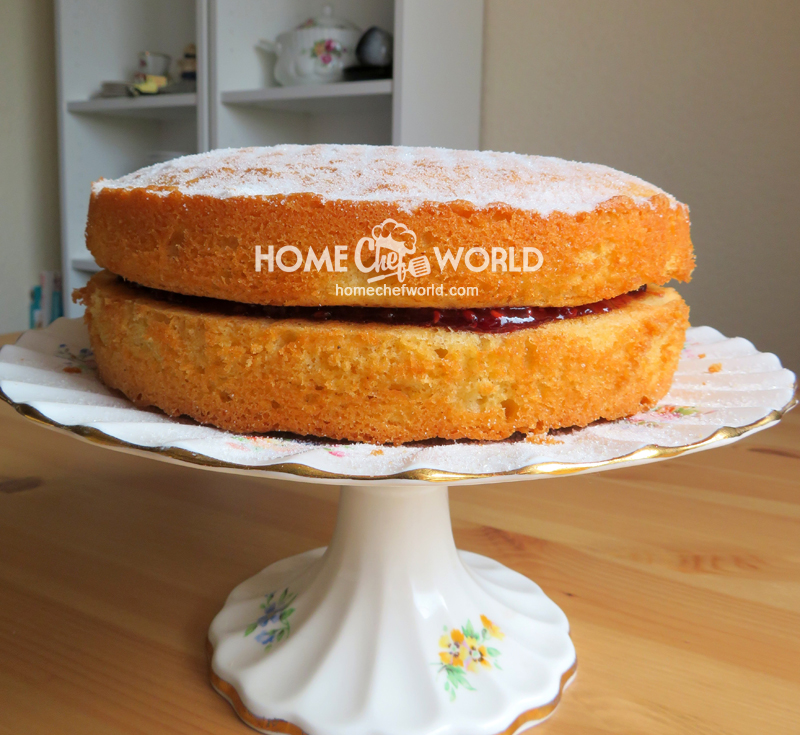
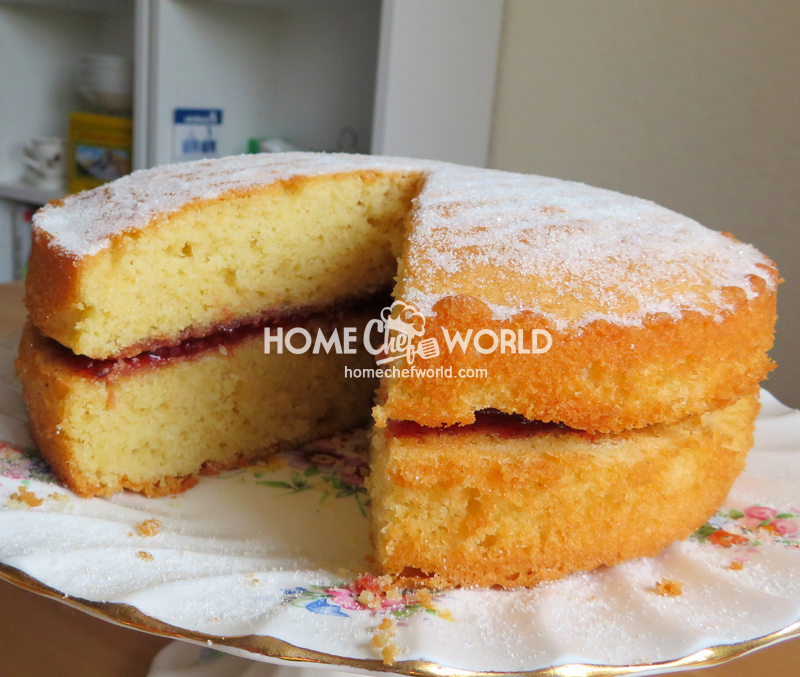
One of the most popular family cakes has to be the simple Victoria Sandwich Cake. This is a plain vanilla sponge, composed of two layers simply sandwiched together with a layer of jam. You can also get really fancy and add a layer of vanilla buttercream or go the whole hog and fill it with fresh berries and whipped cream!
Take a look at the Upside down berry cake recipe as well to understand better how to use berries in your desserts to their full potential!
This is a cake which is very easy to make and uses very basic simple ingredients. Don’t let its simplicity fool you into believing it’s not a great cake however!
The Victoria Sandwich Cake, or Victoria Sponge as it is also known, is a cake that was created by Royal bakers for the late Queen Victoria’s Birthday during her reign.
It soon became very popular with every kind of folk, and these days you will find it plays centre place at Tea Parties and celebratory occasions of all kinds. It also makes a fabulous everyday cake for the family. This is a cake that is meant to be enjoyed, full stop!
WHAT YOU NEED TO MAKE A VICTORIA SANDWICH CAKE
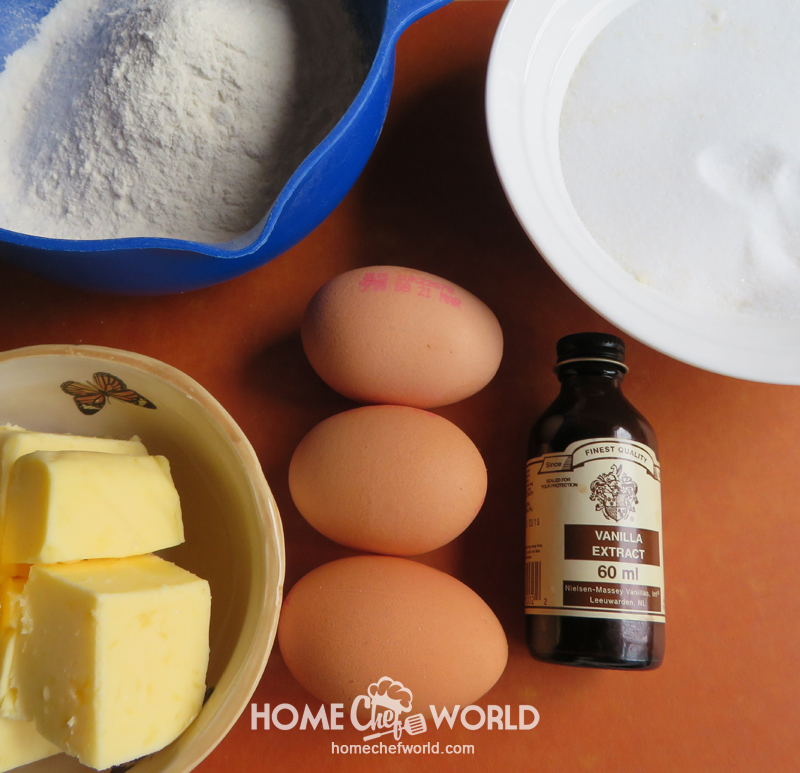
You will not need anything too out of the ordinary to make this delicious Victoria Sponge cake. The ingredients list is short and simple.
| INGREDIENTS |
| Plain unsalted butter |
| Large free range eggs |
| Granulated sugar (I like to use Caster sugar, which is a finer grain of granulated sugar) |
| Self-rising flour (you can make your own, see below) |
| Pure vanilla extract |
HINTS AND TIPS FOR MAKING A SUCCESSFUL VICTORIA SPONGE CAKE
- Make sure all of your ingredients are at room temperature. If your eggs are cold, you can leave them for about 10 to 15 minutes in a bowl of warm water (NOT hot water!)
- Read through the recipe carefully and measure out all of your ingredients before you begin to make the recipe. This will prevent you from making any costly mistakes.
- To get a properly risen cake, it is important to use a layer cake tin that is at least 1-inch deep. The cause of many flat sponge cakes is a tin that is too shallow for purpose.
- Although you may decide to use non-stick bakeware, it is still advisable to butter the tin and line it with baking parchment. This is much more reliable than relying on the tin alone. You don’t want a cake that sticks to the tin, which is always a risk when not lining the tins.
- Add the beaten eggs slowly, a bit at a time, to the creamed mixture. This helps to prevent the cake batter from curdling, and you will have a much better finish to the cake
- If your batter has begun to curdle, simply stir a spoonful of the flour needed for the recipe into the batter. This should rectify the problem. The reason it is important that your batter doesn’t curdle is that it will compromise on some of the air beaten into the cake batter, and you will end up with a heavier finish.
- If you don’t have any self-rising flour, don’t despair. You can make your own by adding 1 ½ tsp of baking powder and ¼ tsp of salt to every cup of flour needed for the recipe.
- Always use the exact size of tins asked for in the recipe.
- Don’t be tempted to peek in the oven to check on the cake while it is baking. To do so invites disaster, as you are letting cold air into the oven which can greatly impact the end result, and the opening and closing of the oven door can cause the cake to sink.
- Always cool your cake layers completely on a wire rack, specifically designed for this purpose. This allows the air to circulate around them completely and gives you a much more professional texture and finish. You don’t want cakes with soggy bottoms.

HOW TO MAKE A CLASSIC VICTORIA SPONGE CAKE
The first thing you will need to do is to prepare your tins for baking. If your cake tins have removable bottoms, take them out and cut rounds of baking paper to size, by placing the bottom of the tin on a sheet of paper and tracing around it with a pencil, before cutting them out.
If your cake tins don’t have removable bottoms, simply trace around the bottoms of the tins in the same manner. Once you have done that you can butter the tins using a piece of paper towel and a small amount of butter or fat, placing the cut out rounds of paper in the bottoms of the tins once you are done.
Start preheating your oven to the correct temperature for the recipe.
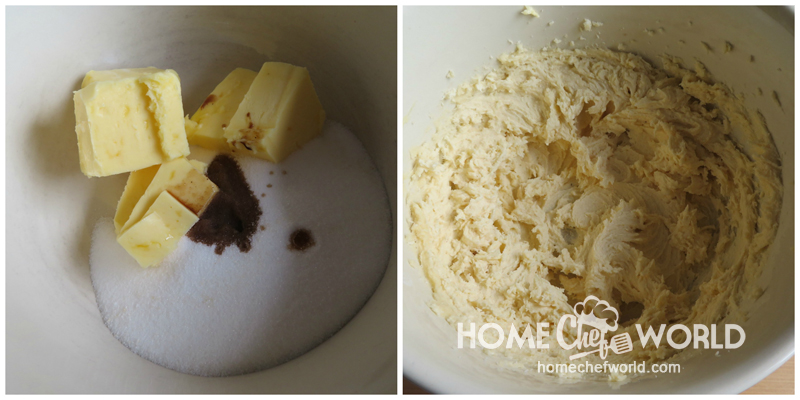
Measure your room temperature butter, sugar and vanilla extract into the mixing bowl. Always make sure that everything is at room temperature for perfect results. Using an electric mixer on medium speed combine them together and then increase the speed of the mixer and beat them together until they are light in colour and fluffy.
This helps to make sure that the sugar almost melts into the fat. I actually use caster sugar for my cakes, which is a finer grain of granulated sugar. You can make your own caster sugar by blitzing ordinary granulated sugar in a food processor to give you a finer grind.
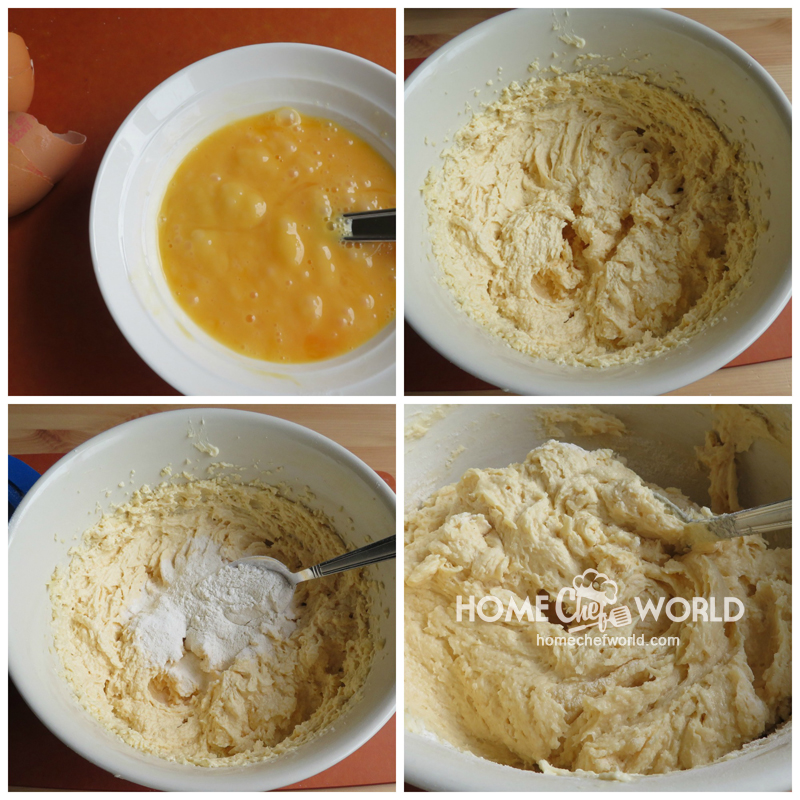
Once you have your sugar and butter beaten together you can start to beat in the eggs. You should have already lightly beaten your eggs. Add the beaten eggs a little bit at a time while you continue to beat the mixture with your electric mixer. Adding the eggs in this way ensures that your batter won’t curdle.
Once you have all of the egg beaten in you can begin folding in the flour a spoonful at a time using a metal spoon. Use a cutting motion to prevent any air which you have beaten into the creamed mixture from escaping.
This will ensure you have nice light layers. You want all of the flour to be incorporated with no dry streaks remaining in the batter.

Divide the batter evenly between the two tins, levelling if off as best as you can. I have often heard it said that if you make a little dip in the centre, your cakes will rise better.
I like to place my cake tins on a baking sheet for ease of putting them into and taking them out of the oven.
Bake for the required time. Don’t be tempted to peek.

The cake layers are done with they have begun to pull away a bit from the sides of the tin, the tops are golden brown and spring back when lightly touched. Also, a toothpick inserted in the centre should come out clean.
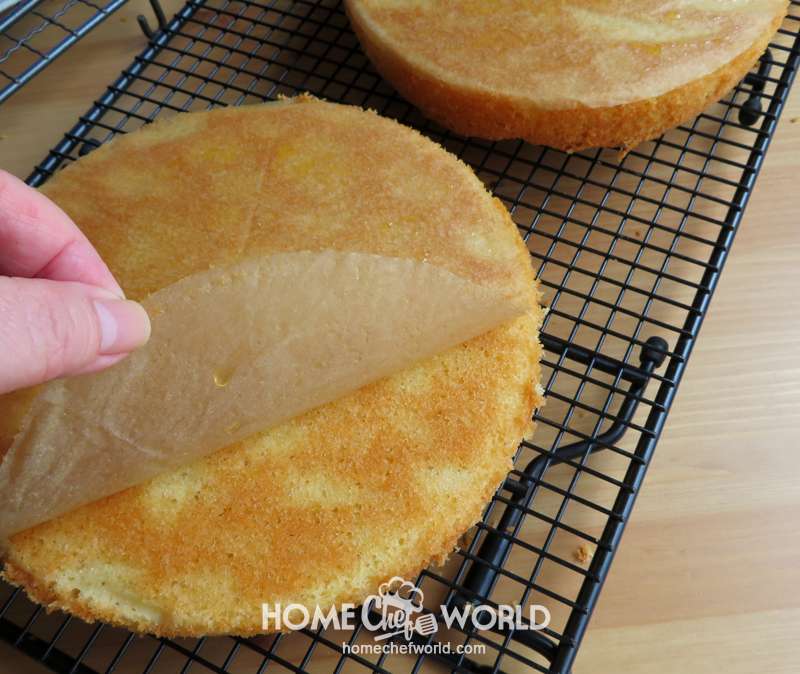
Once your cakes are out of the oven tip them carefully out onto a cooling rack to cool completely before proceeding. (If need be you can run a sharp knife around the edges first to loosen them.) Carefully peel the paper off of the bottoms and discard.
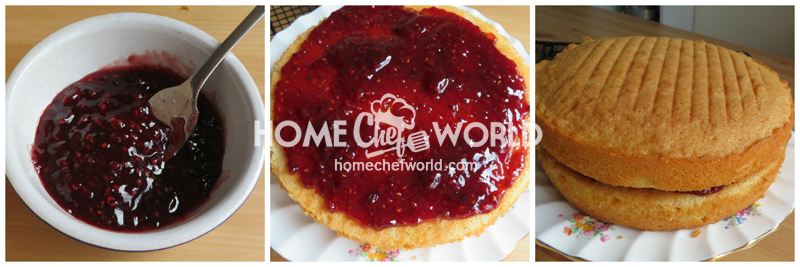
Once the cake layers have completely cooled you will be ready to fill and stack them, ready for presentation and serving. I like to use raspberry jam in mine, but strawberry jam is also very good, as is lemon curd. If you are using a jam, run through it with a fork first to loosen it up. Place the bottom layer of your cake onto a cake plate.
Spread the top of this layer with your prepared jam. I try to do this as evenly as I can and to be generous, without going over the top. If you put in too much jam, you run the risk of it squeezing out the sides from the weight of the top layer. Place the top layer of the cake over the jam. I tend to place bottom layers together, if that makes sense. They are flatter and seem to fit more snugly with each other.
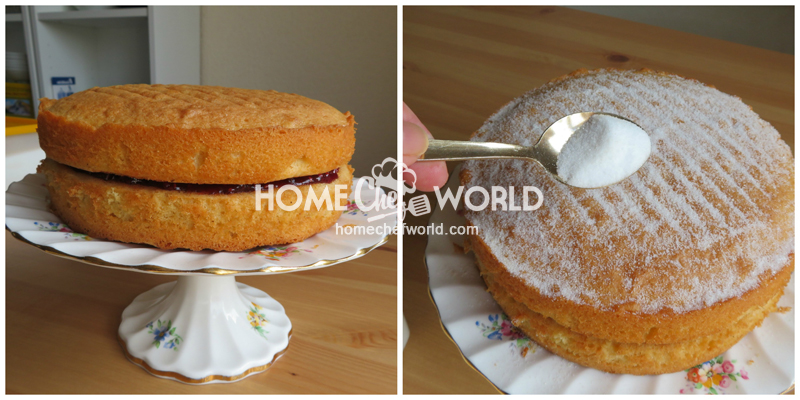
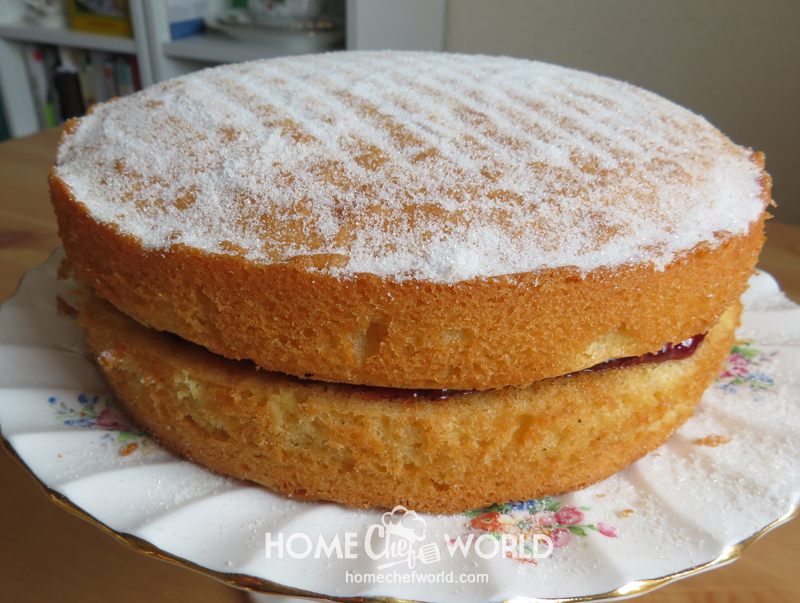
Once you have both layers sandwiched together you can dust the top with either more caster sugar or a light layer of sifted icing sugar. This gives a really nice finish to your cake.
ALTERNATE SERVING SUGGESTIONS
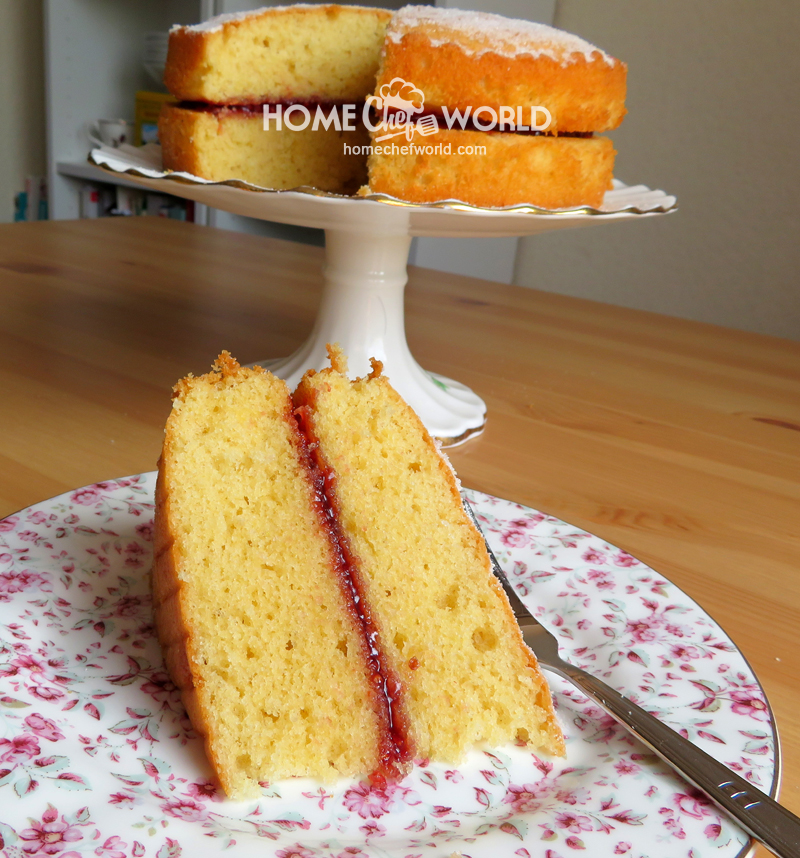
For everyday occasions, it is completely acceptable and delightful to serve your cake simply with a layer of jam in the middle. This is such a delicious cake it really doesn’t need a layer of icing all over it. Slices of this jam-filled cake with a simple light dusting of sugar go perfectly with a cold glass of milk or a nice hot cup of tea. You can also check out my Strawberry Bread Recipe for more flavorful dessert ideas!
For a fancier occasion, you might want to add a thin layer of vanilla buttercream on the bottom layer of the cake before spreading it with the jam.
During fresh berry season and on special occasions where you think that the whole cake will be eaten in one go, it is quite lovely to fill it with a layer of whipped cream and some fresh berries. That always goes down a real treat!
Final Thoughts on the Victoria Sandwich Cake Recipe
One thing is for certain, no matter what you choose to fill this Victoria Sandwich Cake with, and no matter the occasion you decide to serve it for, this cake is sure to be well received by everyone! It is destined to become the center-piece of every get-together or celebration! Proof positive that it truly IS the simple things which bring us the most pleasure.
Print
A Traditional Victorian Sandwich Cake
This cake was made popular during the reign of Queen Victoria and remains popular to this day. This is a huge testimony to its great taste and ease of baking.
- Total Time: 1 hours
- Yield: Makes one 7-inch cake 1x
Ingredients
- 6 TBS butter softened
- 6 TBS margarine, softened (you can use all butter if you wish, but your cake will not be as light in texture)
- 1 cup of sugar
- ¼ tsp vanilla extract
- 3 large free range eggs, lightly beaten
- 1 ½ cups self-rising flour
- 3 TBS raspberry jam
- Icing sugar to dust the top
- Optionally you can also fill with a layer of vanilla butter cream, or whipped cream
Instructions
- Butter and base line two 7 inch sandwich cake tins. Set aside. Preheat the oven to 350*F.
- Cream the butter, margarine and sugar together until light in colour and fluffy using an electric mixer. Beat in the vanilla and then gradually beat in the eggs a little bit at a time, beating well after each addition. If the mixture starts to curdle, beat in a spoonful of the flour.
- Fold in the flour with a metal spoon, taking care not to knock any air out of the batter. Divide the batter evenly between the two cake tins. Level off the surface and make a slight dip in the middle of each.
- Bake on the centre rack in your oven for about 25 minutes, or until the layers are well risen, golden brown and they spring back when lightly touched.
- Cool in the pan for five minutes. Run a knife carefully around the edges and turn out onto a wire rack to cool completely. Carefully peel off the paper.
- Once cold, place one layer on a cake plate. Spread with the buttercream or whipped cream (if using) and top with the jam. Place the other layer on top, pressing down lightly. Dust with icing sugar and cut into wedges to serve.
- Prep Time: 30 minutes
- Cook Time: 30 minutes
- Category: Desserts
Nutrition
- Calories: 260

Marie Rayner is a retired Chef, freelance writer, recipe developer, food blogger, and Cookbook author. She makes her home in Chester, UK, where she lives with her husband, Todd, and their much beloved English Cocker, Mitzie. Her motto is “Life is far too short to eat bad food,” and her goal is to share delicious and easy recipes which anyone can enjoy and cook in the comfort of their own home.
 Tuna Pizza Burgers – A Healthy Fast Food Lunch