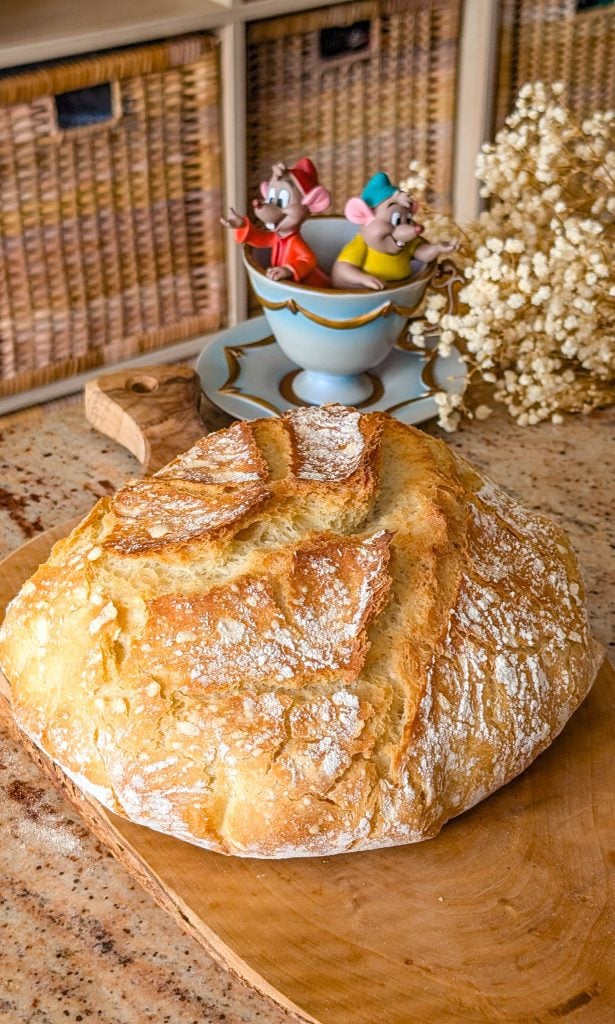
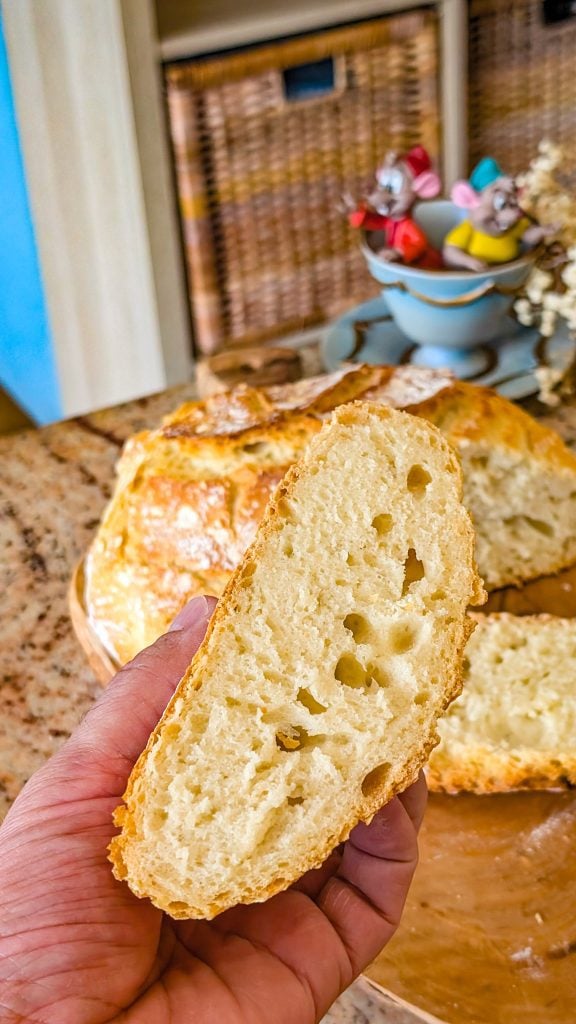
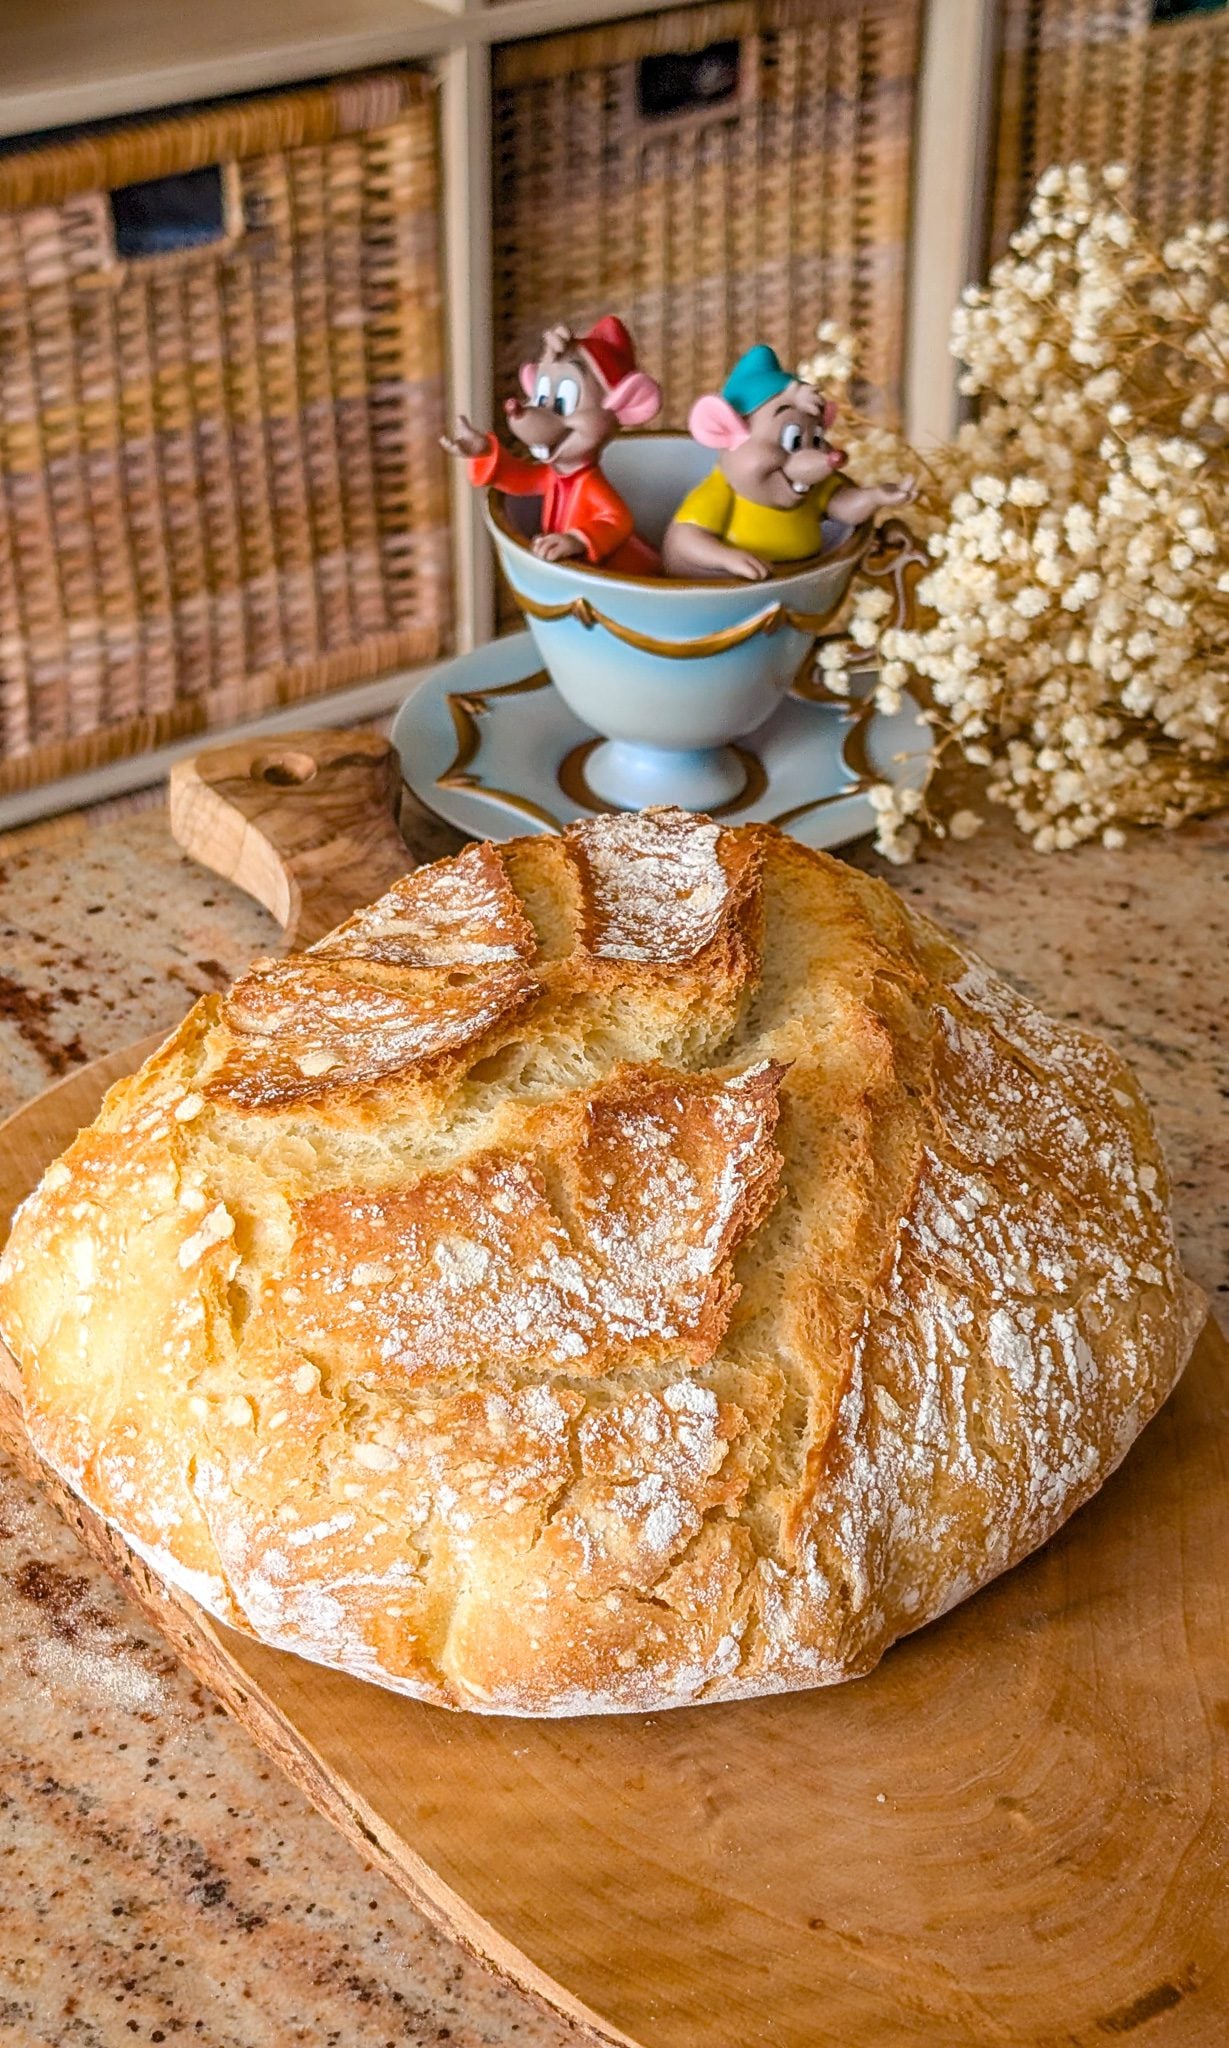
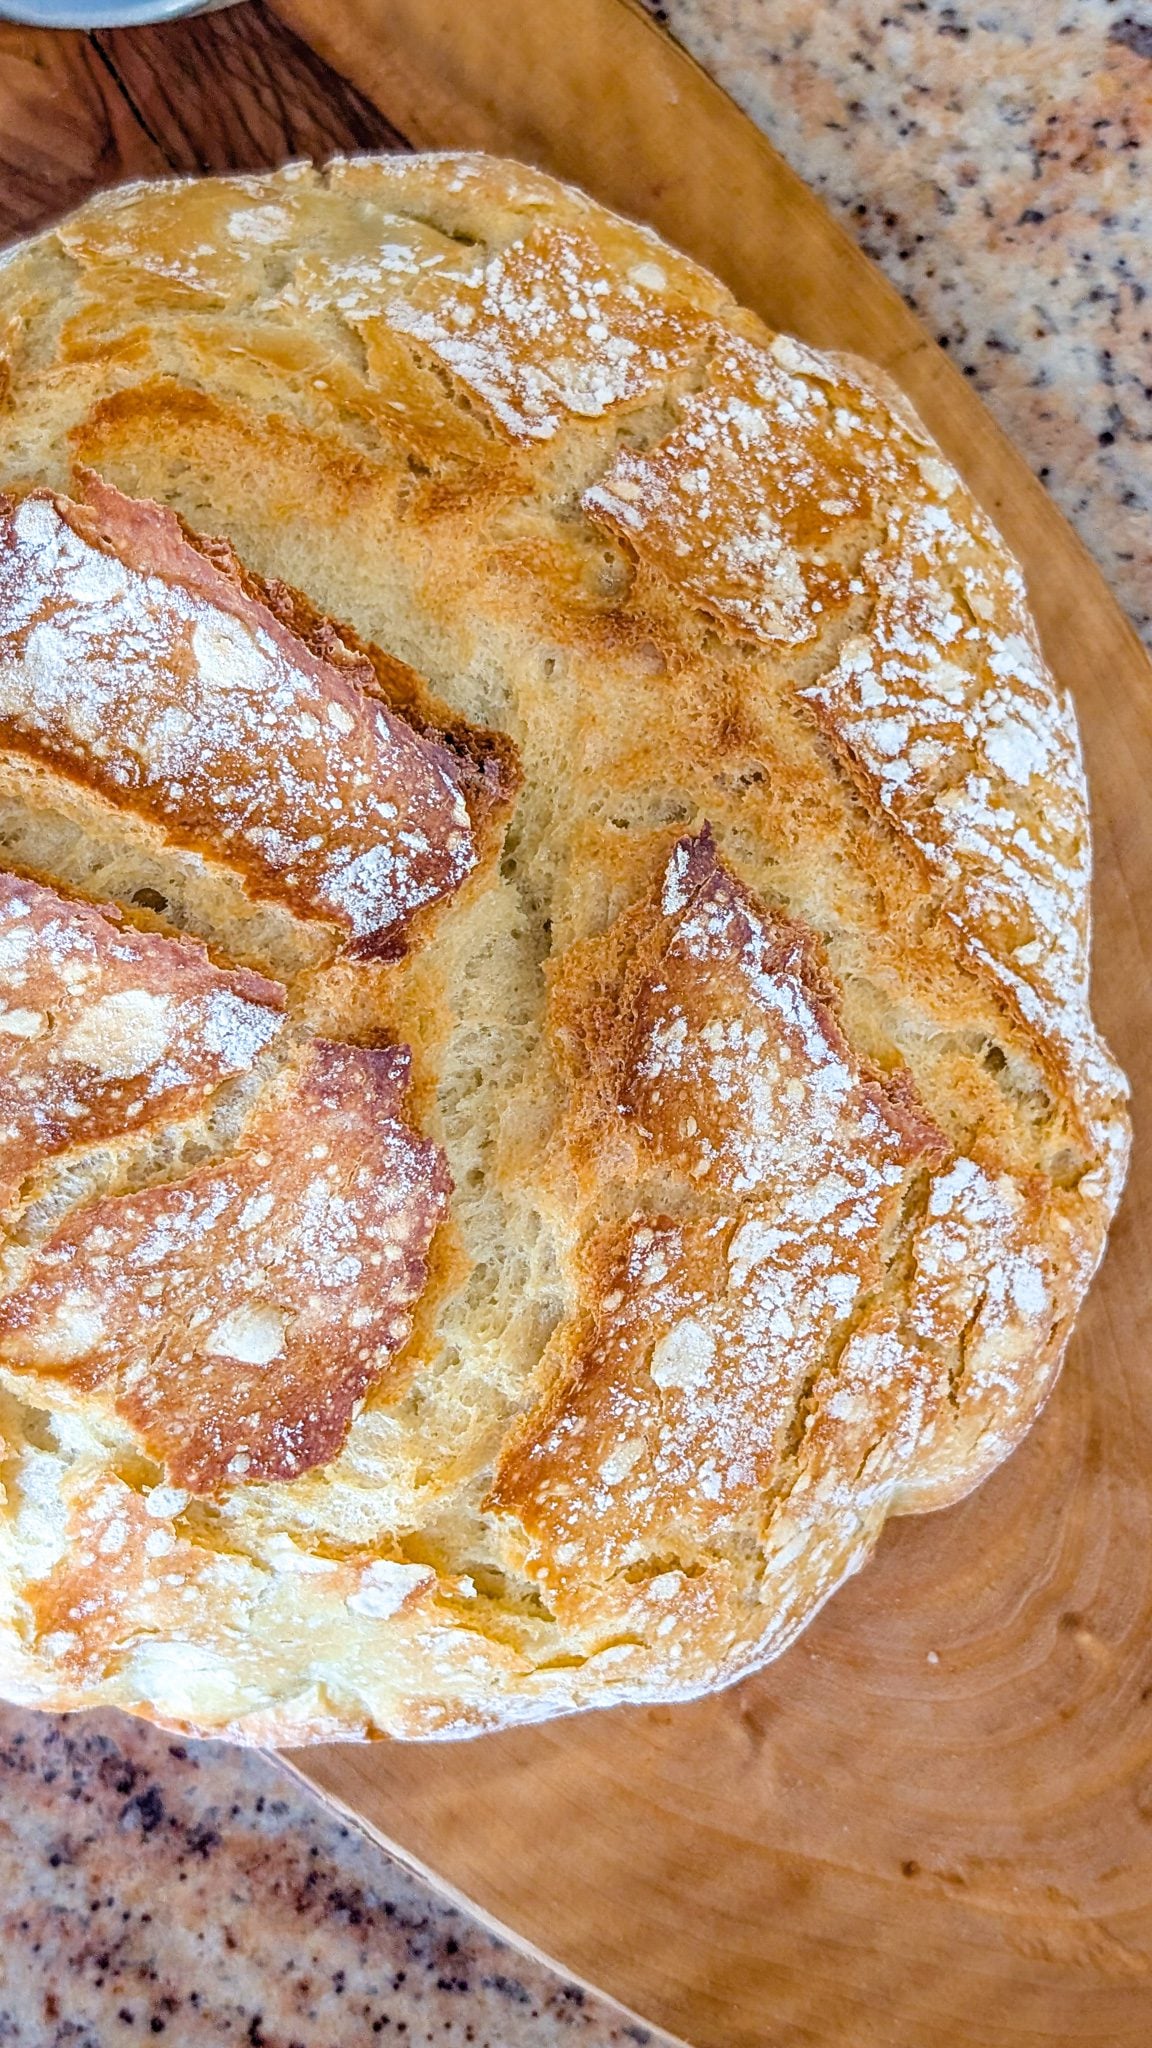
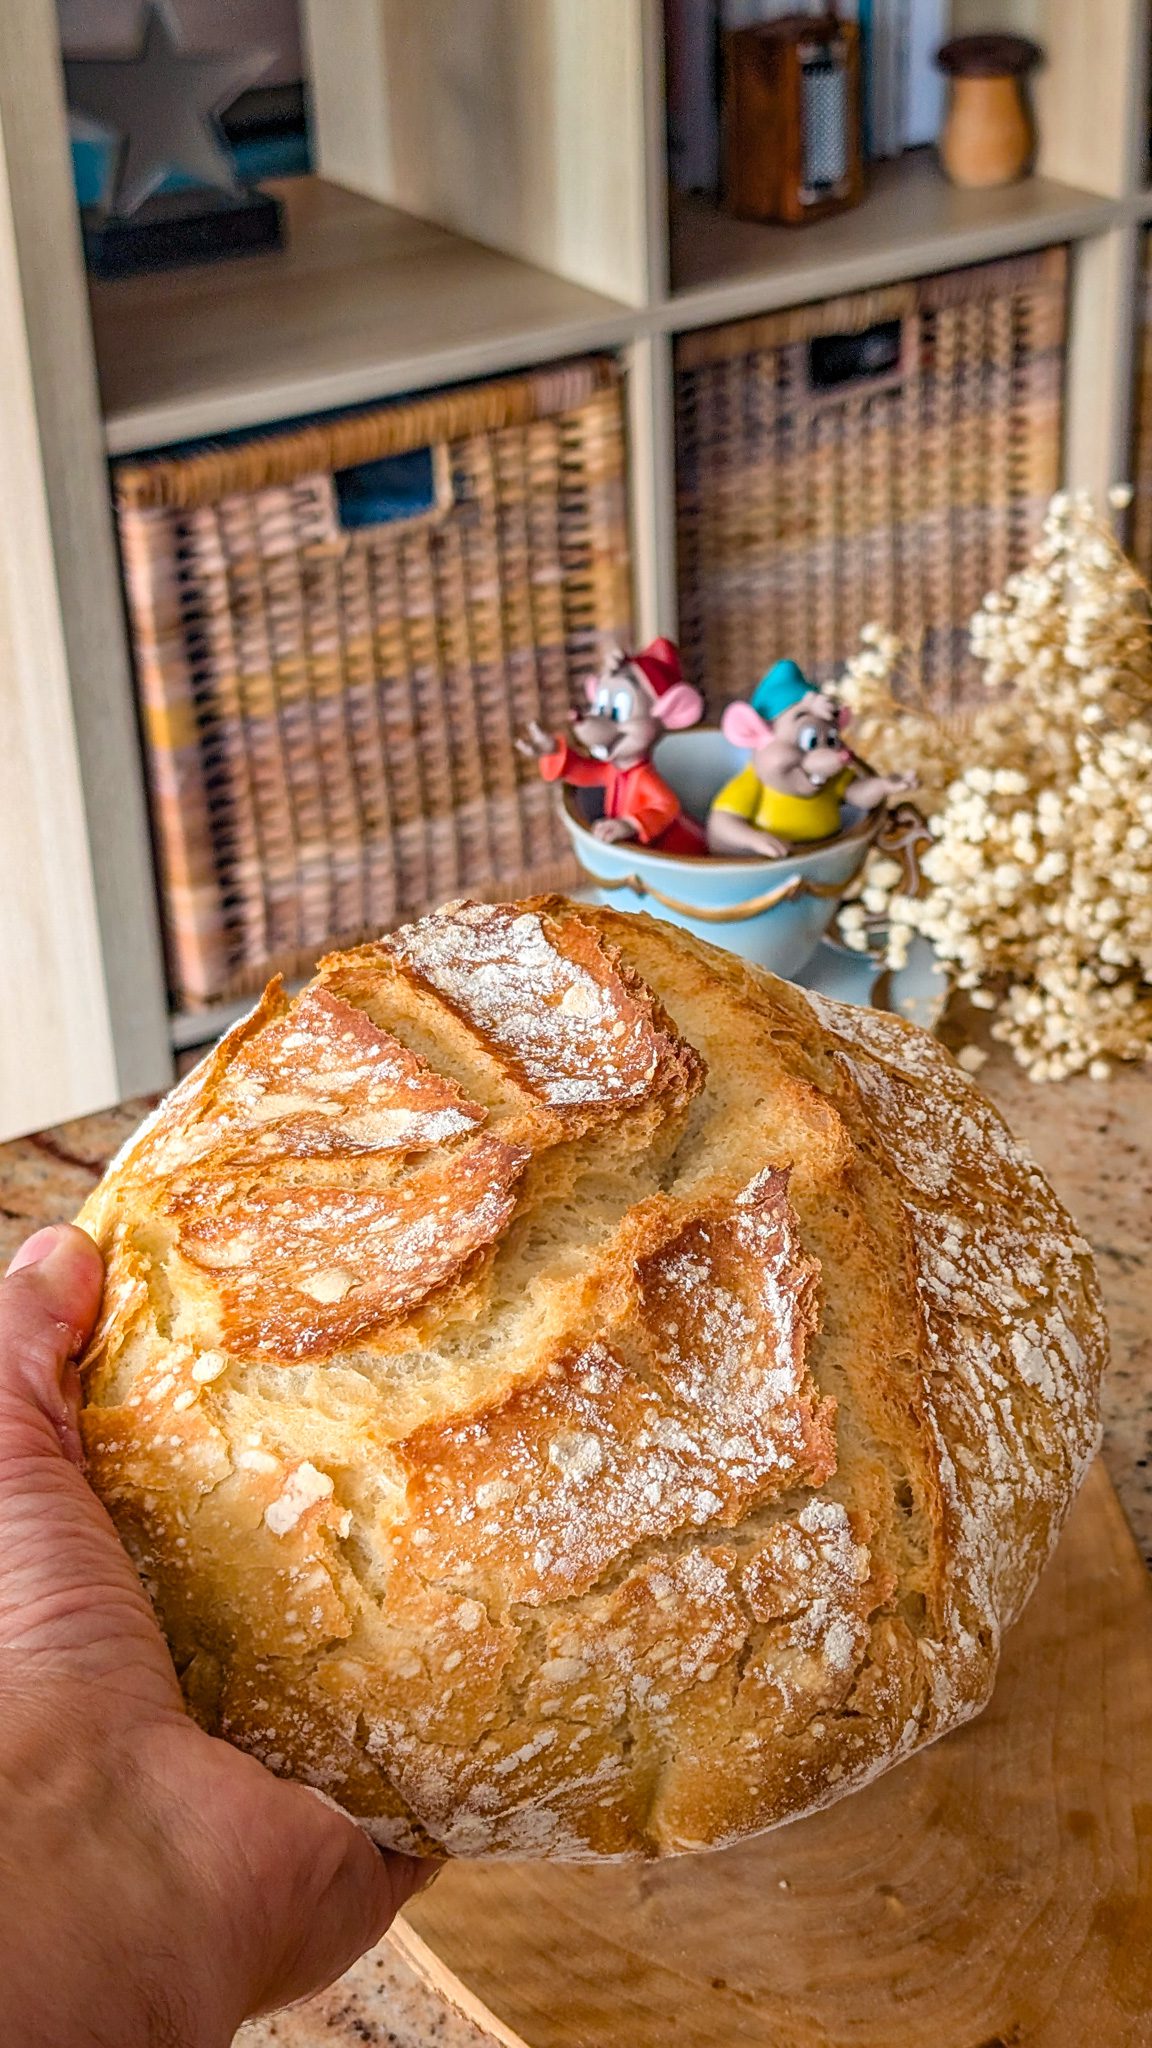
Baking your own bread has an indisputable sense of fulfillment, and if you have never done it before, a Dutch oven is your best friend in the kitchen. Without the need for complex methods or expensive equipment, this Dutch oven bread recipe is revolutionary because it gives you that artisan-style loaf with a crisp, golden crust and a soft, chewy interior. This type of bread appears to have been baked by a professional bakery, but it’s surprisingly easy to make at home.
The Dutch oven itself is the key to the success of this loaf. During baking, it retains steam, which helps produce the ideal crusty outside and tender, moist interior. A little perseverance and a few basic ingredients—flour, water, yeast, and salt—are all you need. The end product is a lovely, rustic loaf that tastes great dipped in soup or stew or served with butter and jam.
Why Do I Love This Recipe?
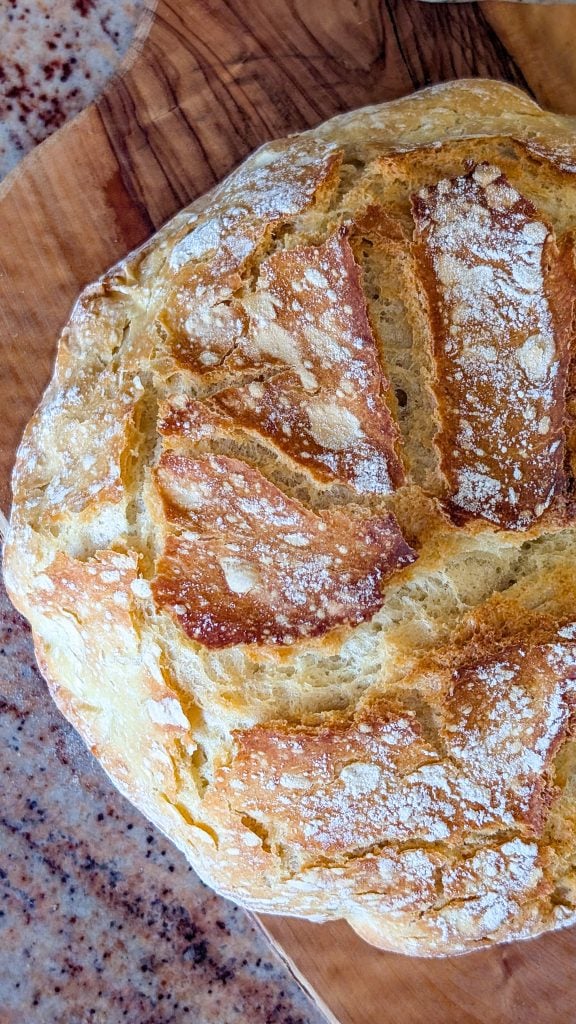
I love this Dutch oven bread recipe because it delivers maximum reward with minimal effort. It’s a no-knead dough, which means you mix it, let it rise, and then bake—no stand mixer required. The crust is crisp and golden, and the inside is soft with just the right amount of chew. Plus, it makes your kitchen smell like heaven. Whether you’re a seasoned bread baker or a total beginner, this recipe is approachable and almost foolproof.
Serving Suggestions
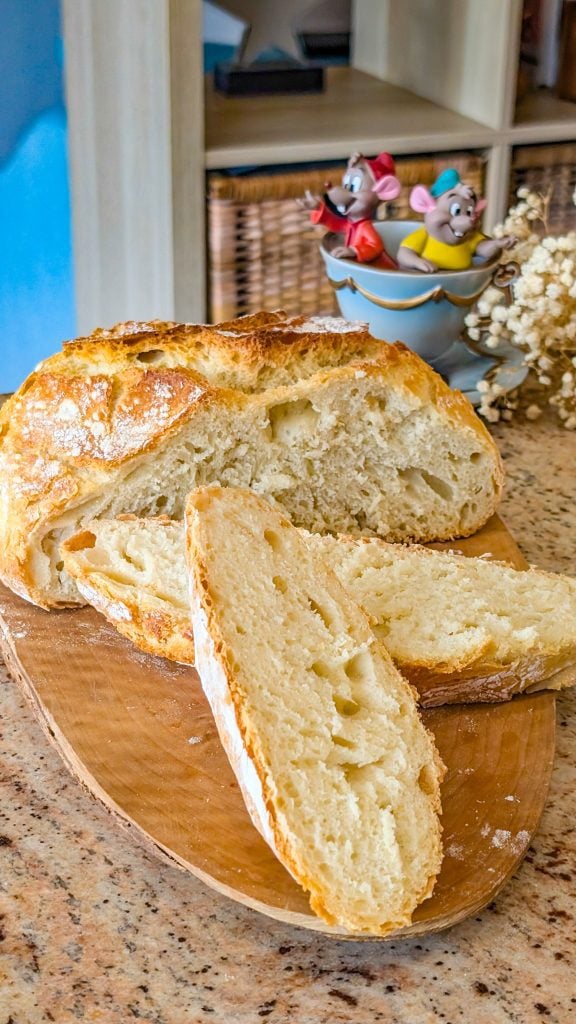
This bread shines in its versatility. Serve it warm with butter, slice it for sandwiches, toast it for breakfast, or pair it with hearty dishes like soups, stews, or chili. It also makes a perfect base for bruschetta or garlic bread.
Storage & Freezing
Store the bread at room temperature in a paper bag or bread box for up to 3 days. Avoid plastic bags as they can soften the crust. To freeze, wrap tightly in foil and place in a freezer bag for up to 2 months. Reheat in the oven at 350°F for 10–15 minutes to refresh the crust.
Variations of the Recipe
Once you master the basic loaf, get creative! Add herbs like rosemary or thyme, mix in chopped olives or sun-dried tomatoes, or swap in part whole wheat flour. You can also sprinkle seeds on top before baking for extra texture and flavor.
Dutch Oven Bread
Ingredients
Method
- In a large mixing bowl, whisk together the bread flour, active dry yeast, and salt. Slowly pour in the warm water while stirring with a wooden spoon or silicone spatula until a shaggy, sticky dough forms. No kneading necessary!
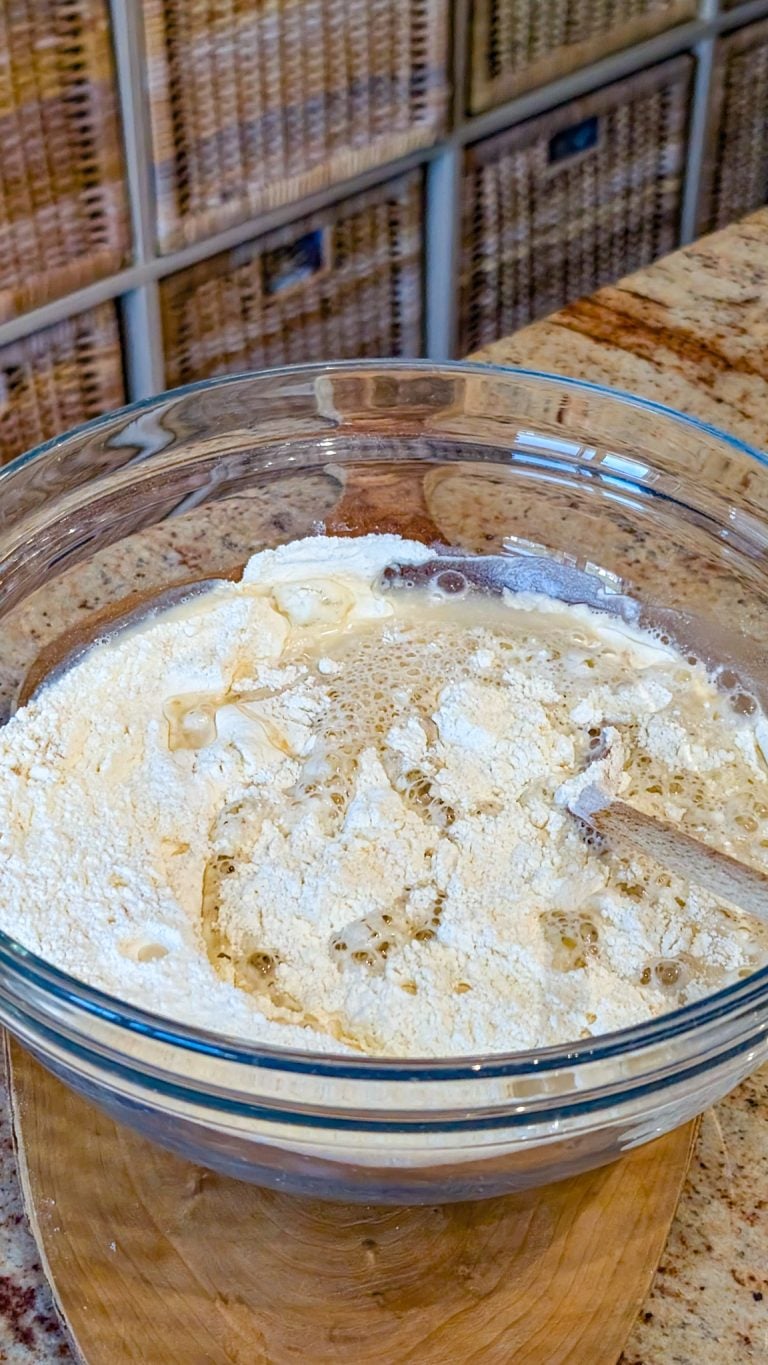
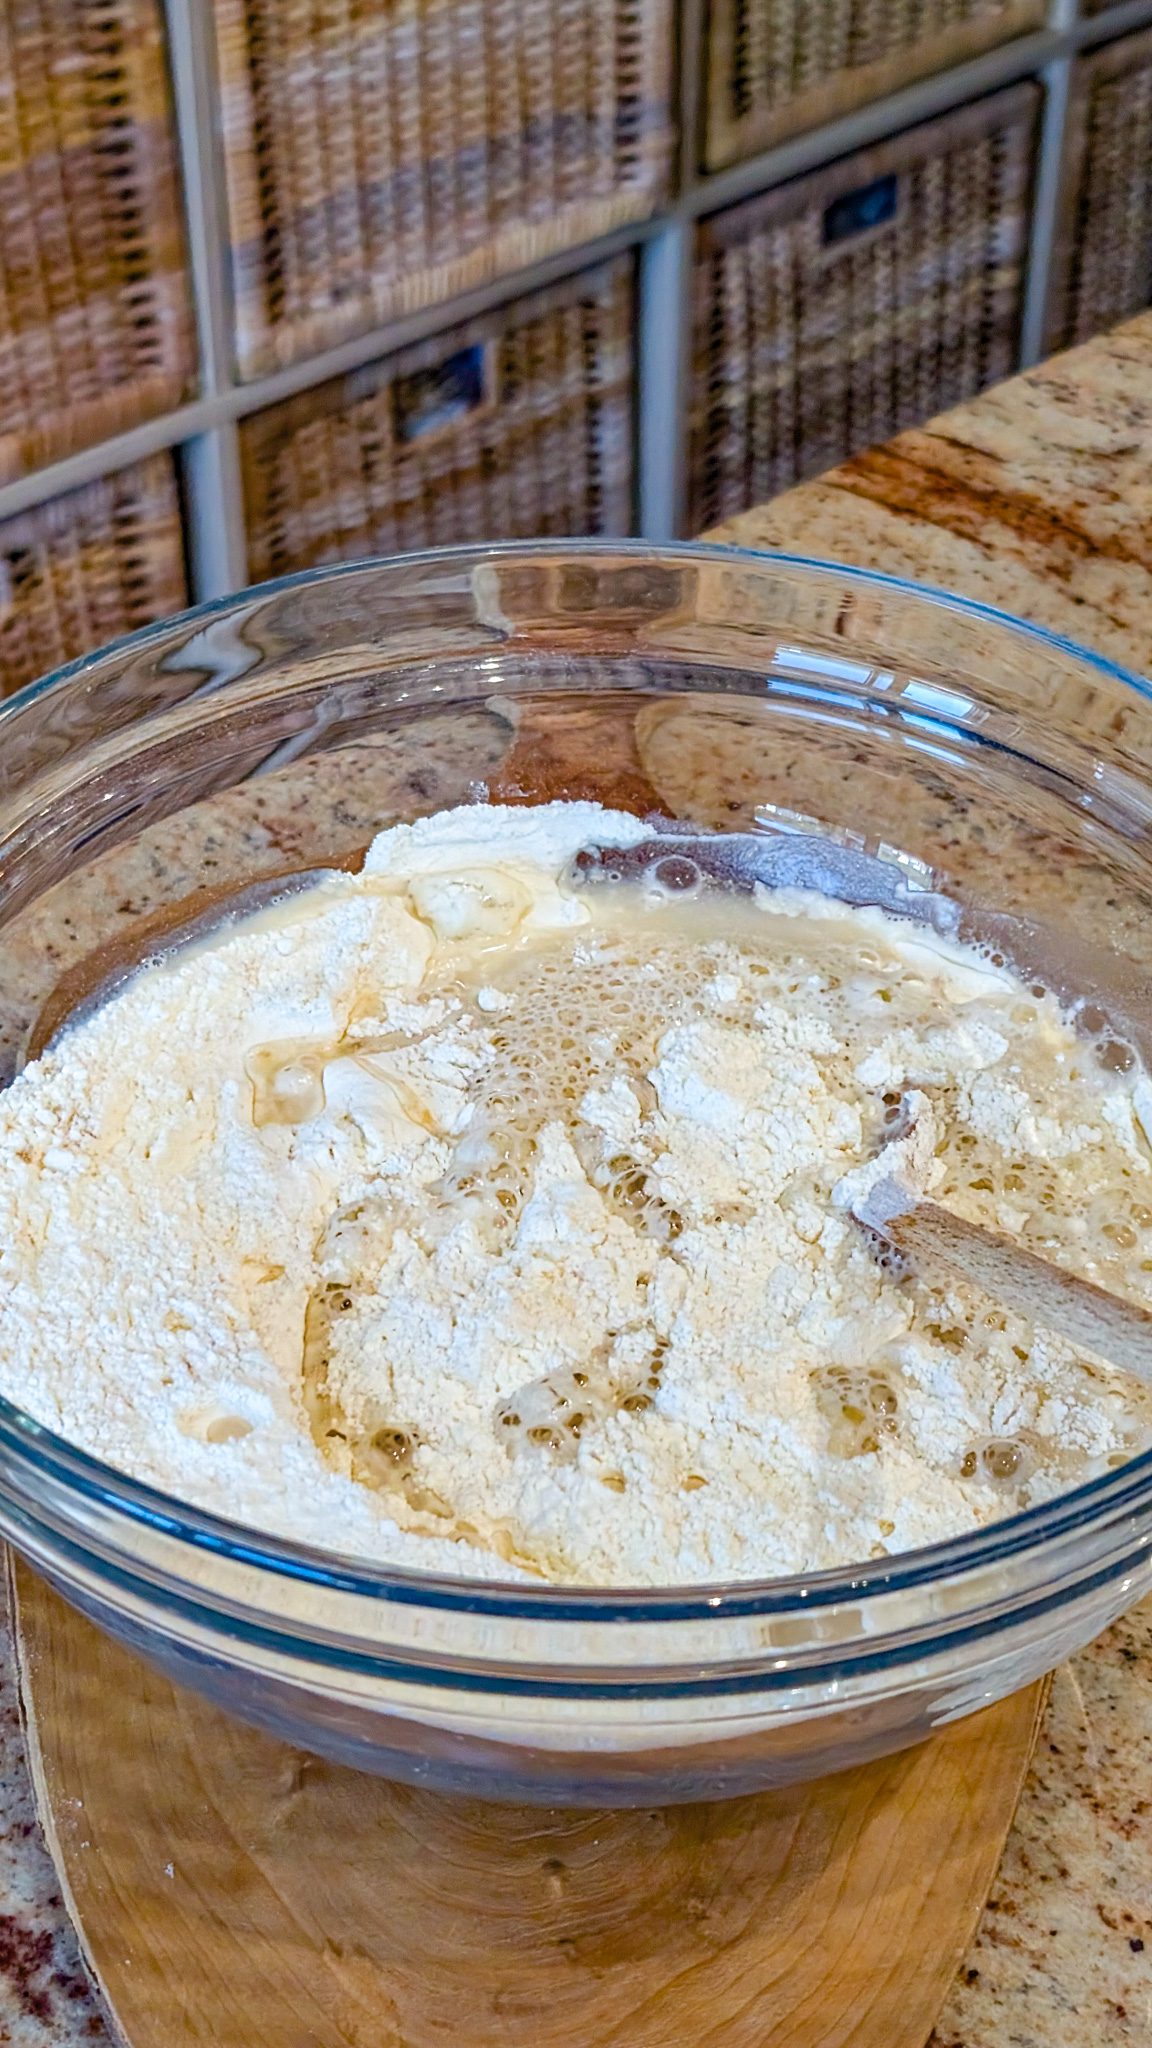
- Cover the bowl tightly with plastic wrap or a clean kitchen towel. Let it rest at room temperature for 12–18 hours. The dough will rise and form bubbles on the surface—this is perfect!
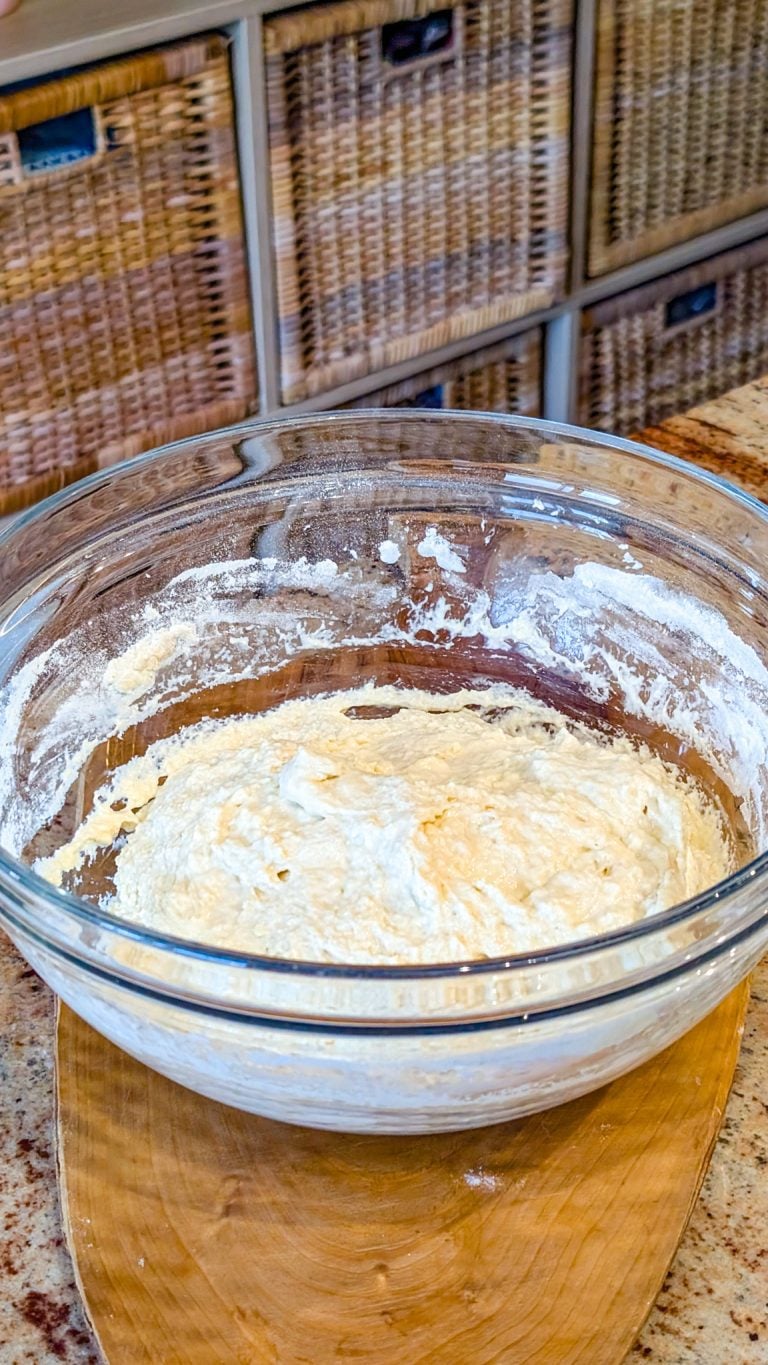
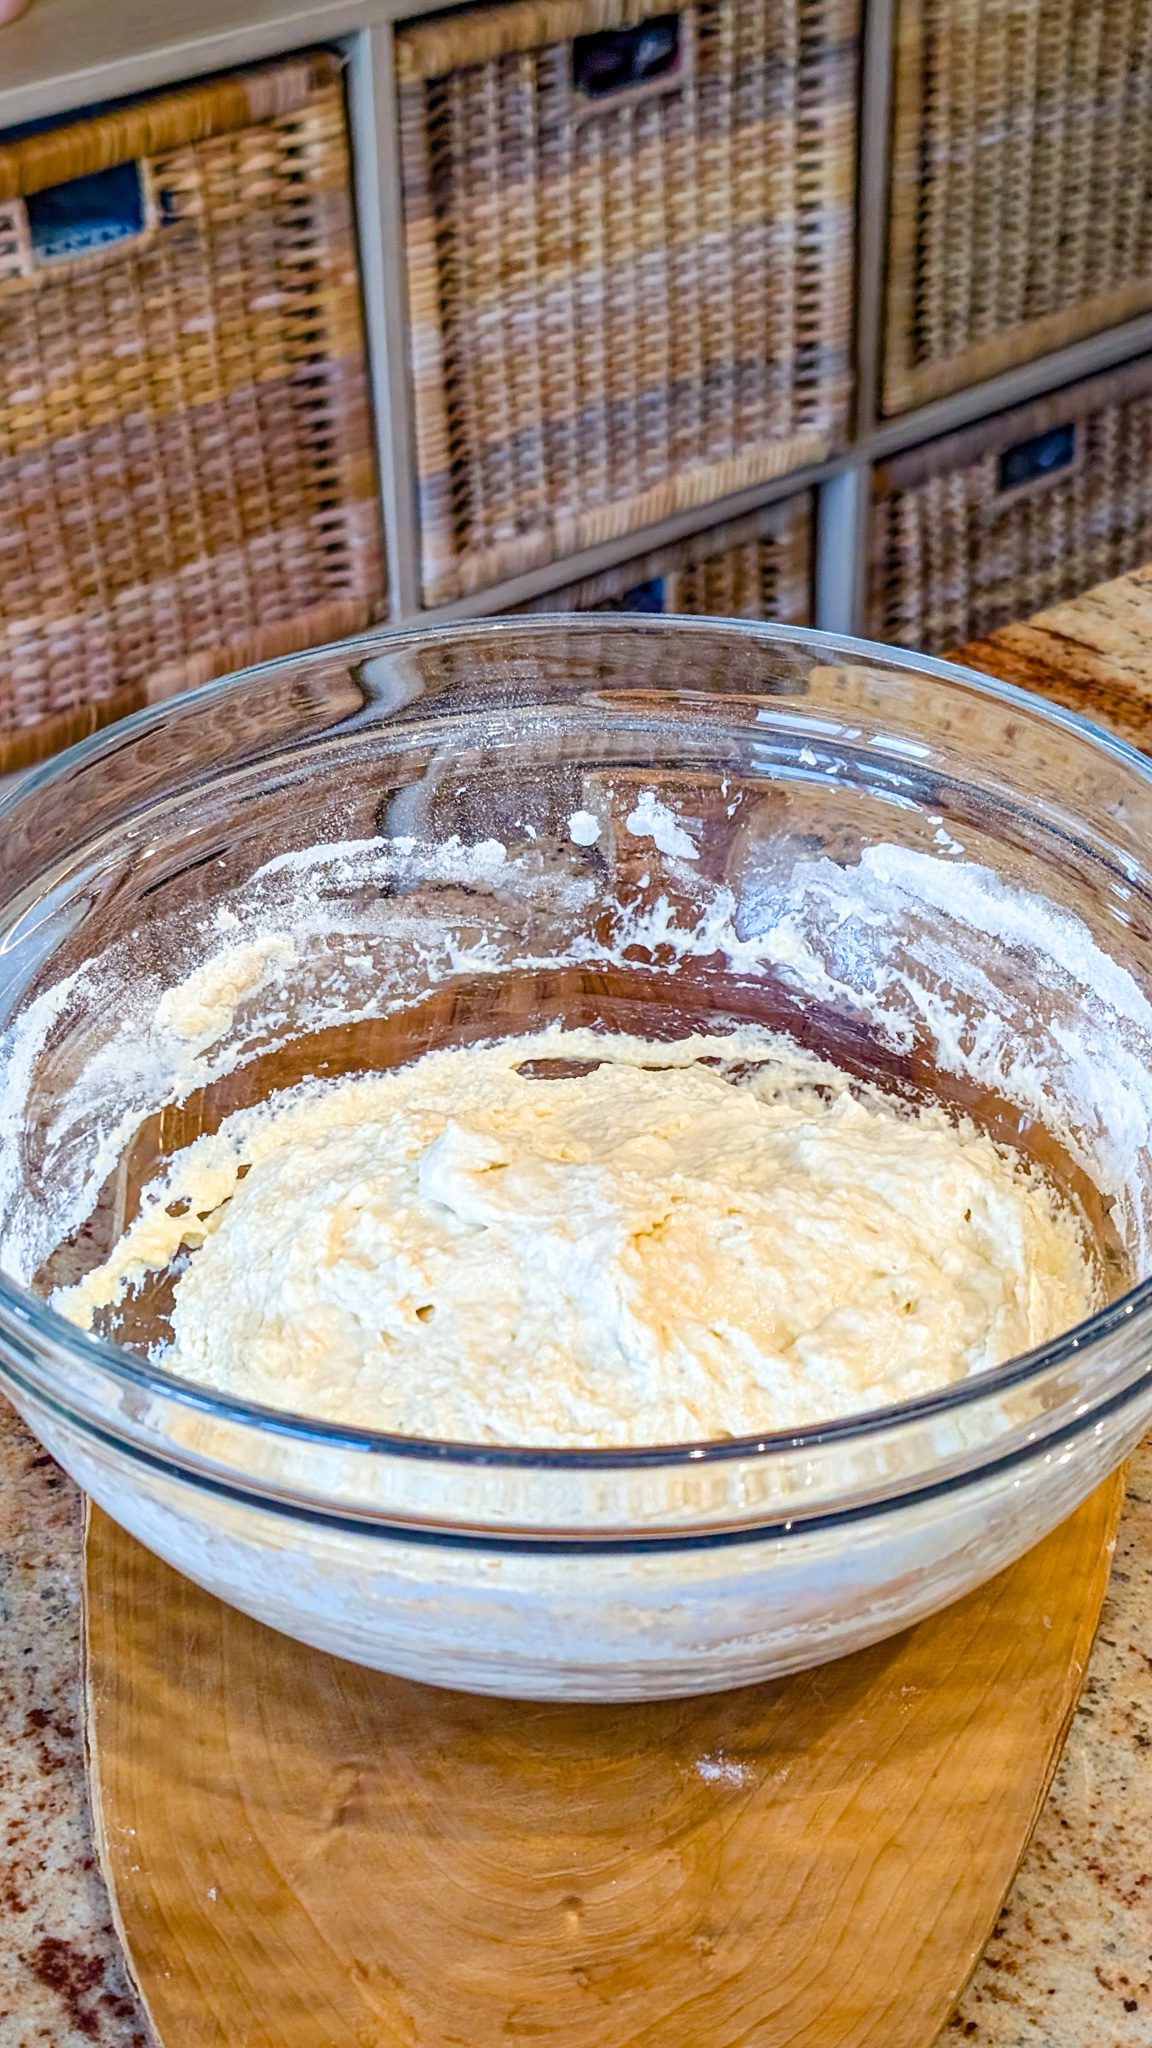
- Once the dough has risen, turn it out onto a lightly floured surface. With floured hands, gently shape it into a ball. Let it rest for 30 minutes while you preheat the oven.
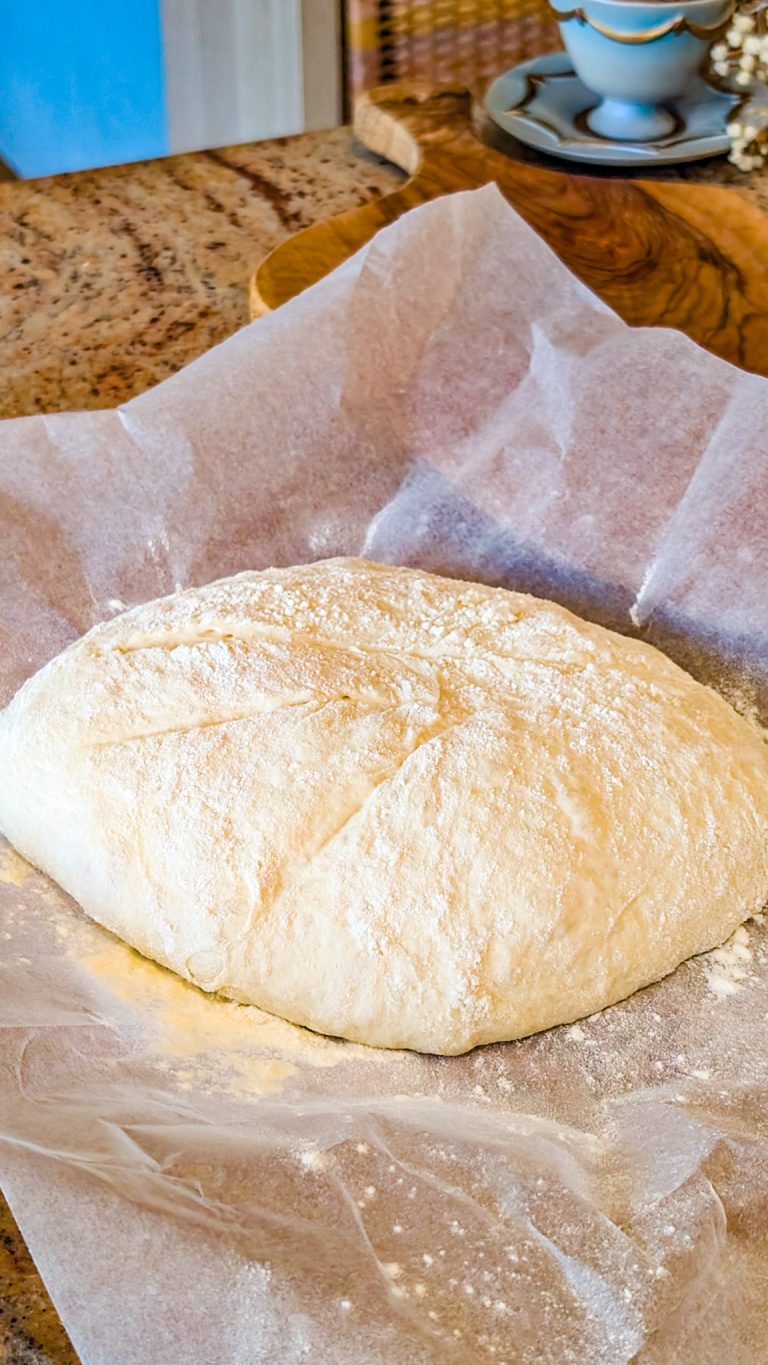
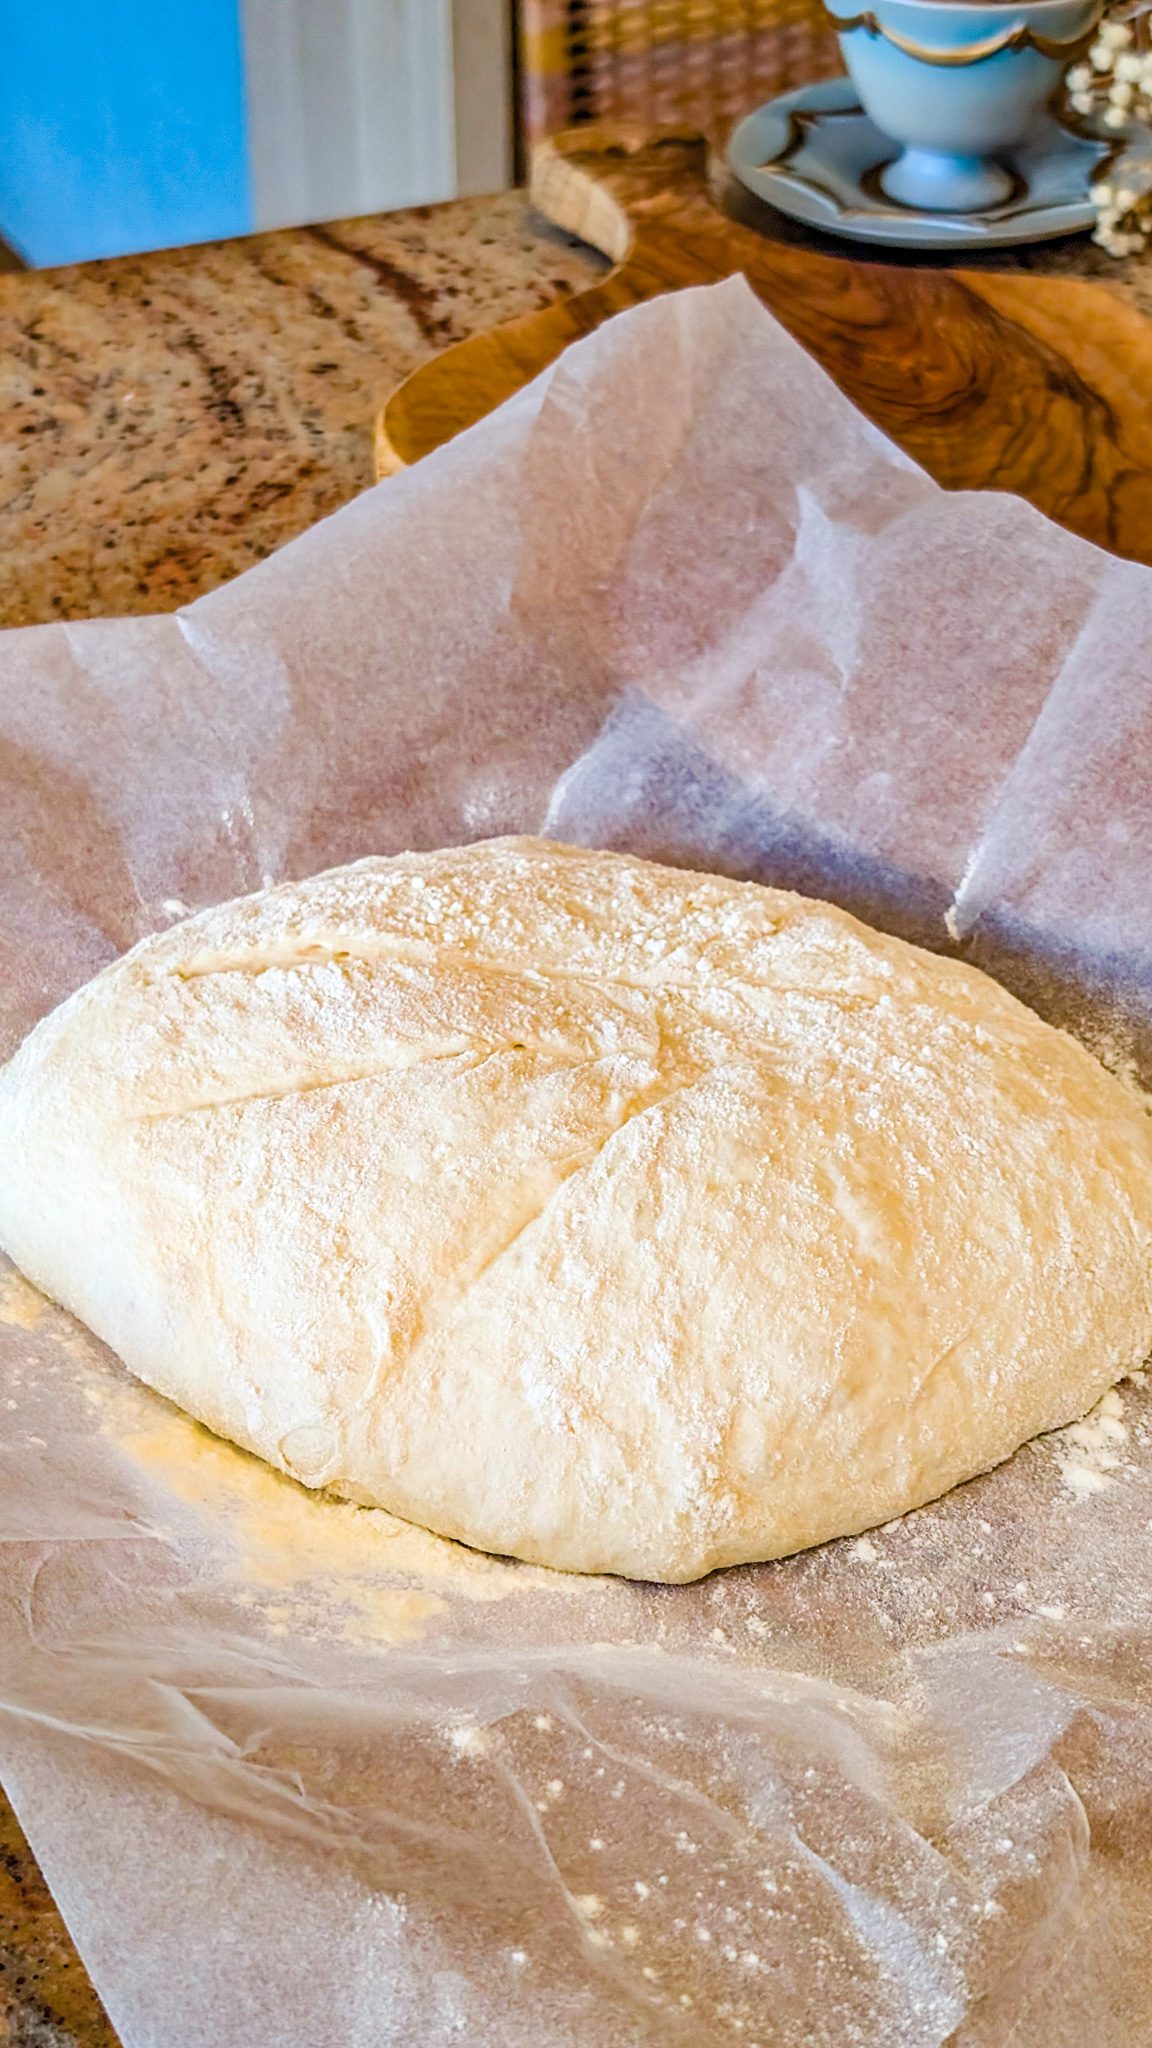
- Place a Dutch oven (with lid) in the oven and preheat to 450°F (230°C) for at least 30 minutes. This ensures the Dutch oven is hot enough to create that signature crust.
- Carefully remove the hot Dutch oven and place the dough inside—use parchment paper to transfer easily if desired. Cover with the lid and bake for 30 minutes. Then, remove the lid and bake for an additional 10–15 minutes, or until the crust is deep golden brown.
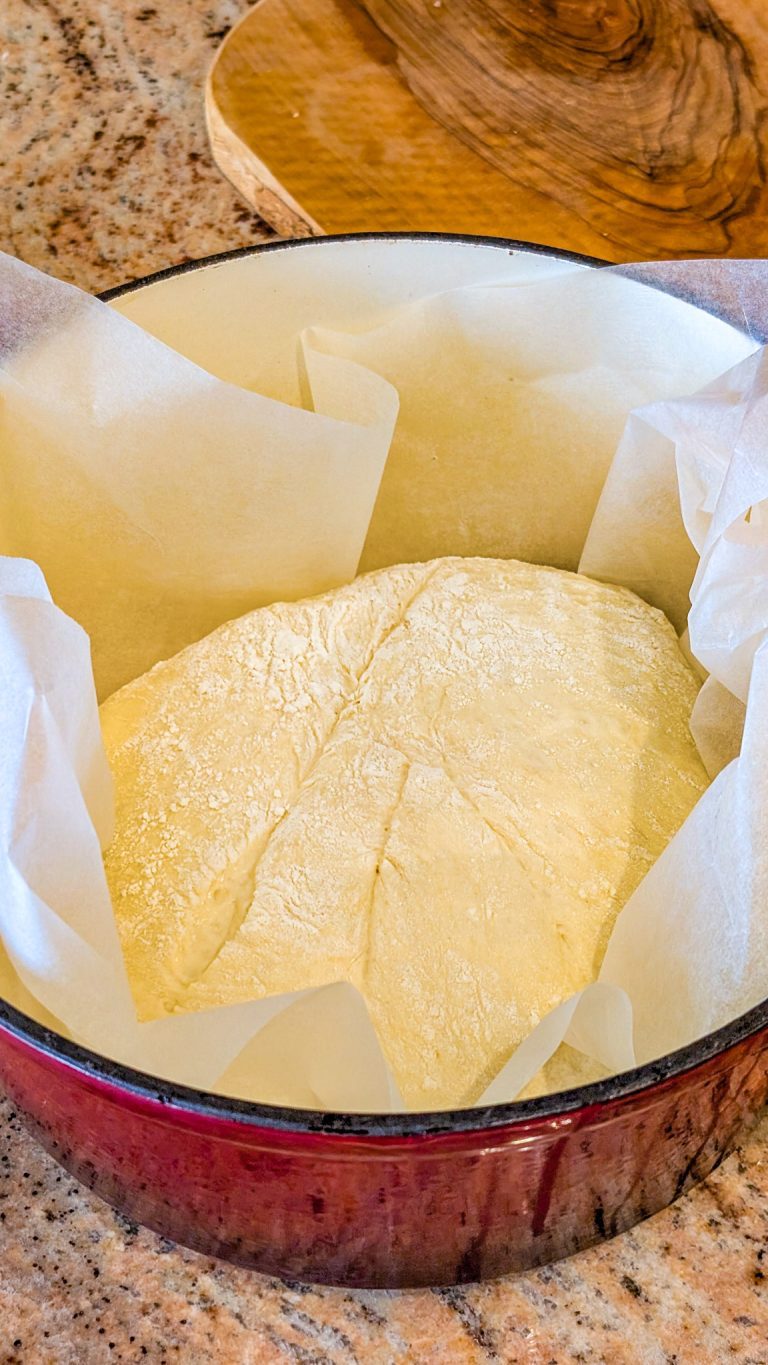
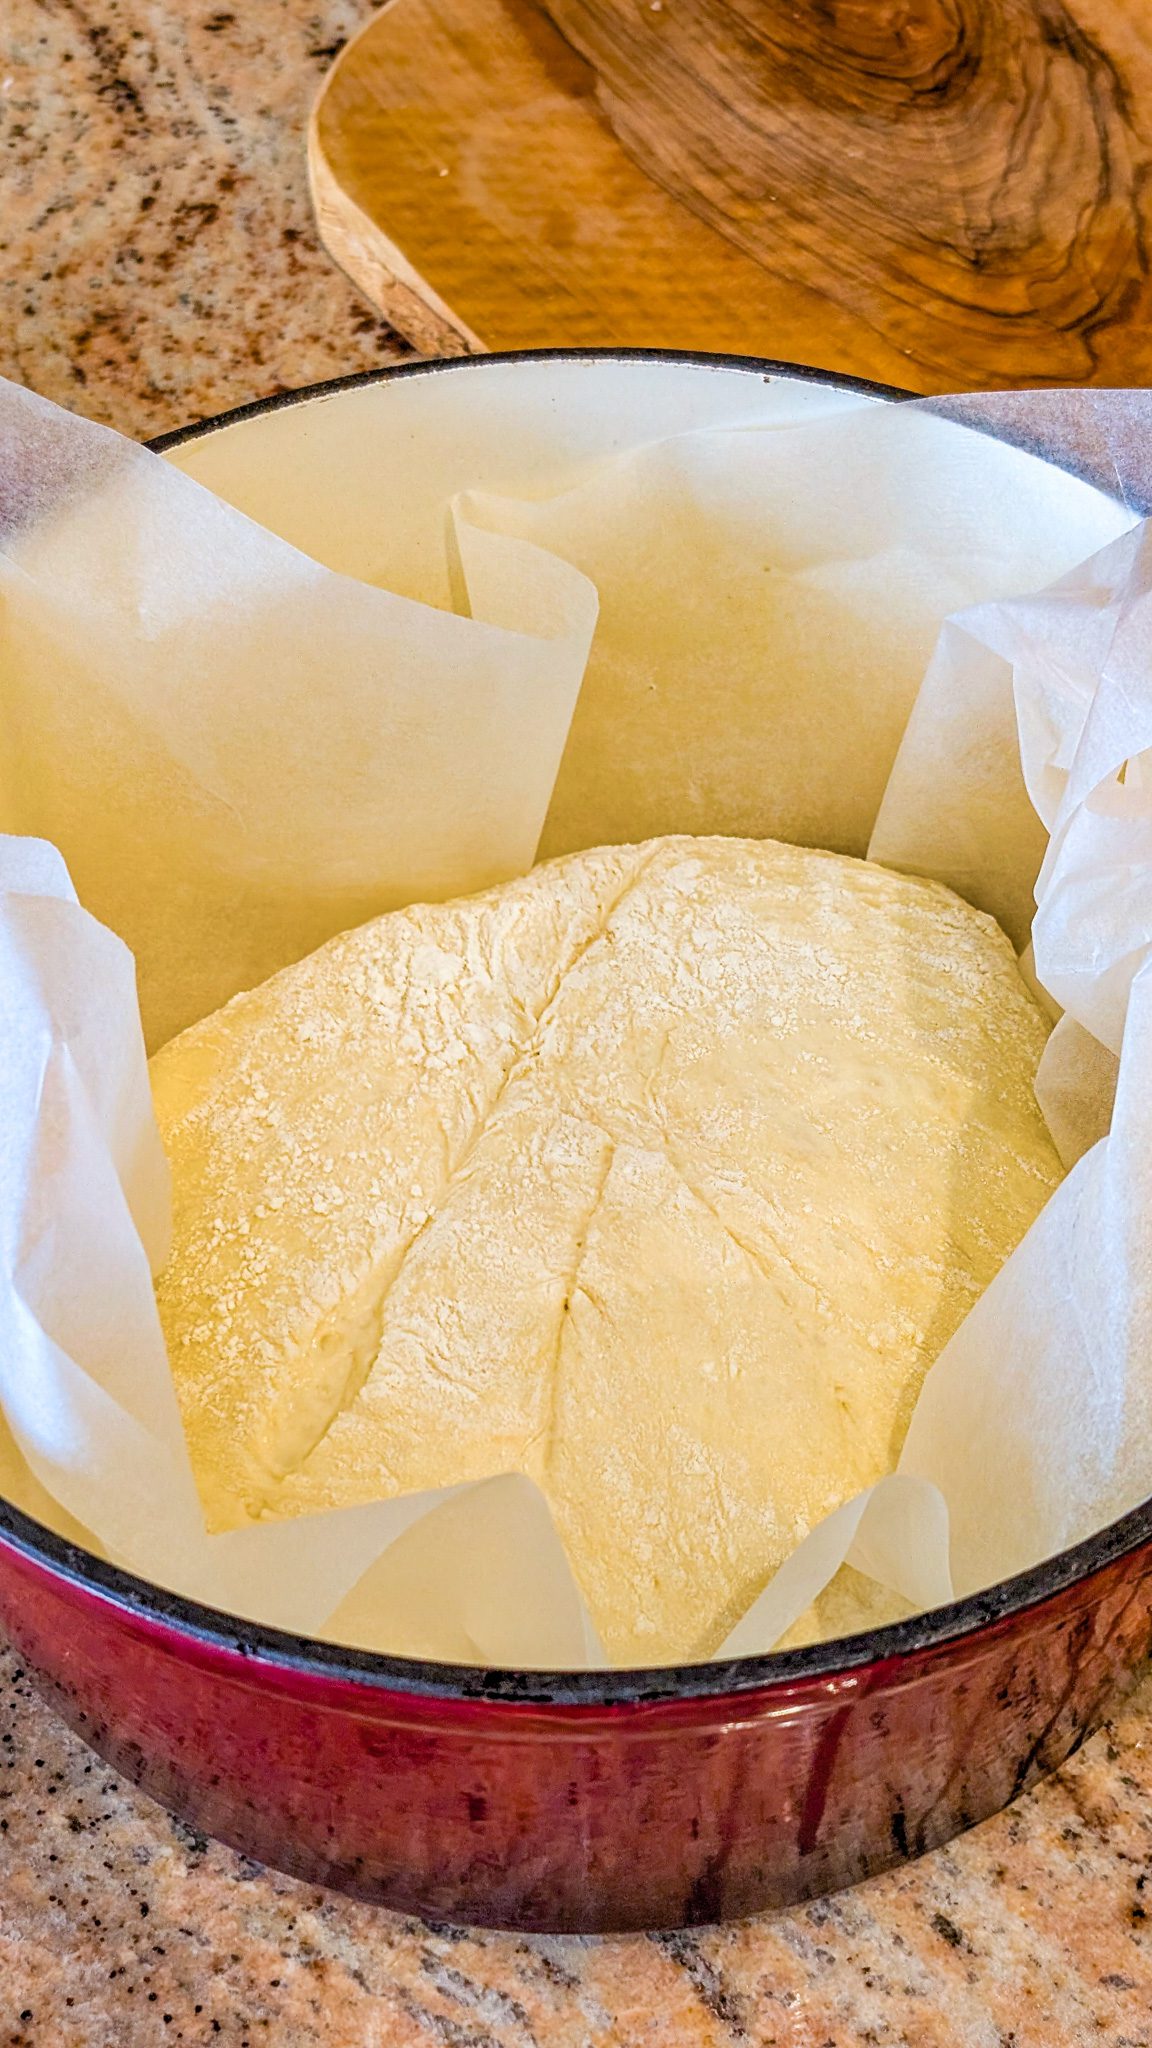
- Remove the bread from the Dutch oven and let it cool on a wire rack for at least 30 minutes before slicing.
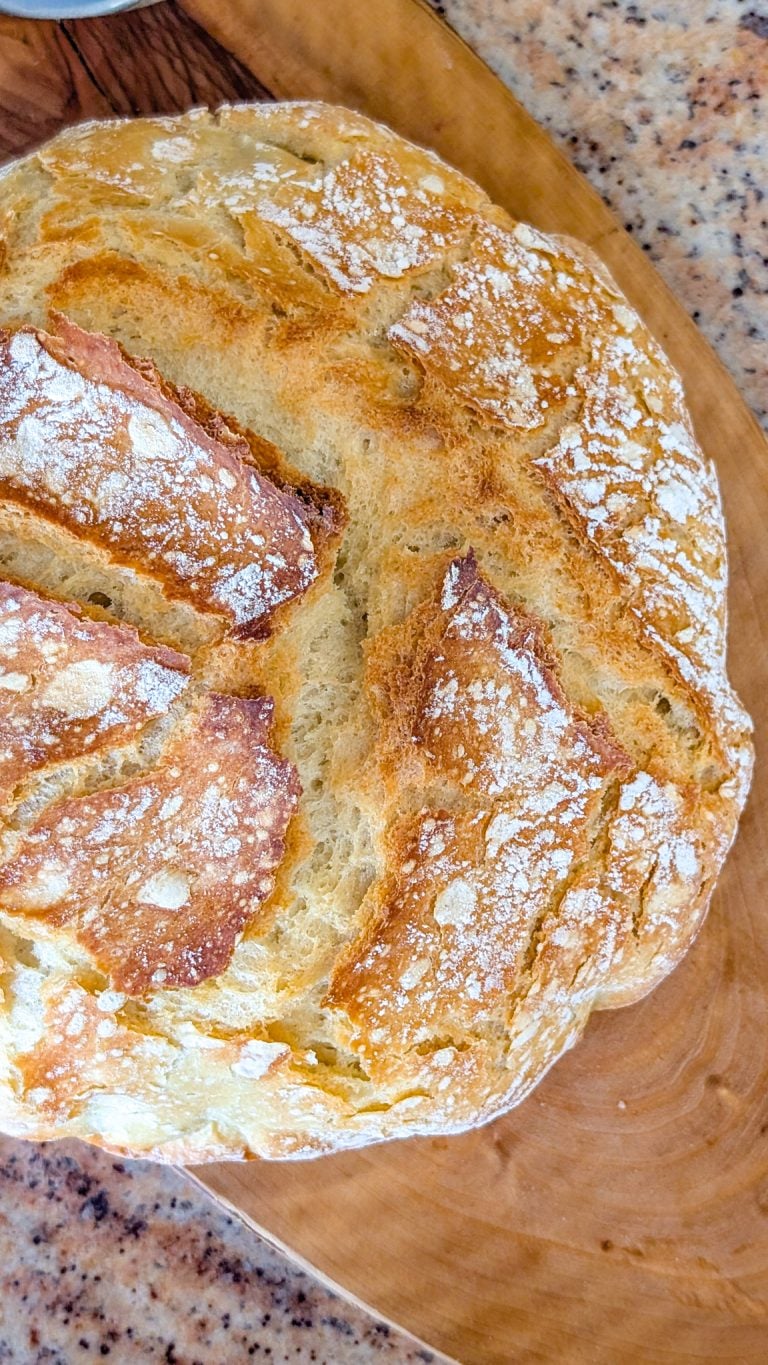
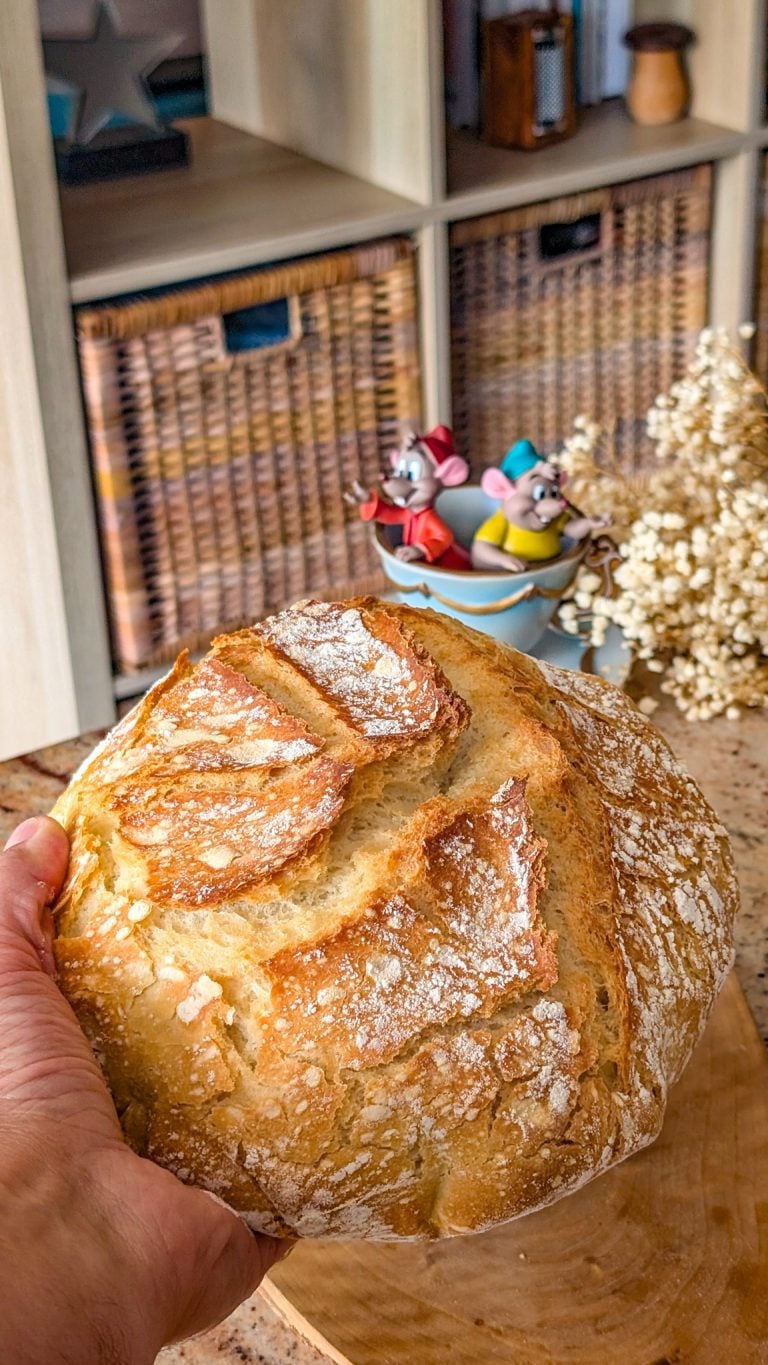
- Enjoy!
Ann Bennett is a retired Chef, freelance writer, recipe developer, and cookbook author. Originally from North America and now based in the United Kingdom, she is the creator of the award-winning blog “The English Kitchen.” Her work focuses on debunking the myths of English cookery by adding a unique North American spin to traditional recipes.