
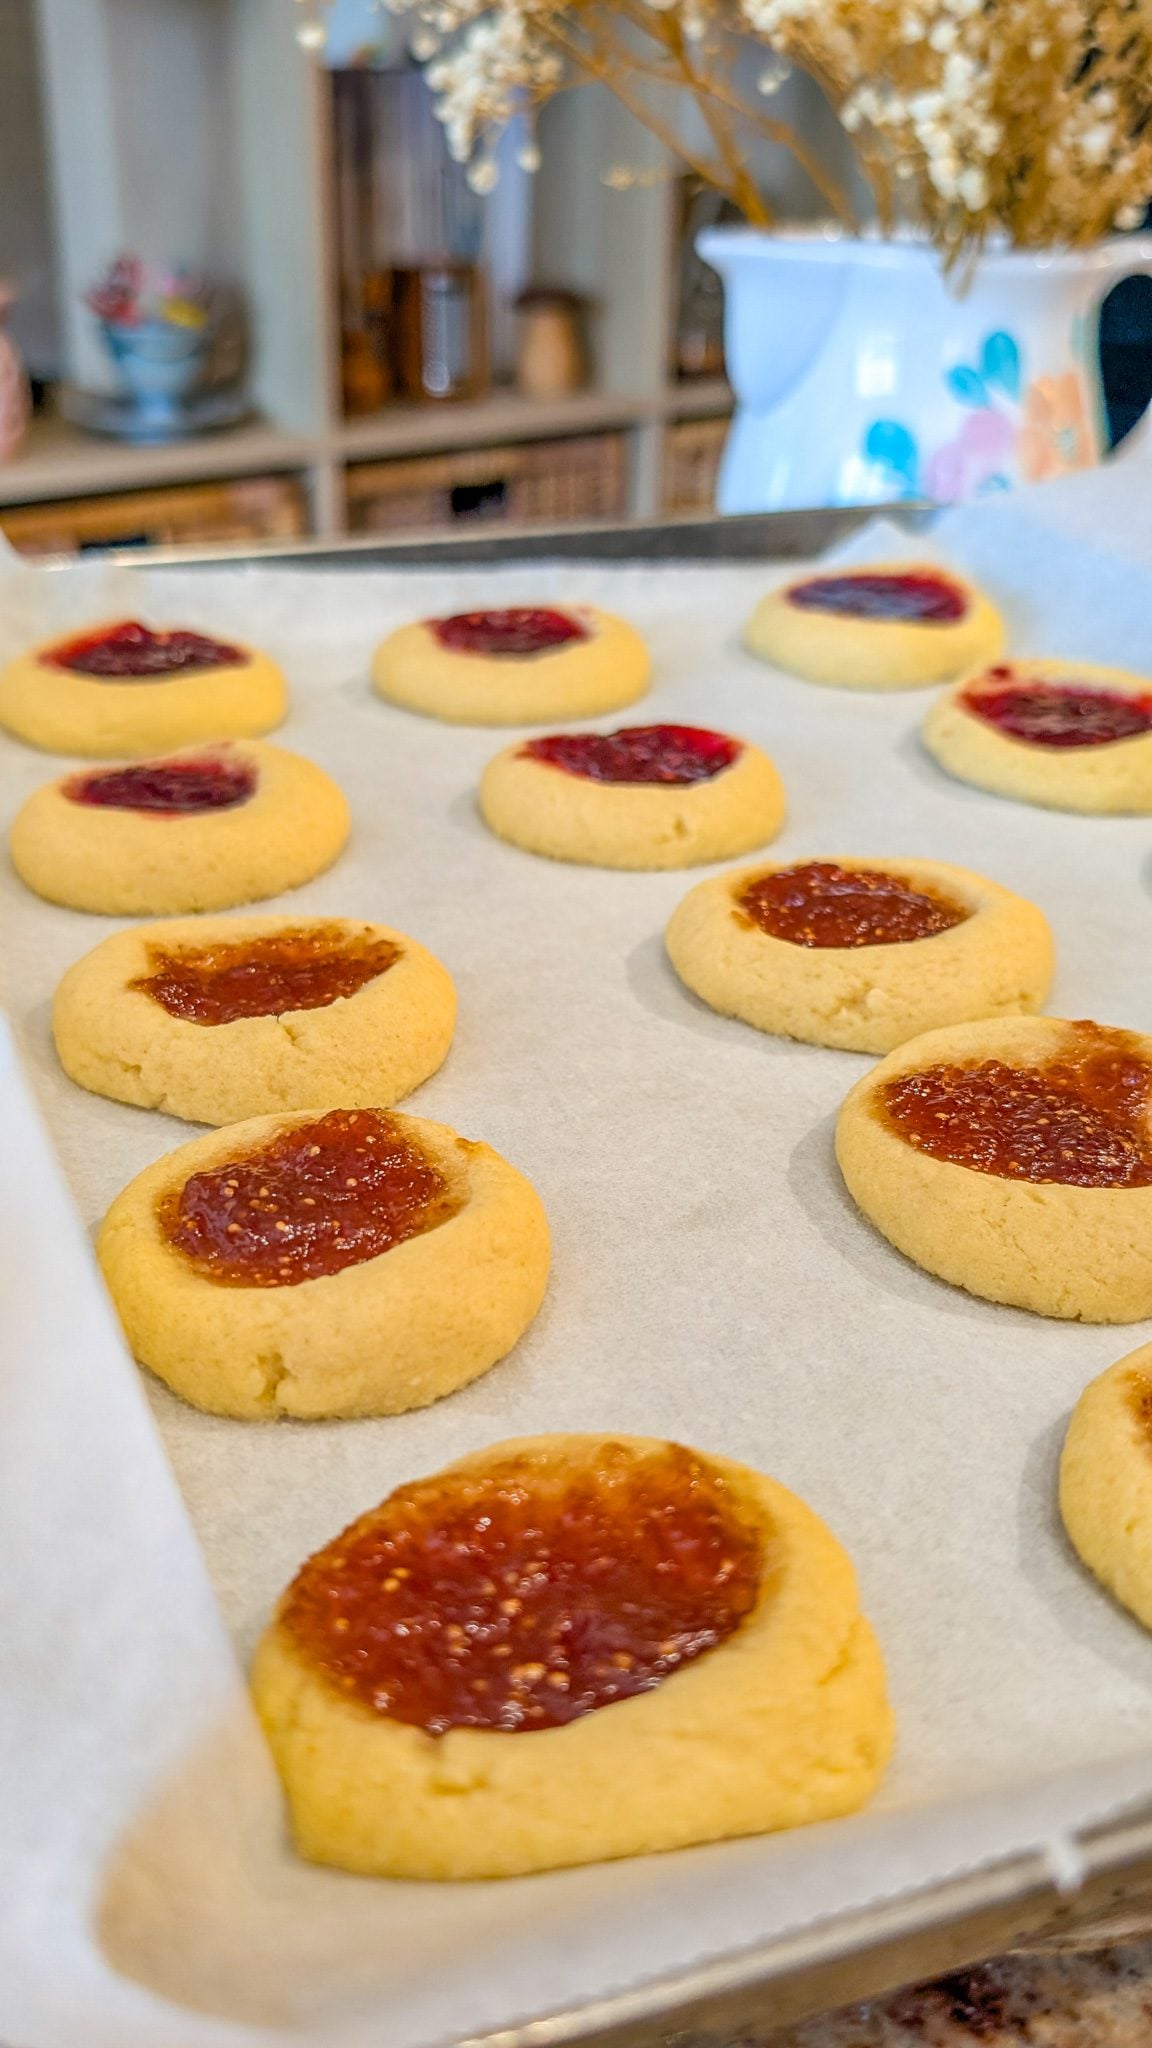
Thumbprint cookies have endured as a beloved classic for a reason. These delicious little morsels of buttery goodness, stuffed with preserves or jam, are just too good to resist. As a child, I recall seeing my grandmother carefully press her thumb into each ball of cookie dough to form the ideal tiny well that would contain a burst of fruity sweetness. They’re a hit at tea parties, holiday get-togethers, and any time you want a homemade, nostalgic treat because of their soft, crumbly cookie and colorful jam filling.
Thumbprint cookies are unique not only because of their flavor but also because of their endearing look and the unique touch of the thumbprint itself. A work of love that unites people, each cookie feels like a tiny, handcrafted gift. With a rich, buttery dough, just the right amount of sweetness, and a luscious dollop of jam that shines with every bite, this recipe is the best version I’ve ever developed.
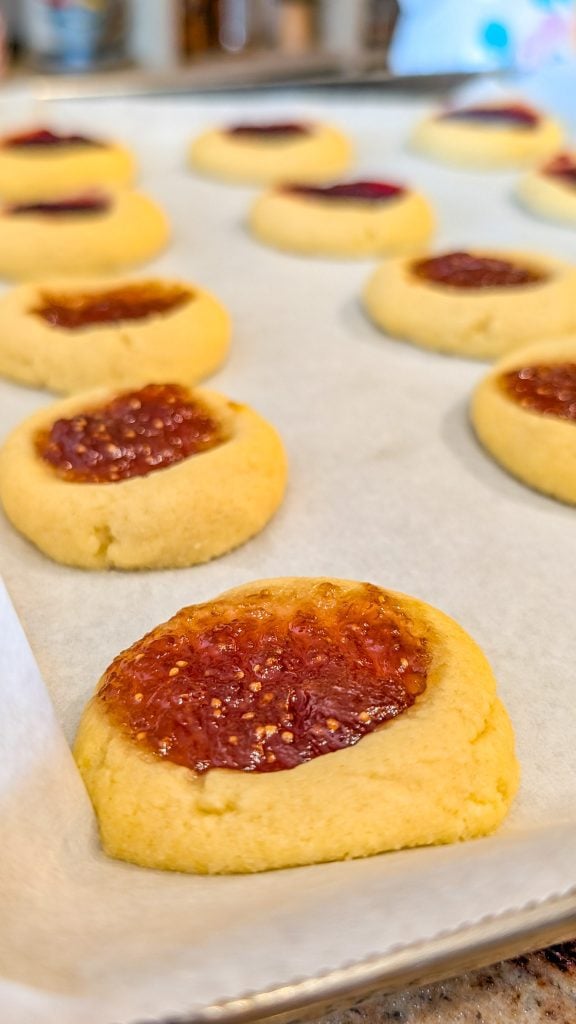
Why Do I Love This Recipe?
I love this recipe because it’s wonderfully simple yet so satisfying. The cookie dough is soft and tender but holds its shape beautifully, creating a perfect nest for any jam you choose. It’s a nostalgic recipe that connects me to family traditions and brings out the joy of baking from scratch. Plus, you can easily customize the flavors to suit any season or occasion.
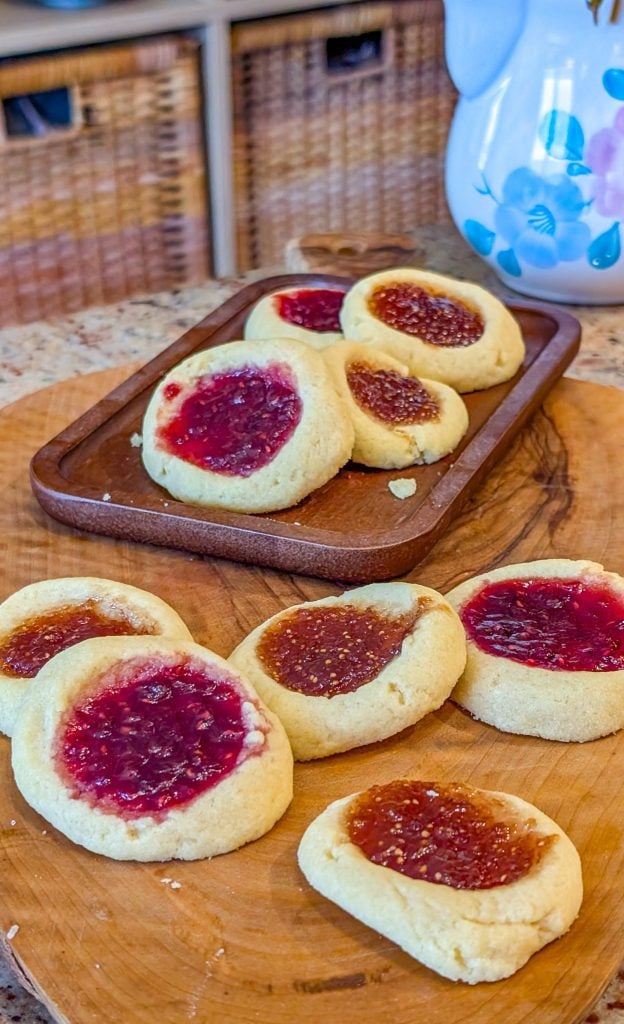
Serving Suggestions
Thumbprint cookies are fantastic served with a hot cup of tea or coffee, making them a lovely addition to afternoon tea time. They also work beautifully as part of a holiday cookie platter or as sweet favors at weddings and showers. For an extra touch, sprinkle powdered sugar over them before serving or add a small piece of fresh fruit on top of the jam.
Storage & Freezing
Store thumbprint cookies in an airtight container at room temperature for up to a week. To keep them fresh longer, layer parchment paper between cookies to prevent sticking. They also freeze beautifully—freeze baked cookies in a single layer, then transfer to a freezer bag for up to three months. Thaw at room temperature before enjoying.
Variations of the Recipe
Feel free to experiment with different fillings such as lemon curd, chocolate ganache, or nut butters for a twist on tradition. You can also add a sprinkle of chopped nuts or coconut flakes to the dough for added texture. For a festive touch, use colorful jams or swirl in a bit of cream cheese into the filling.
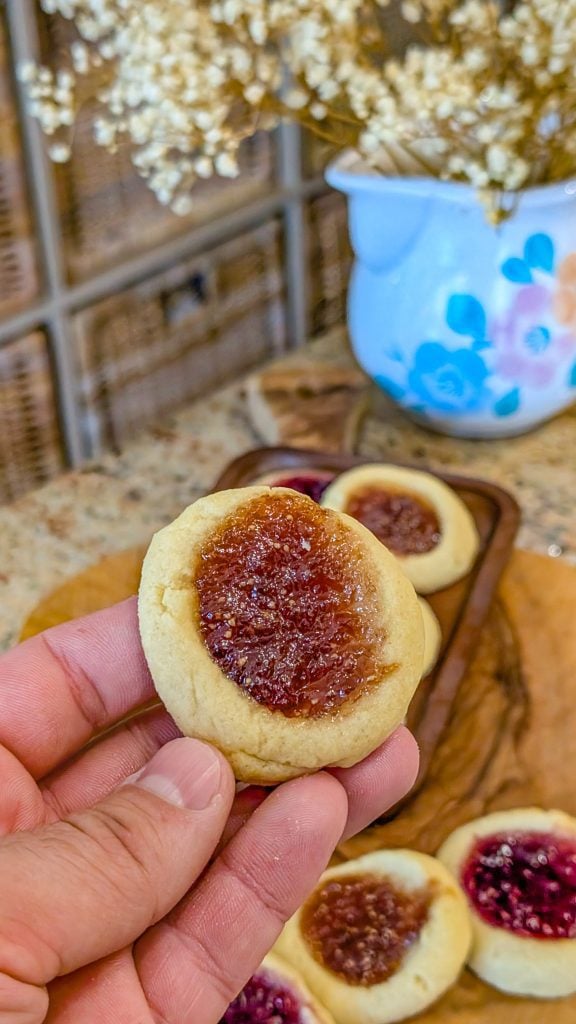
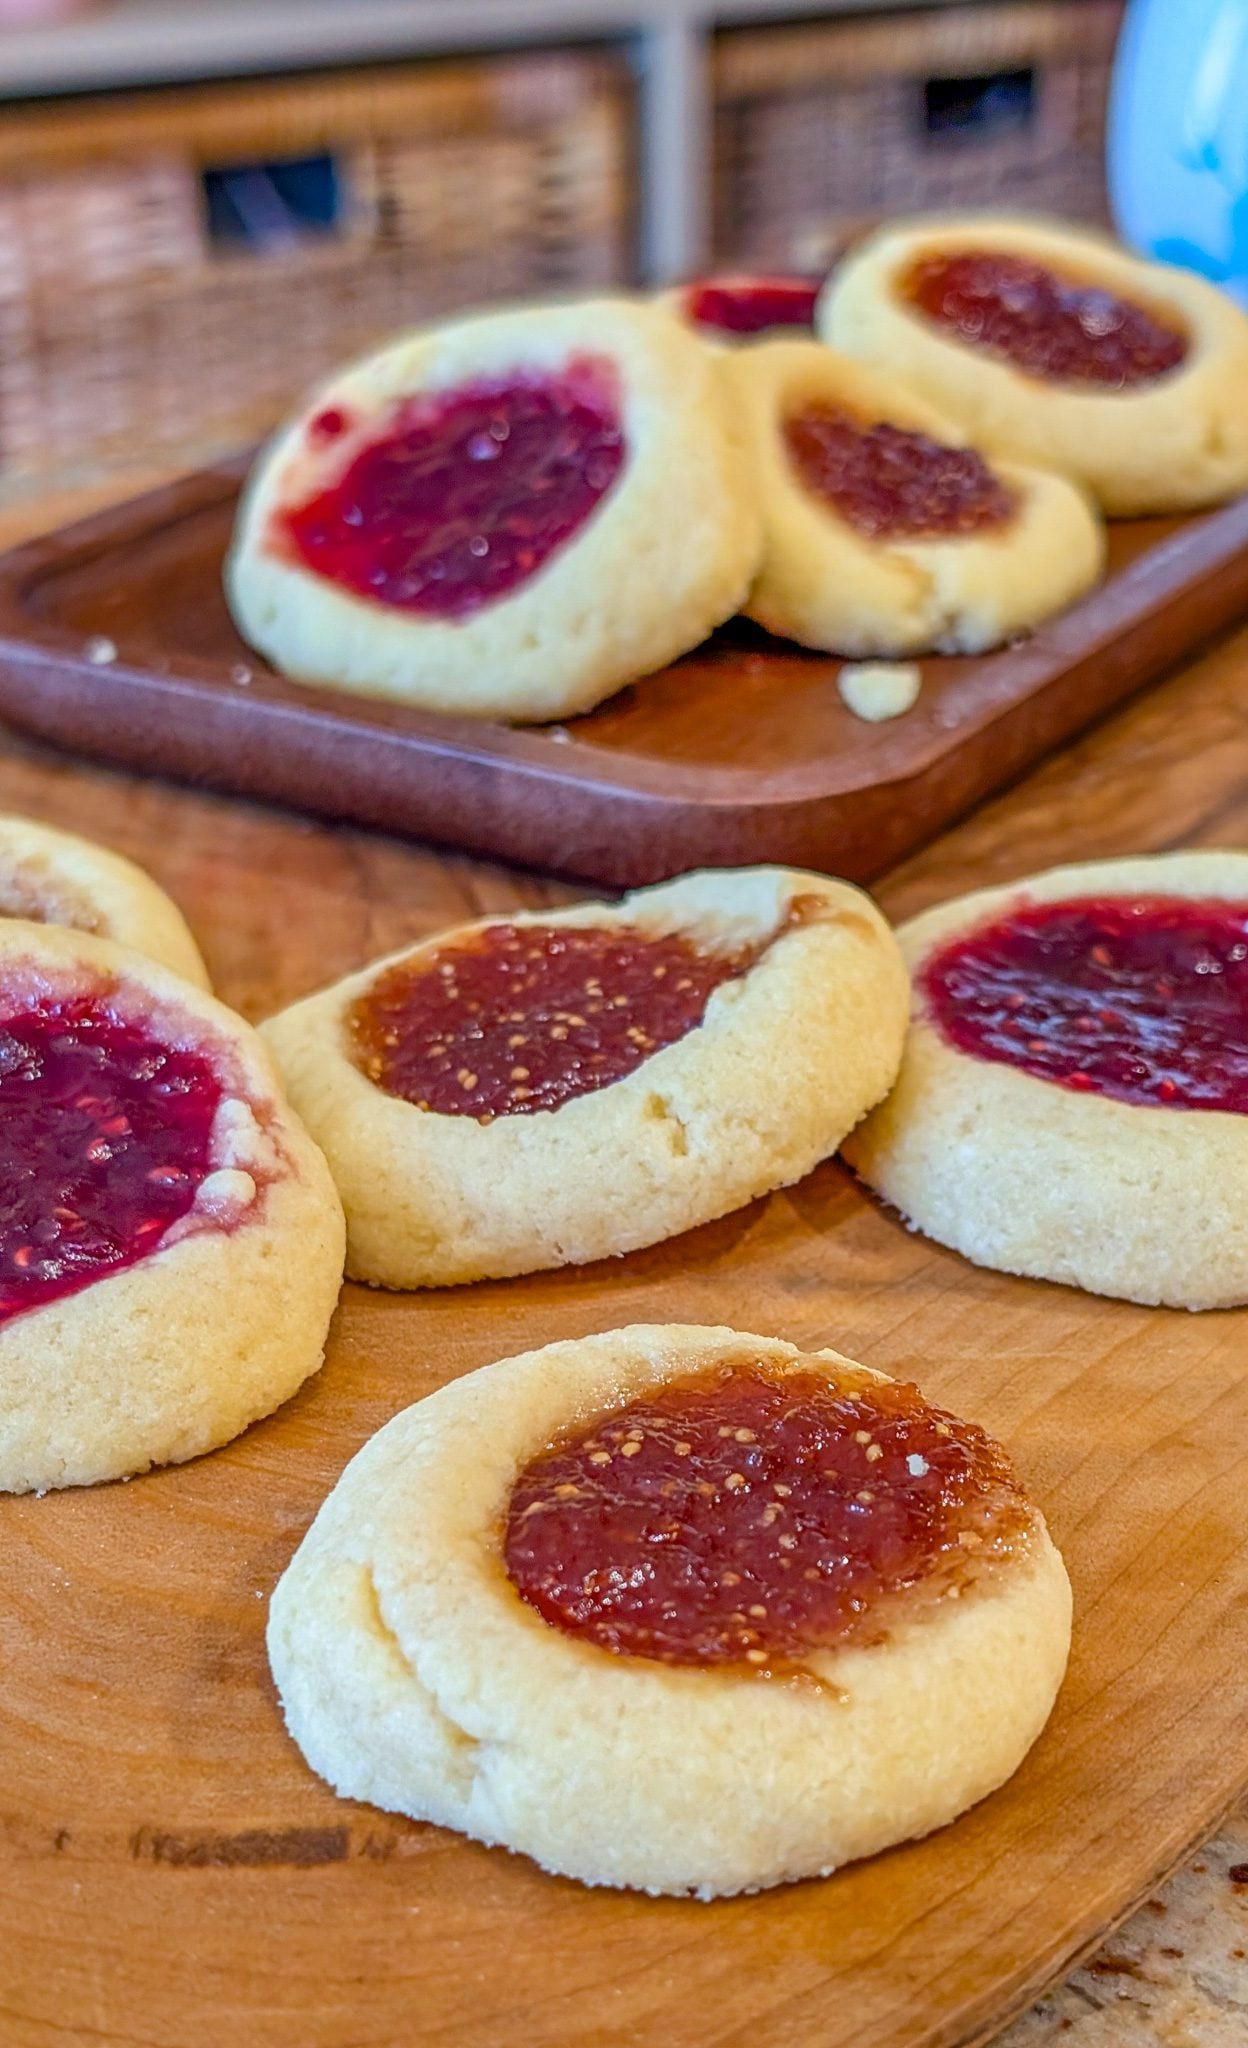
Thumbprint Cookies
Ingredients
Method
- Preheat the oven to 350°F (175°C). Line a baking sheet with parchment paper or a silicone mat.
- In a small bowl, whisk together the flour and salt. Set aside.
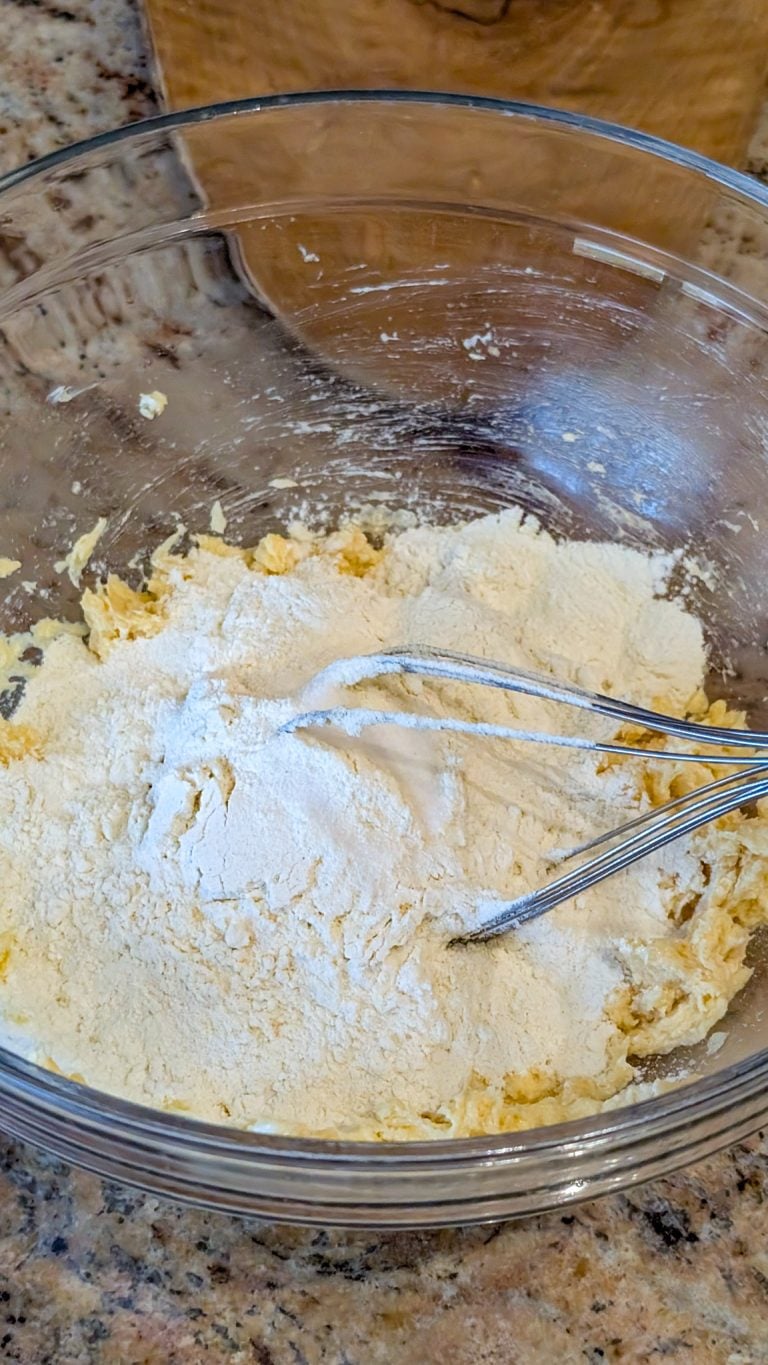
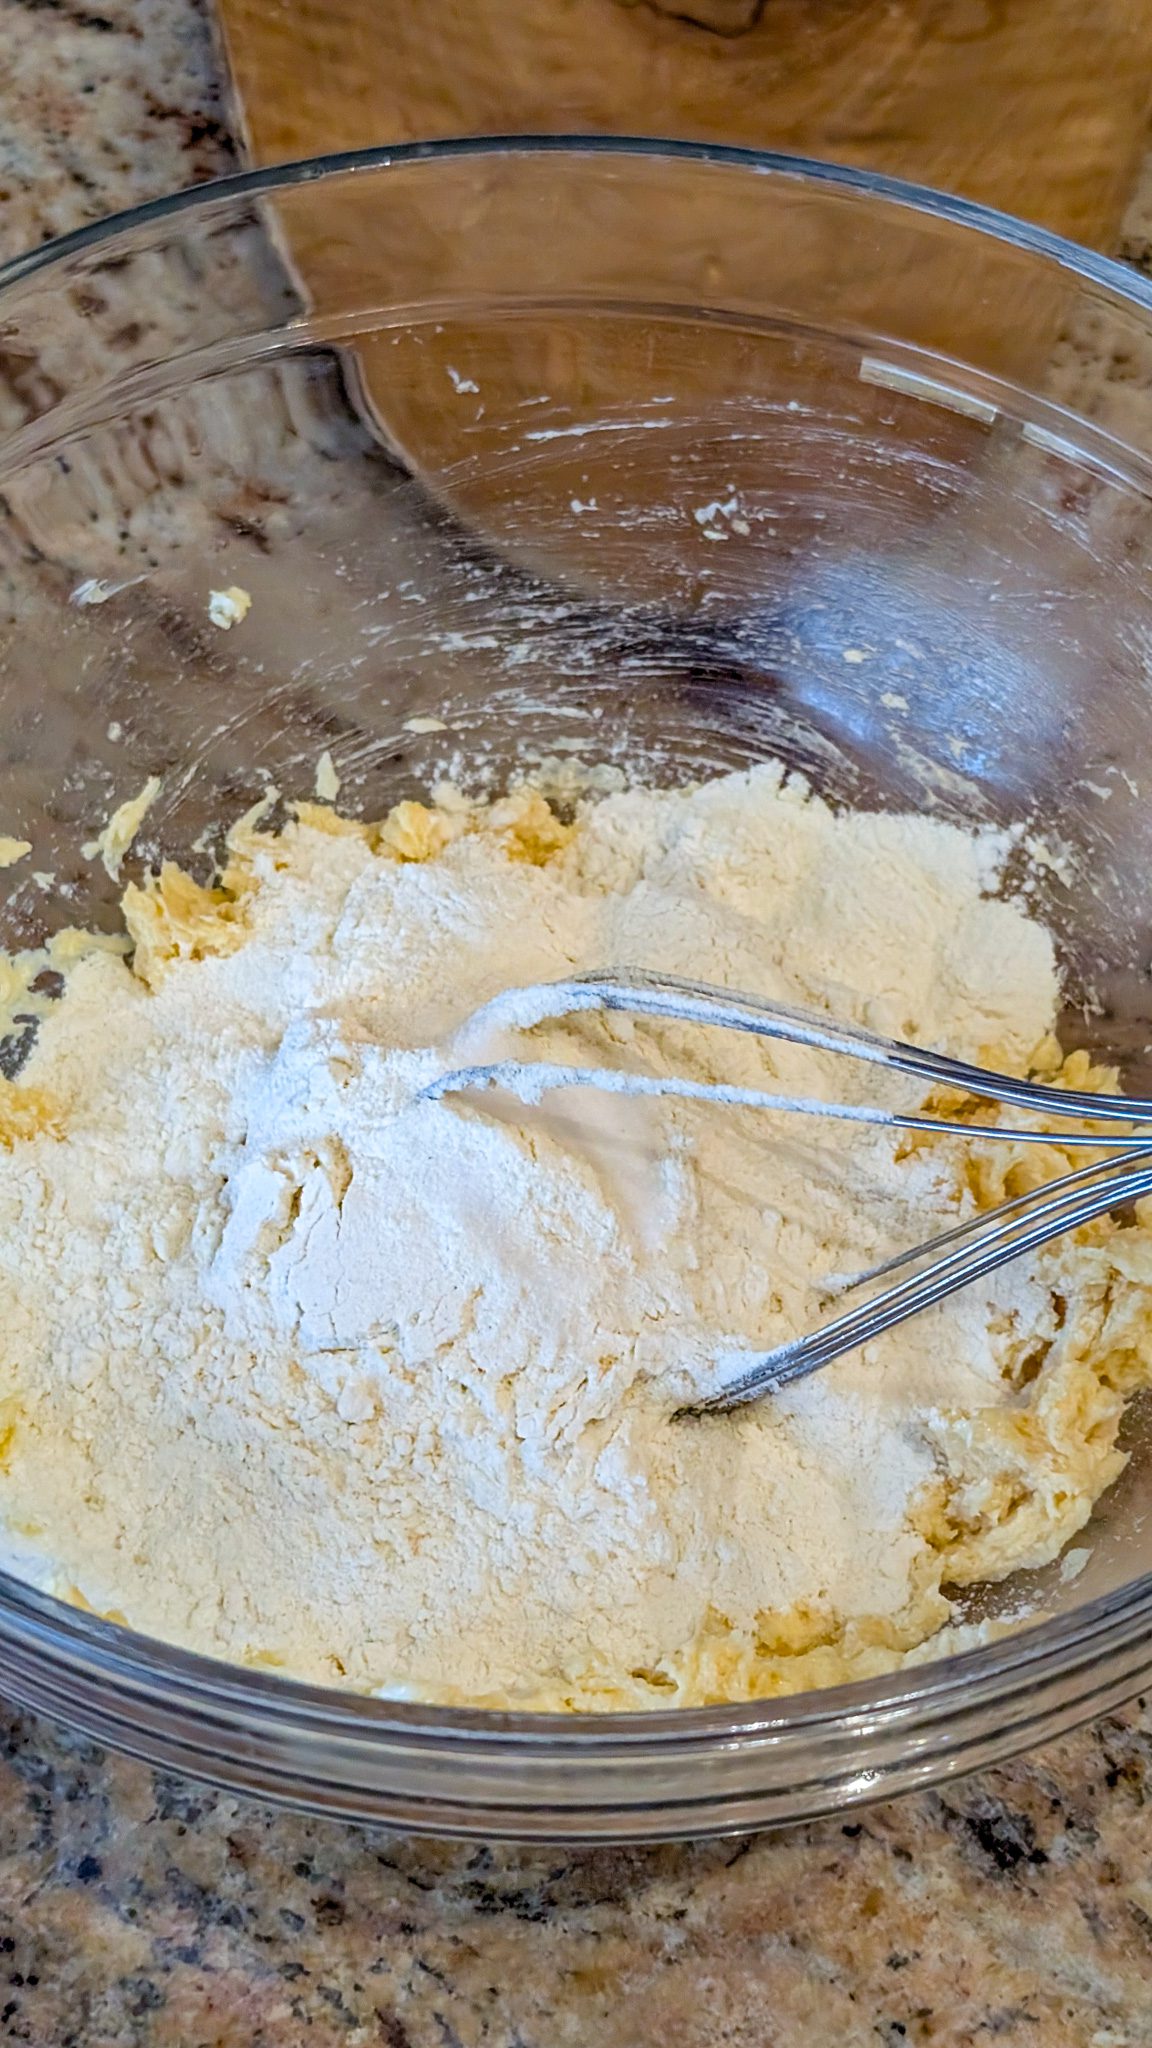
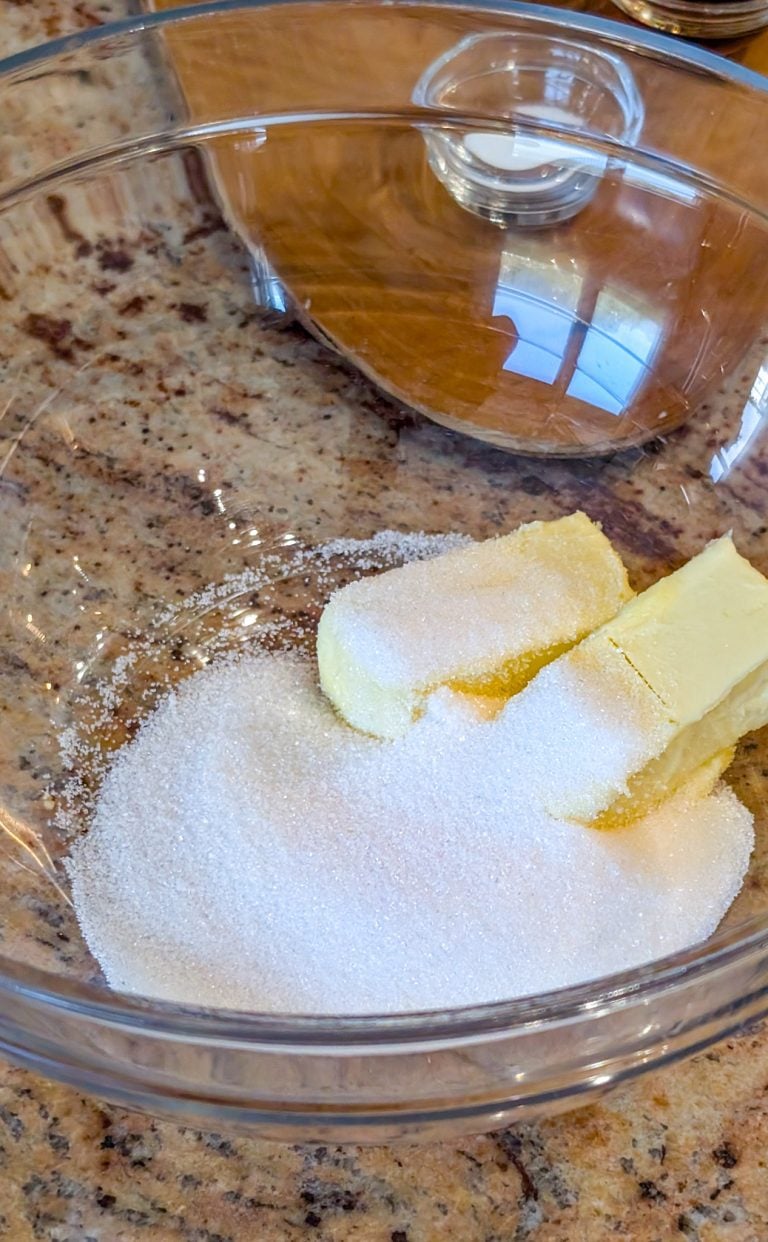
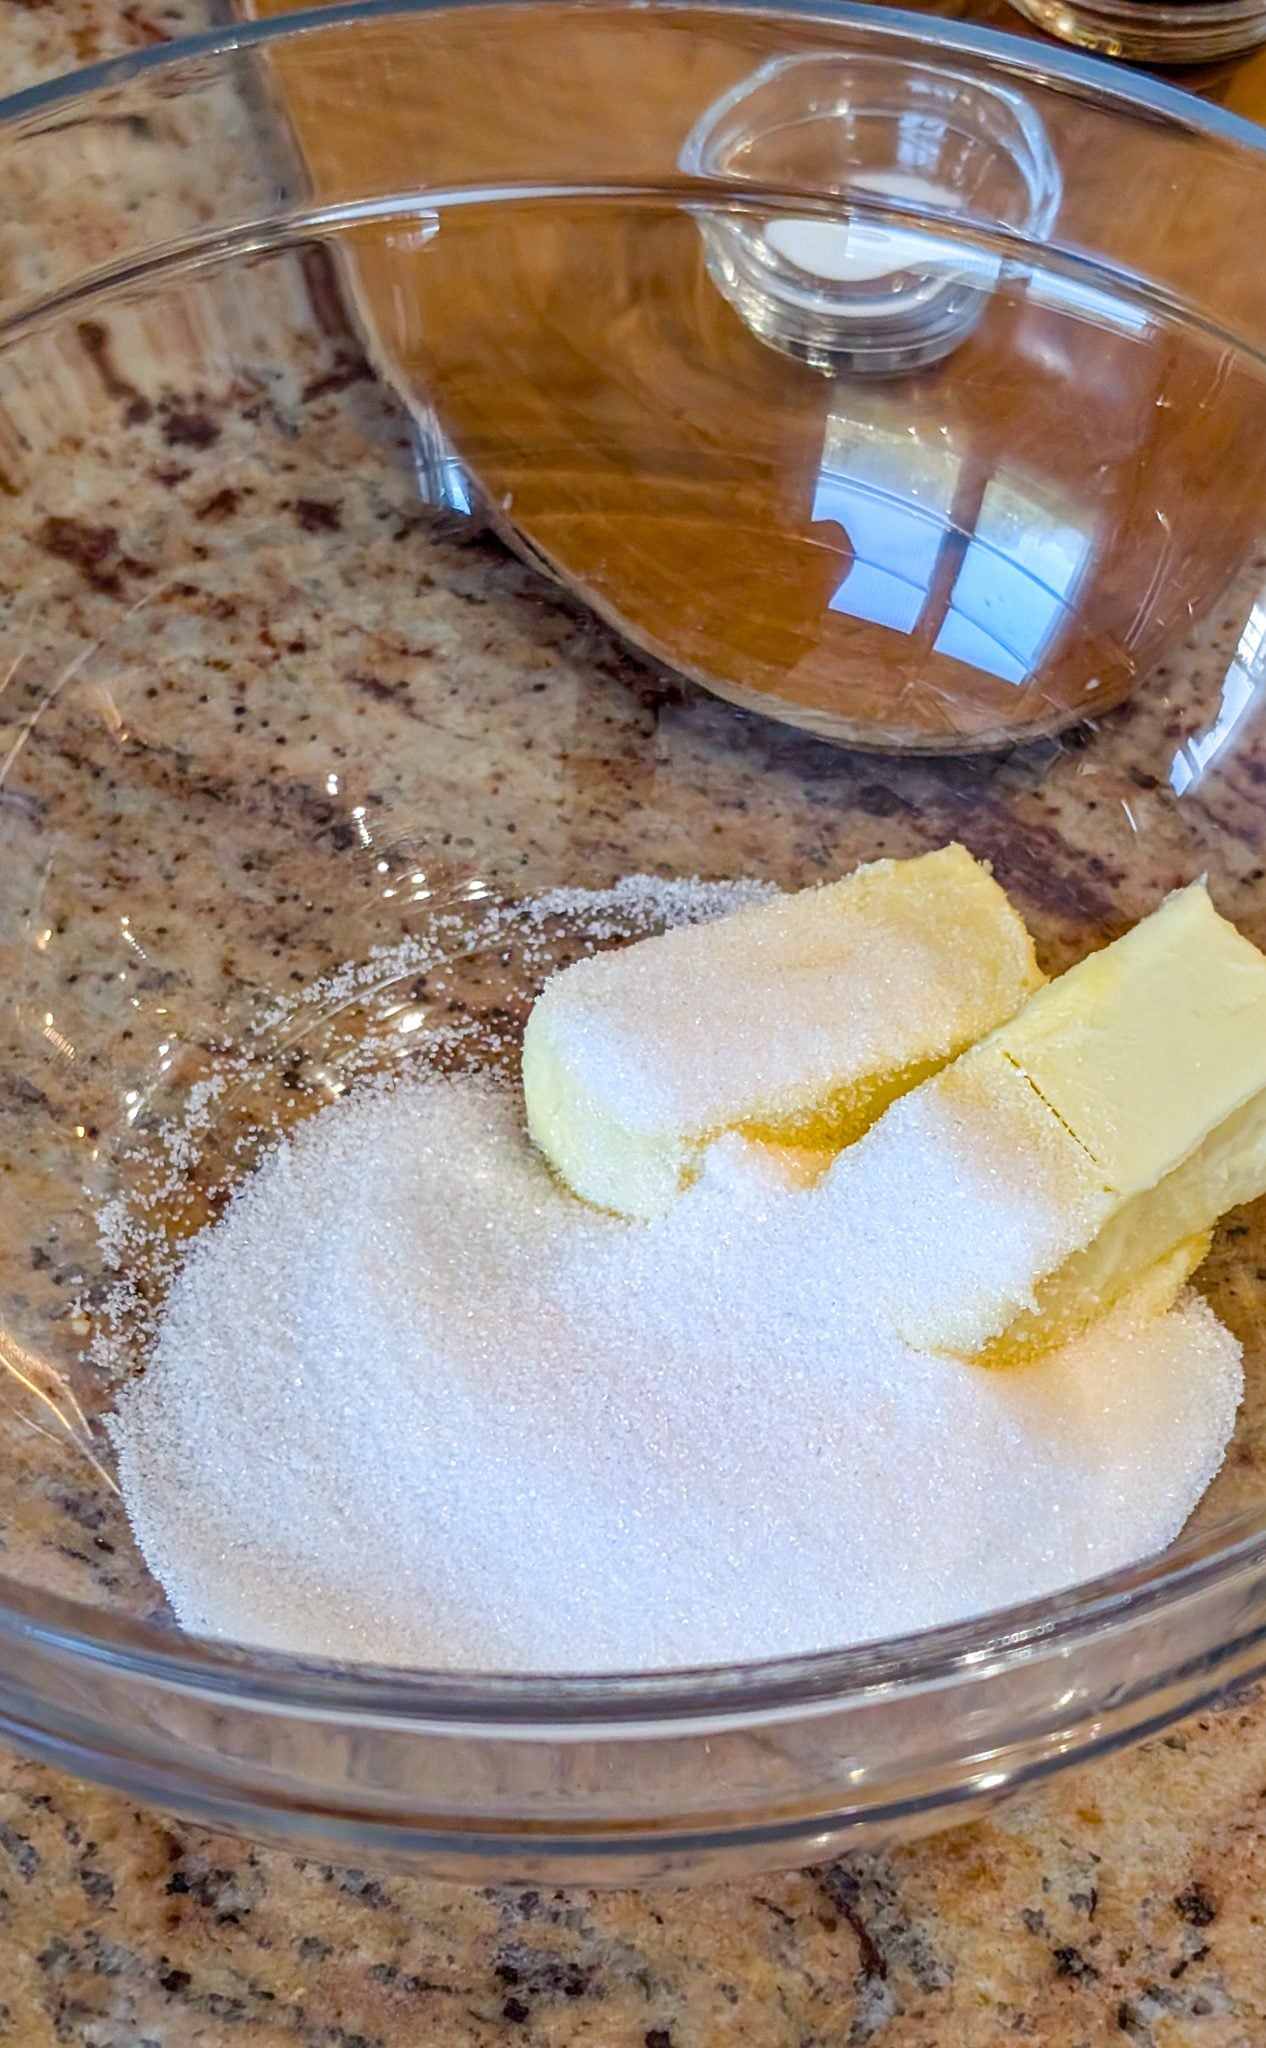
- In a larger mixing bowl, beat the room temperature butter and sugar together until light and fluffy.
- Beat in the egg yolk and vanilla extract until fully combined.
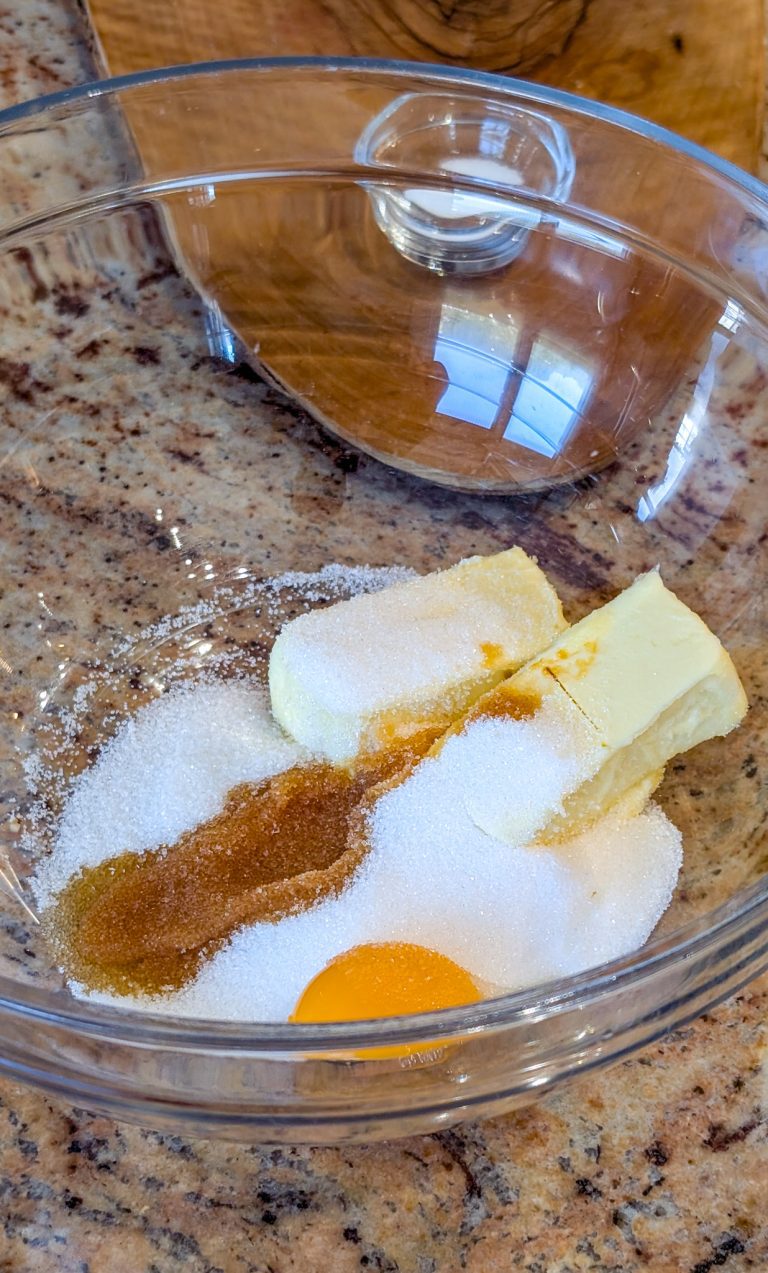
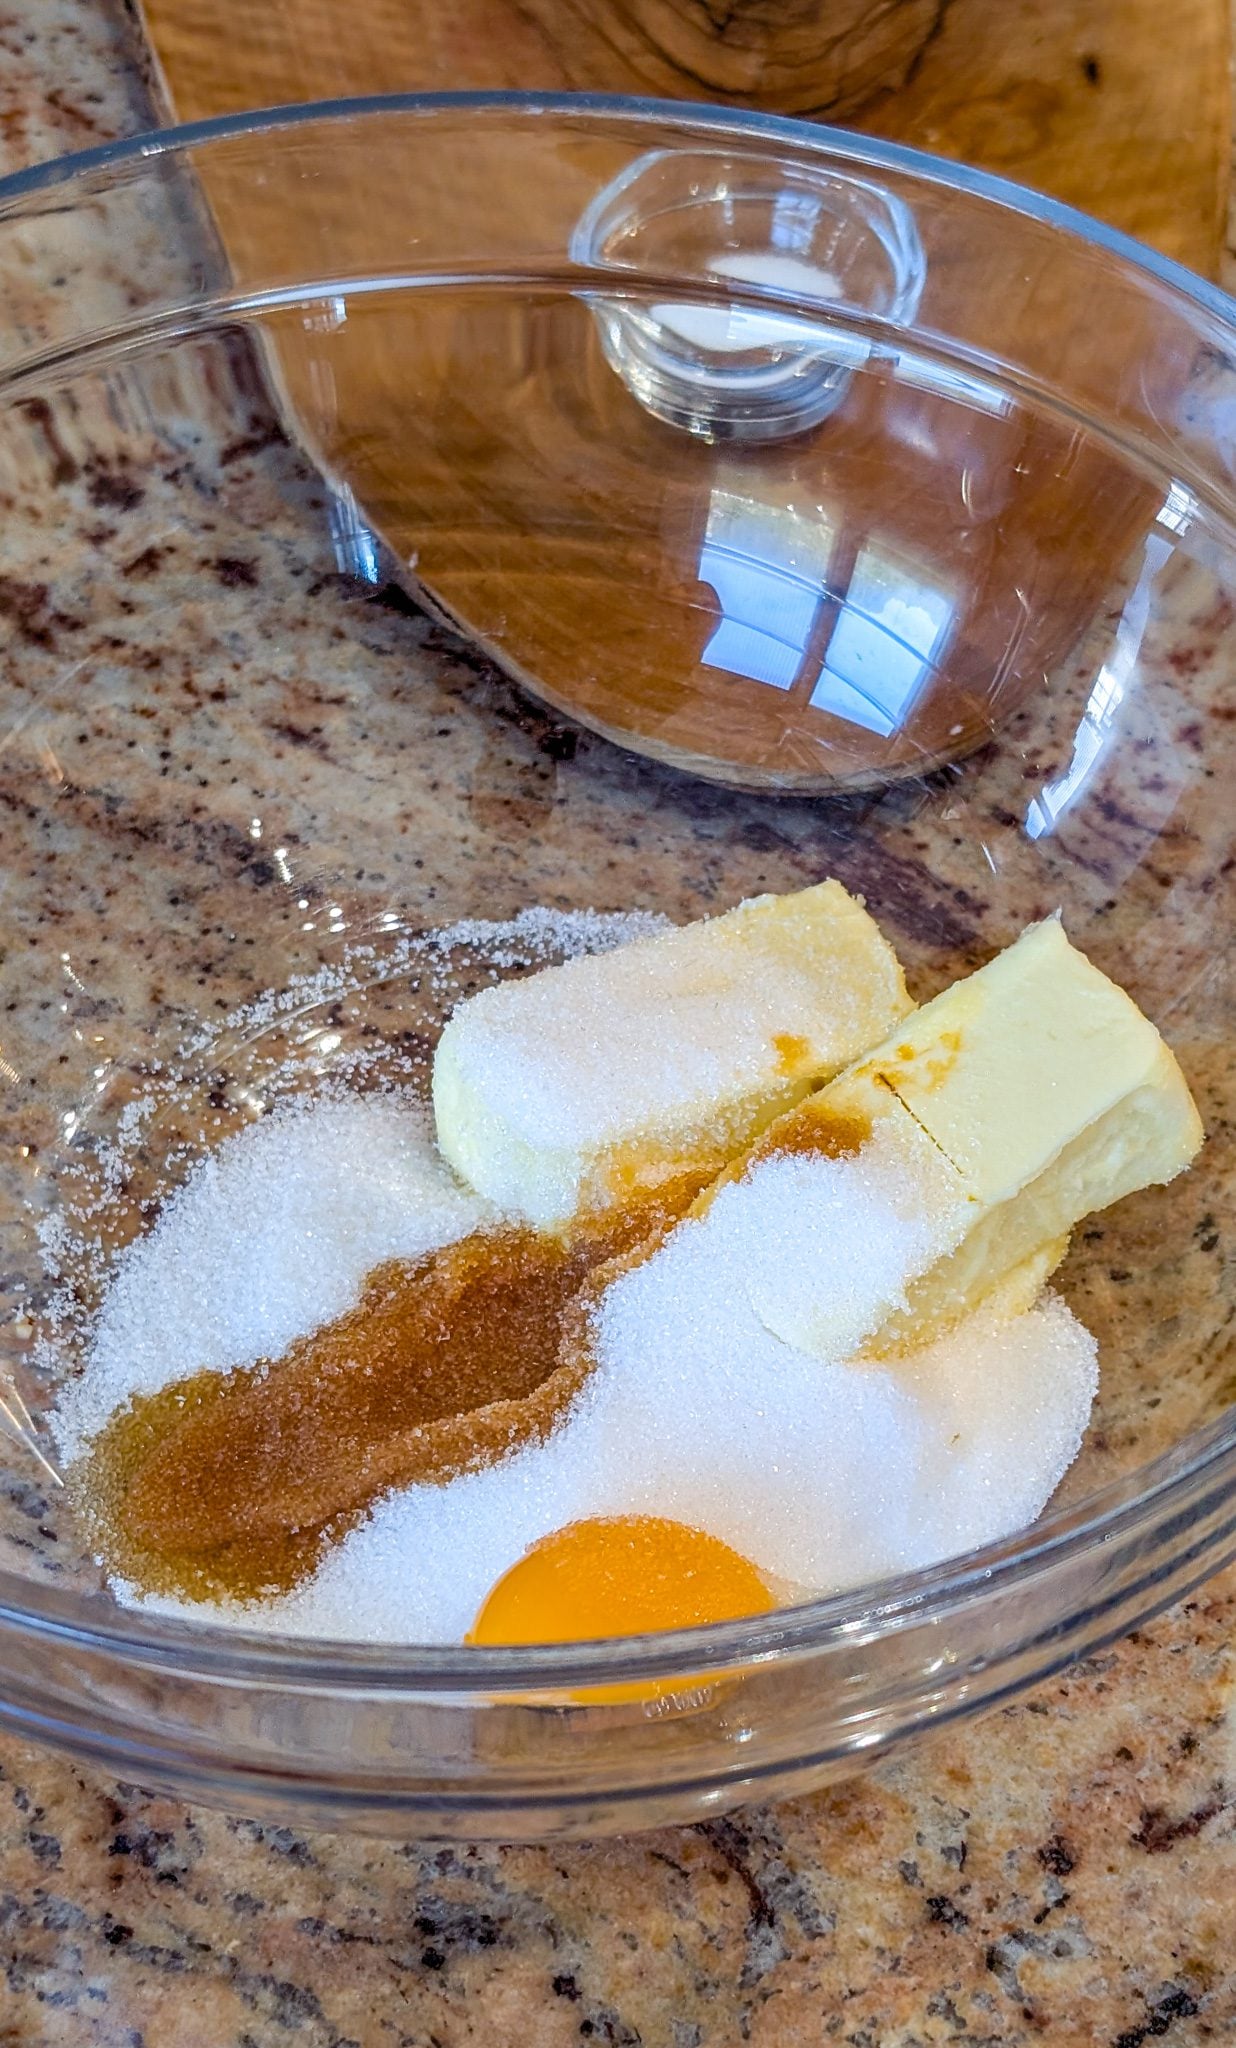
- Gradually add the flour mixture to the butter mixture. Mix until a soft dough forms.
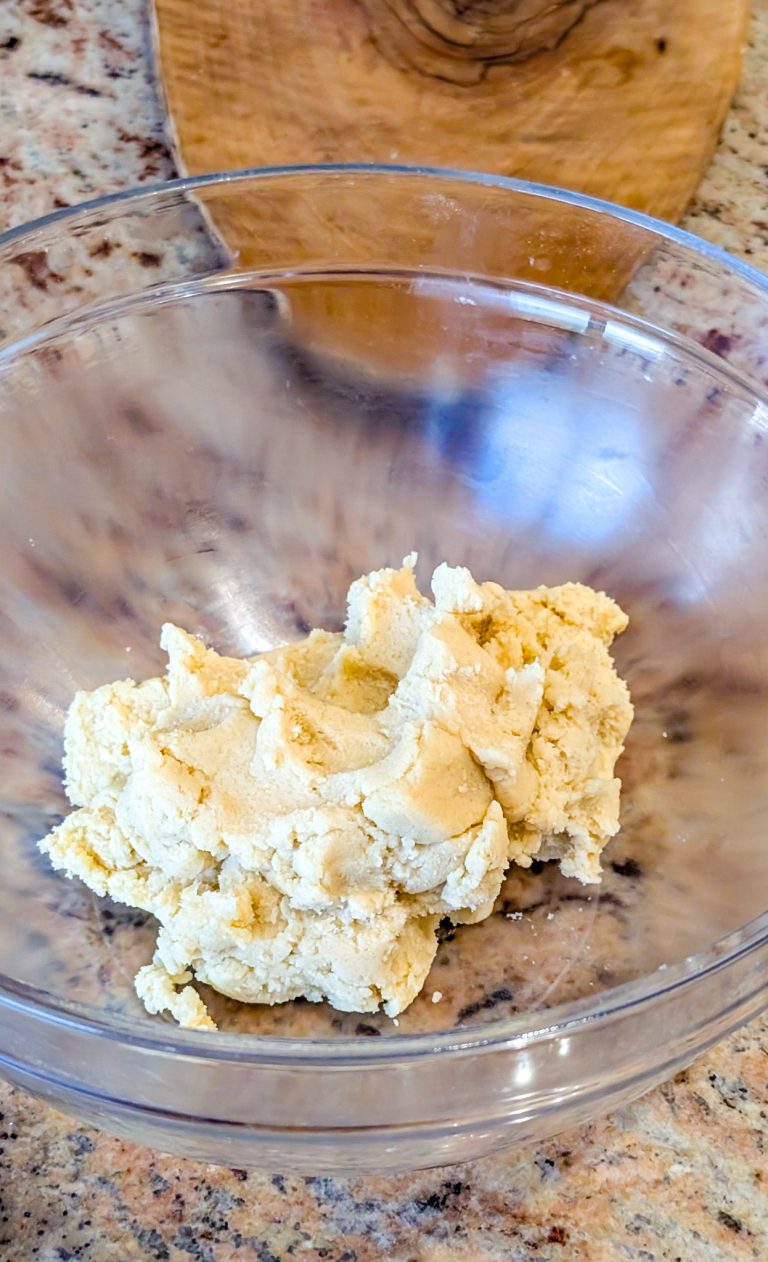
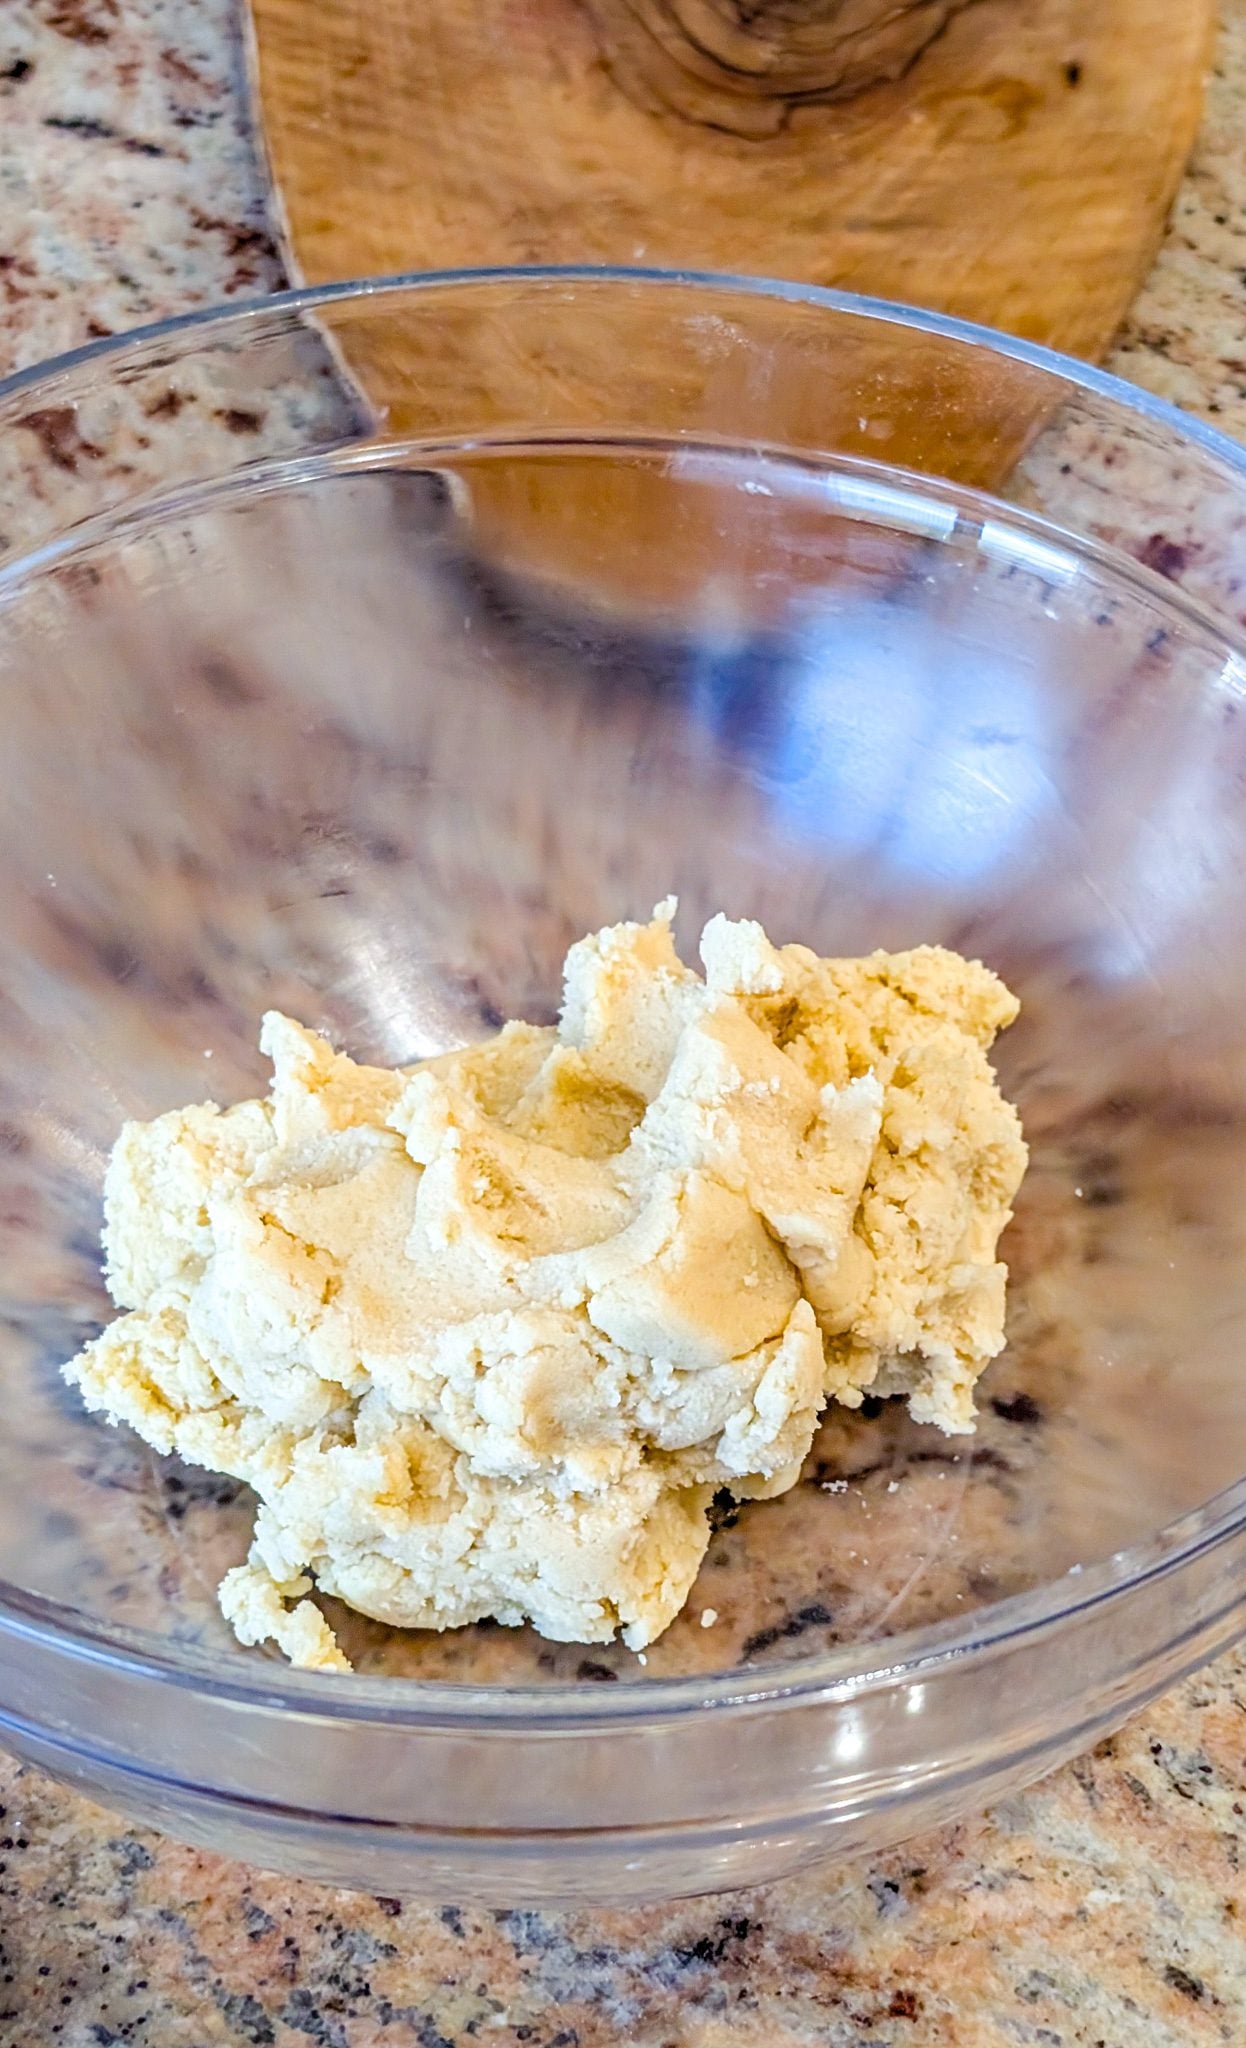
- Roll dough into 1-inch balls. If using nuts, roll each ball in the chopped walnuts, pressing gently to adhere.
- Place the dough balls on the prepared baking sheet spaced about 2 inches apart. Using your thumb or the back of a small spoon, press gently into the center of each ball to create a small well.
- If desired, lightly brush the tops of the cookies with the reserved egg white for a glossy finish.
- Bake for 12–15 minutes, or until the edges just begin to turn golden.
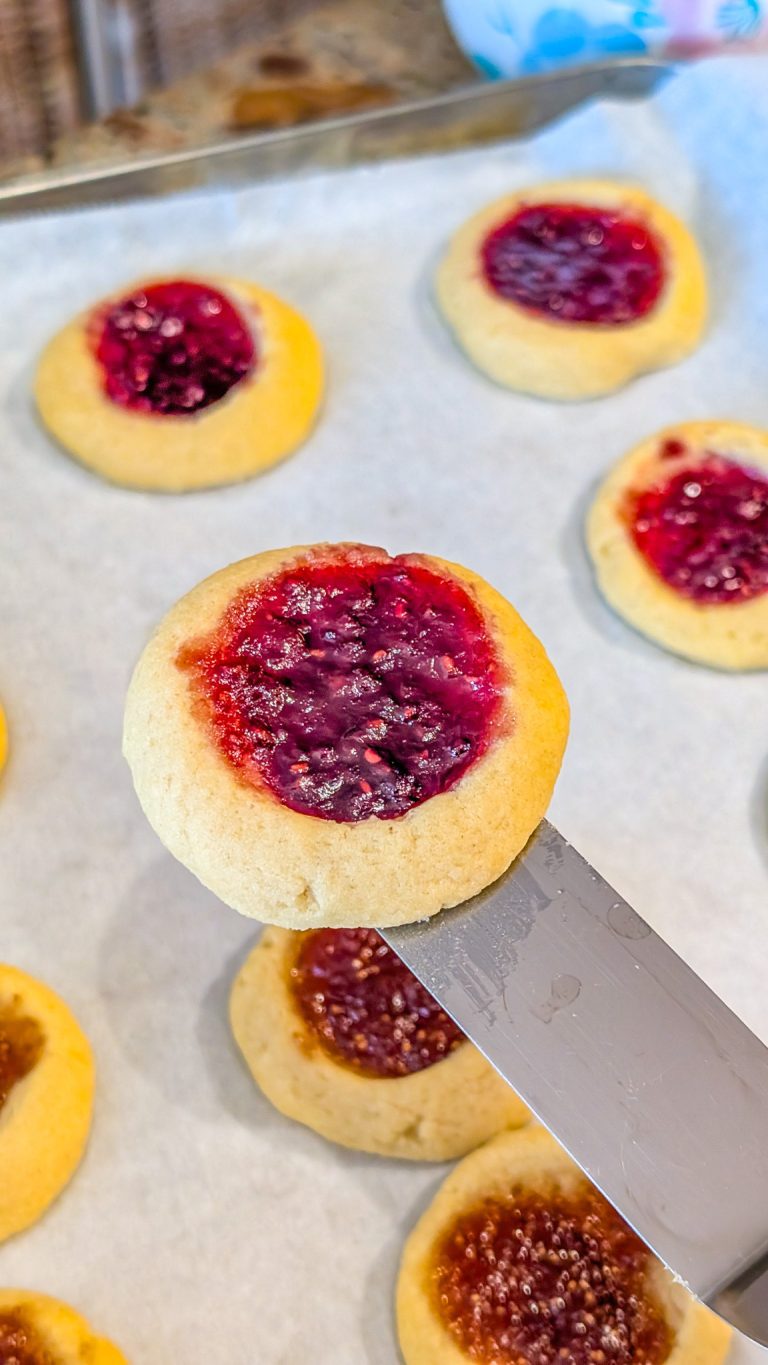
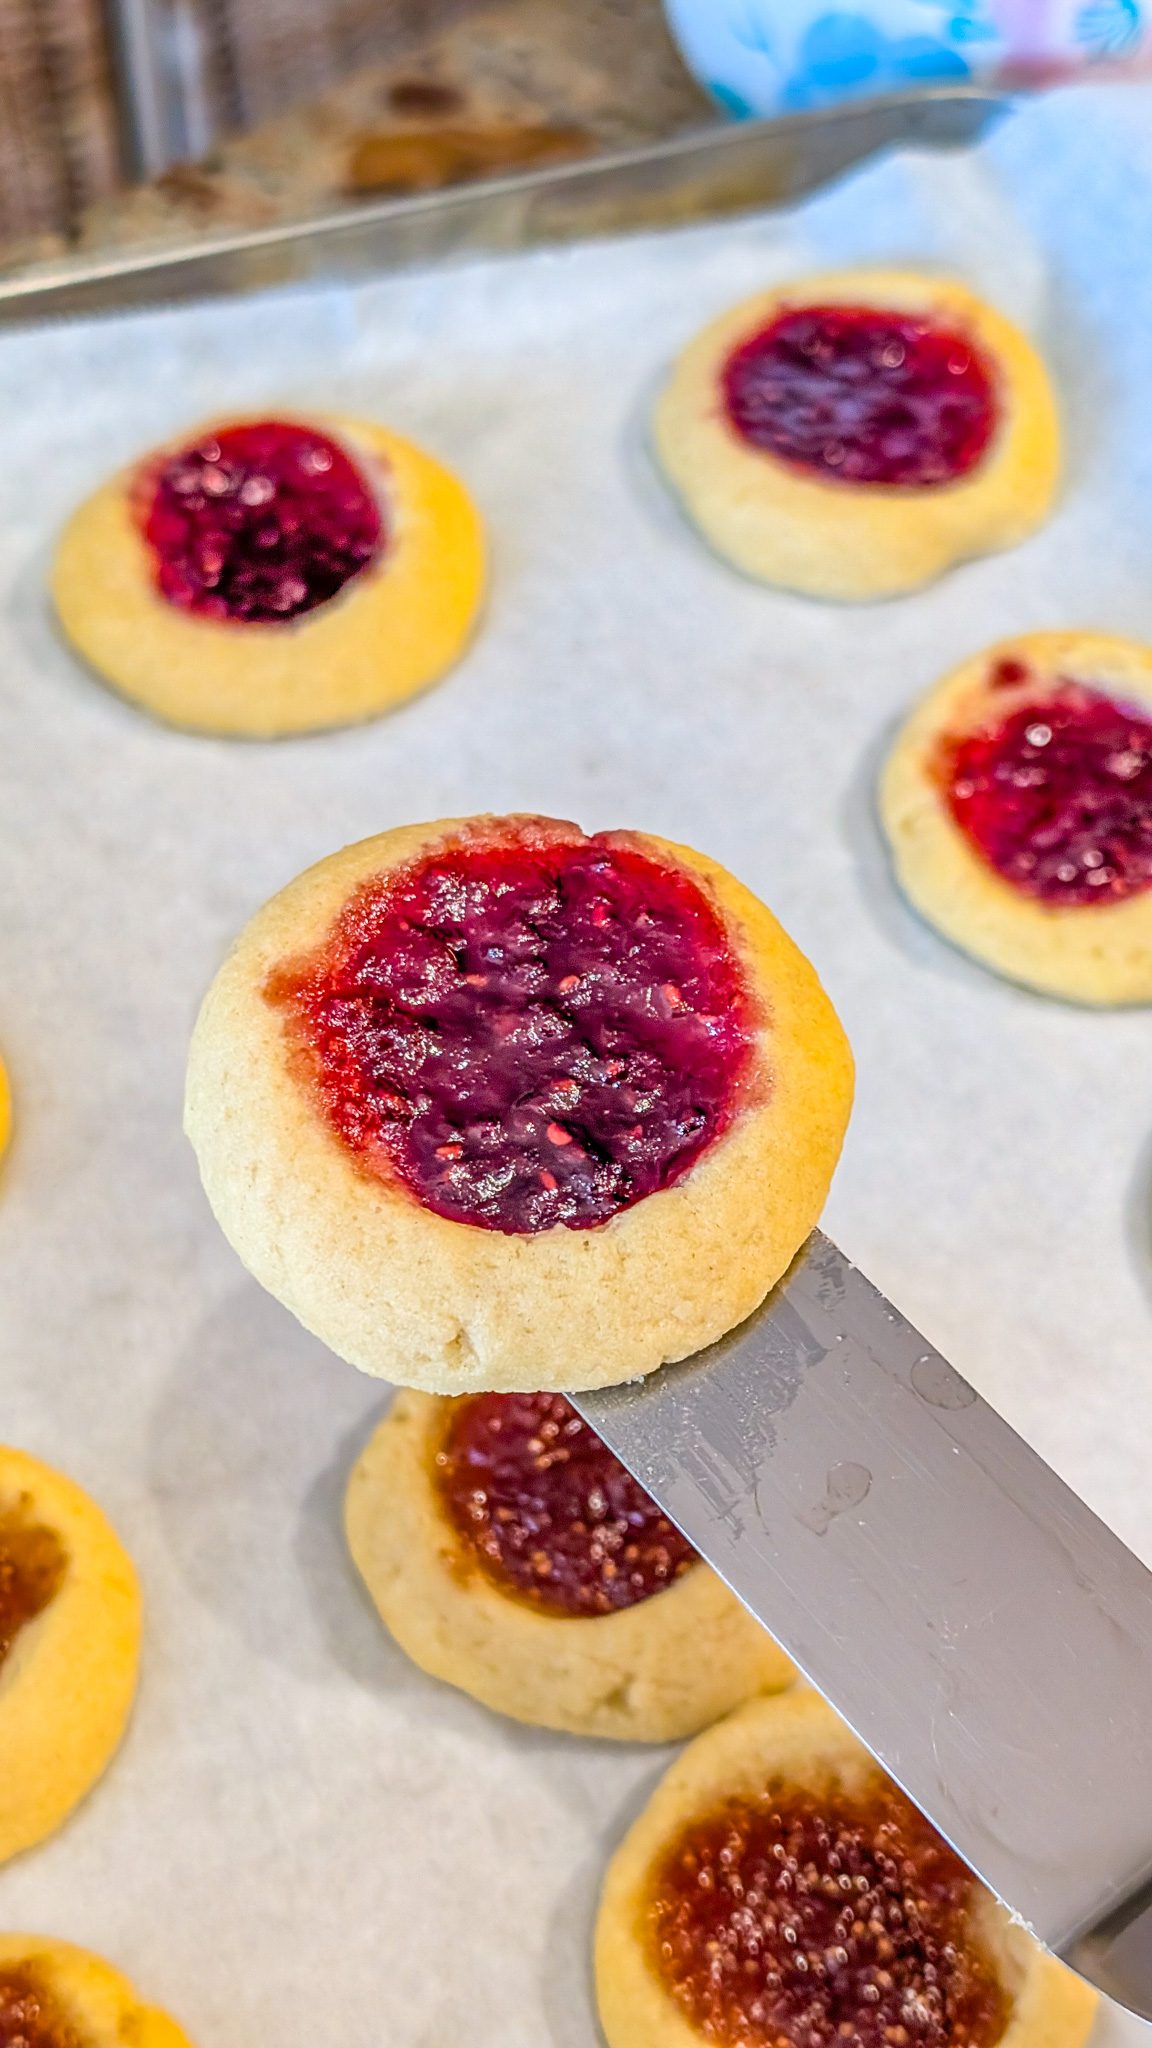
- Remove the cookies from the oven and immediately spoon about ½ teaspoon of your favorite jam or preserves into each thumbprint.
- Let the cookies cool on the baking sheet for 5 minutes before transferring them to a wire rack to cool completely.
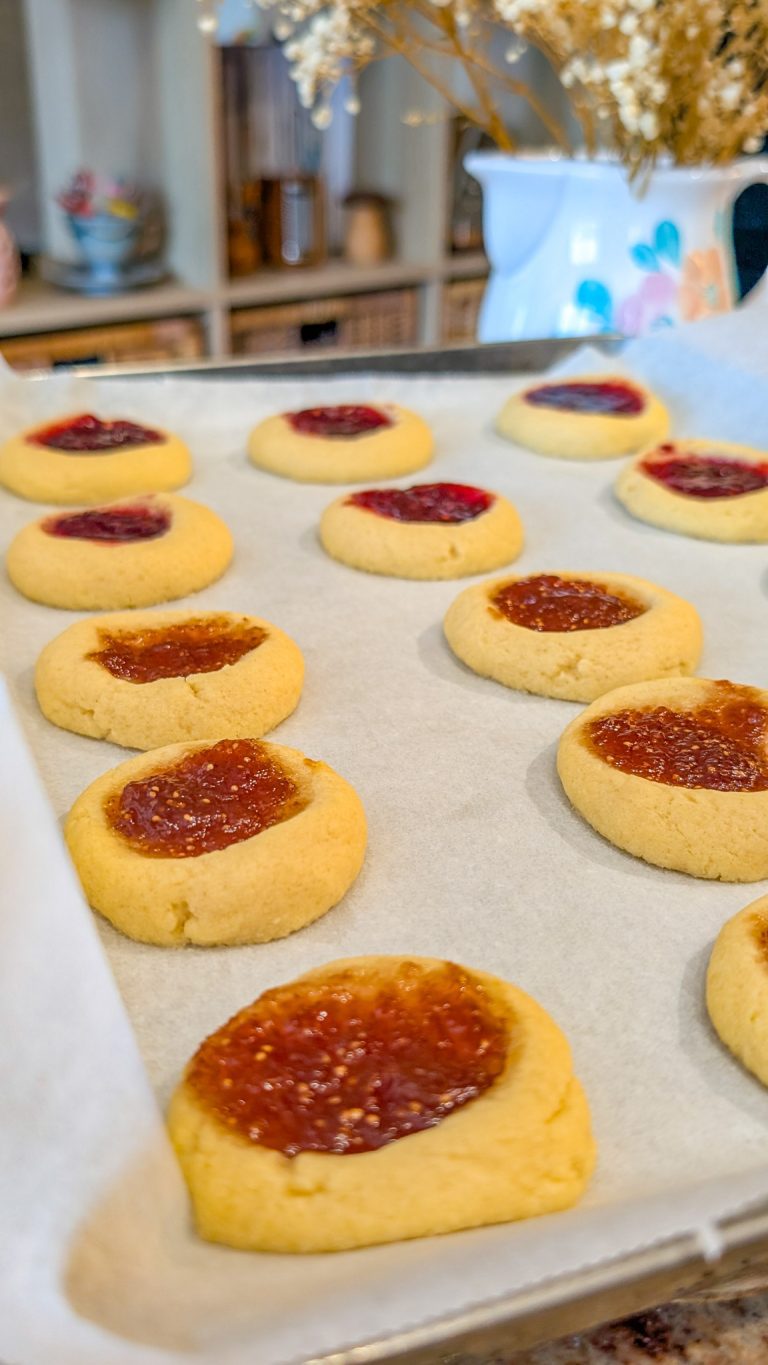
- Enjoy!

Ann Bennett is a retired Chef, freelance writer, recipe developer, and cookbook author. Originally from North America and now based in the United Kingdom, she is the creator of the award-winning blog “The English Kitchen.” Her work focuses on debunking the myths of English cookery by adding a unique North American spin to traditional recipes.